

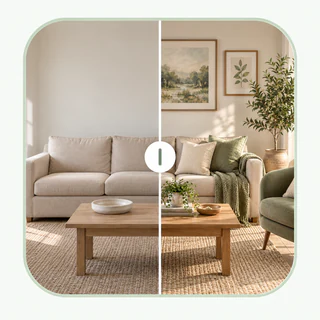
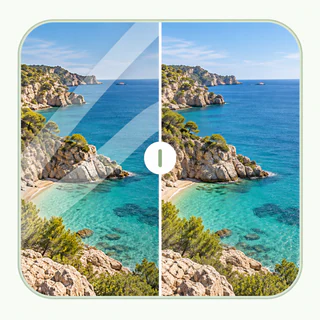
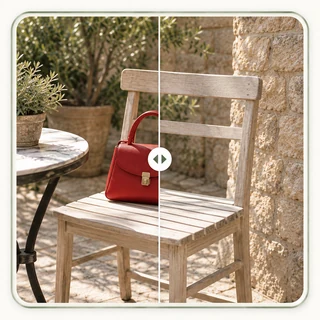
Free AI Object Remover - Remove object from photo online
Remove unwanted objects from photos with AI. Upload your image, brush over objects, people, or text, and download a cleaner result after reviewing the before-and-after comparison. No sign-up or app download required.


What Gets in the Way of a Good Photo?
Clutter Pulls Attention from the Subject
A cup on the table or a stray item in a product shot can become the first thing people notice. An object remover helps you keep the composition you liked.
A Passerby Changes the Whole Frame
The moment looks right until someone walks through the background of your travel or portrait photo.
Manual Retouching Takes Too Long
It can be tricky to clean up a photo by hand when the background has a patterned wall or floor. Cloning may leave visible repeats; the AI remover lets you mark the distraction and review the repair.
Text and Marks Cover Useful Detail
A date stamp or stray text may cover part of a photo you want to keep or reuse.
How to Remove an Object from a Photo in 3 Steps
Step 1: Upload Your Image
Upload a JPG, PNG, or WebP image up to 18 MB to the object remover.
Step 2: Mark and Remove
Choose Object, Text, or People. Use the magic eraser-style brush to mark the distraction and any shadow you want gone; the AI object remover fills the area.
Step 3: Compare and Download
Compare the result with the original, adjust your selection if needed, and download the photo.
Make More of Each Photo with the Object Remover
Remove Object from Image
Need to remove an object from an image? The AI remover can clear a cup, bag, or bin so your subject stands out.
Remove Person from Photo, Keep the Moment
The object remover’s People mode helps remove a person from a photo without giving up a well-timed travel shot.
Make Everyday Picture Cleanup Easier
Clean up pictures for albums, listings, and posts without cloning the background by hand.
Delete Objects from Pictures with Control
Paint over what should disappear with the magic eraser brush, then review and refine the repair before saving.
AI Object Remover
Before and After
Explore three examples of removing an object, a passerby, or text while keeping the surrounding scene intact.



For everyday photos, travel shots, and portraits


Remove Objects from Photos
A phone distracts from a spring picnic photo. Removing it brings attention back to the food and blanket while the rest of the scene stays the same.
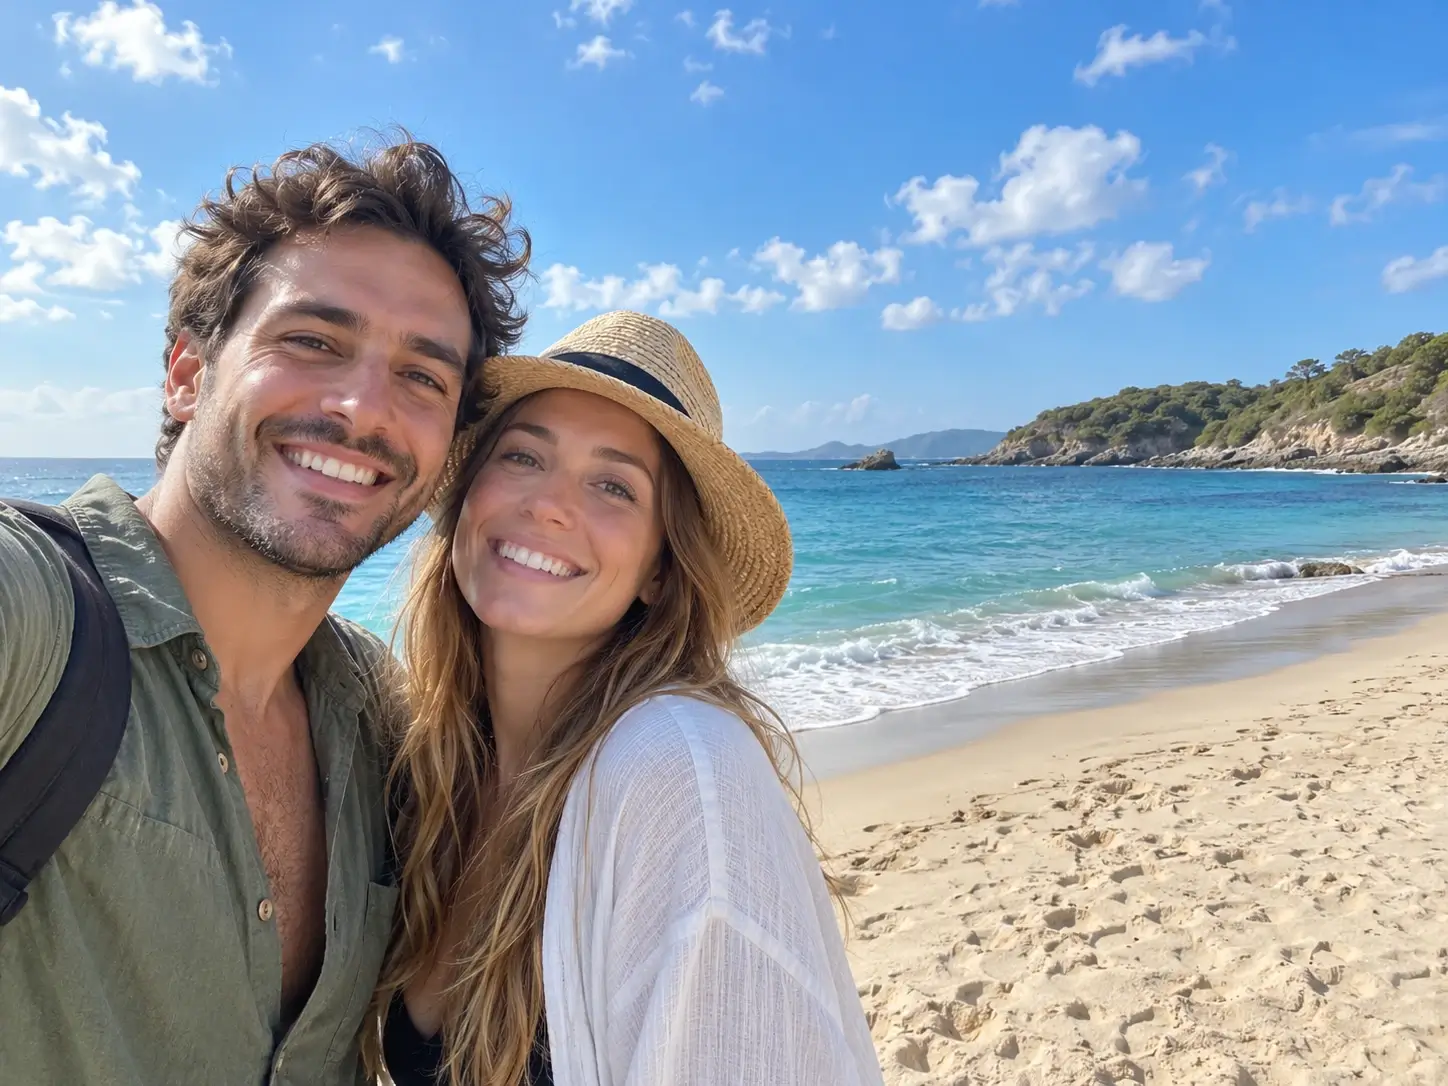
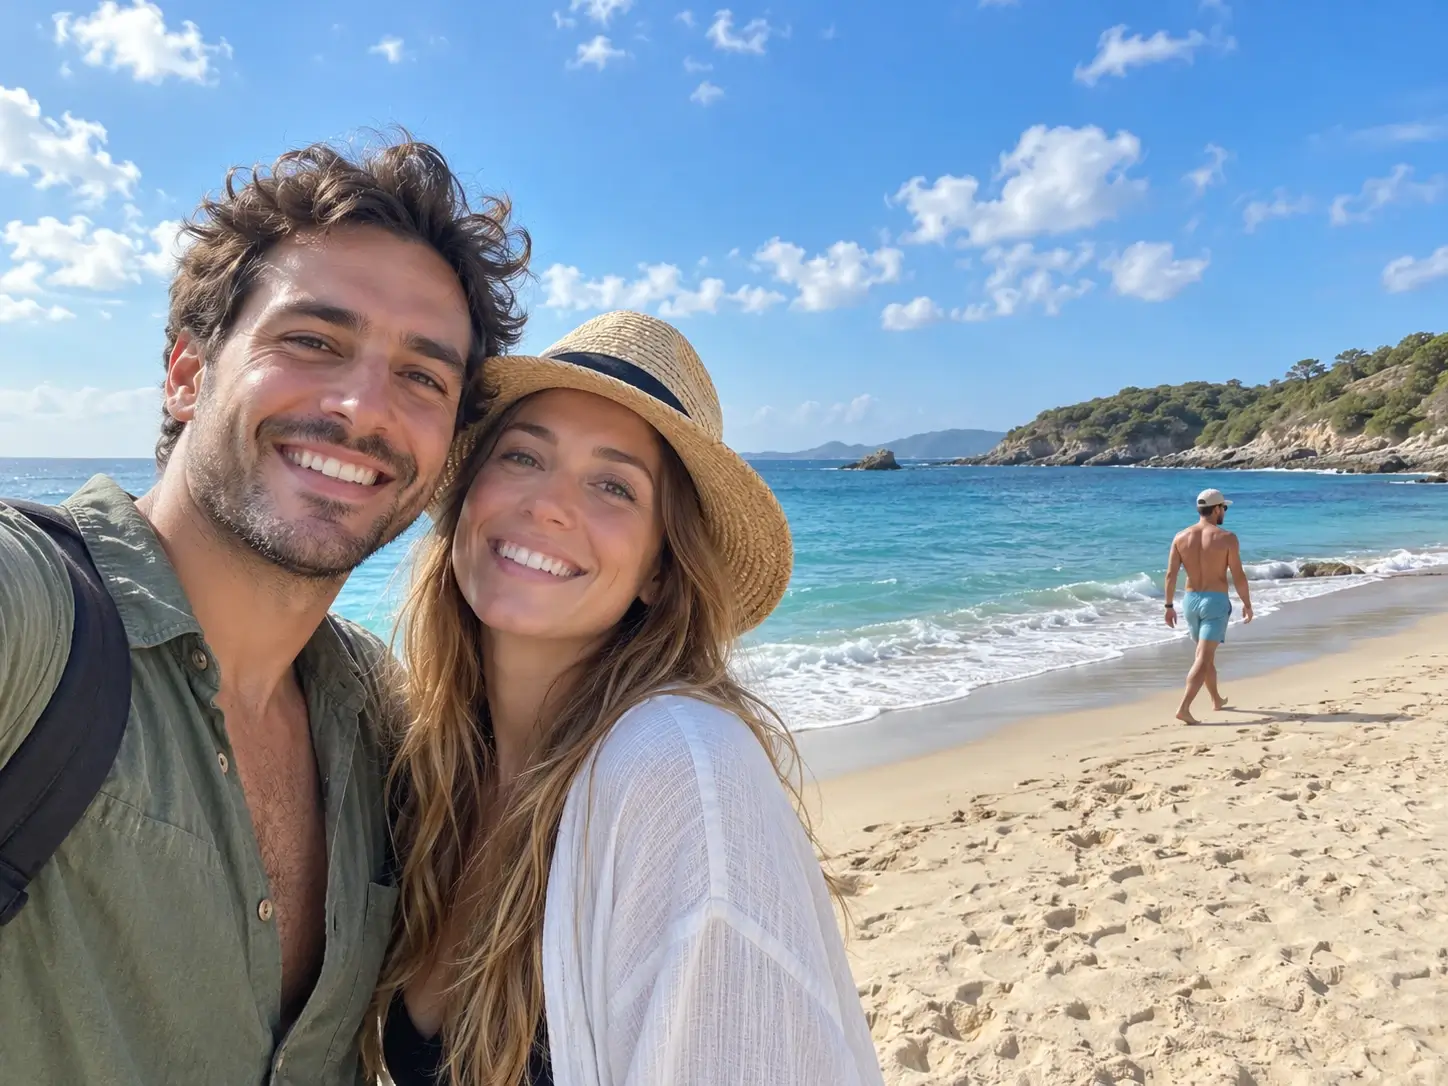
Remove People from Photos
Two friends capture a seaside selfie, but a passerby appears behind them. Removing the passerby brings the focus back to the pair and the beach view.


Remove Text from Photos
Spray-painted lettering covers the wall of a seaside building. Remove the text to restore the clean stucco without changing the sea, sky, or surrounding architecture.
Three Ways to Use the Object Remover
Object: Clear Everyday Clutter
Use the AI object remover to brush over unwanted items such as a cup, sign, bag, or bin, then check how the background was repaired.
Text: Erase Stray Words
Text mode erases date stamps, captions, and graffiti: mark the lettering, then check the repaired background.
People: Remove Person from Photo
Select People and brush over an unwanted passerby. Review the repaired background closely, especially where the person covered detailed scenery.
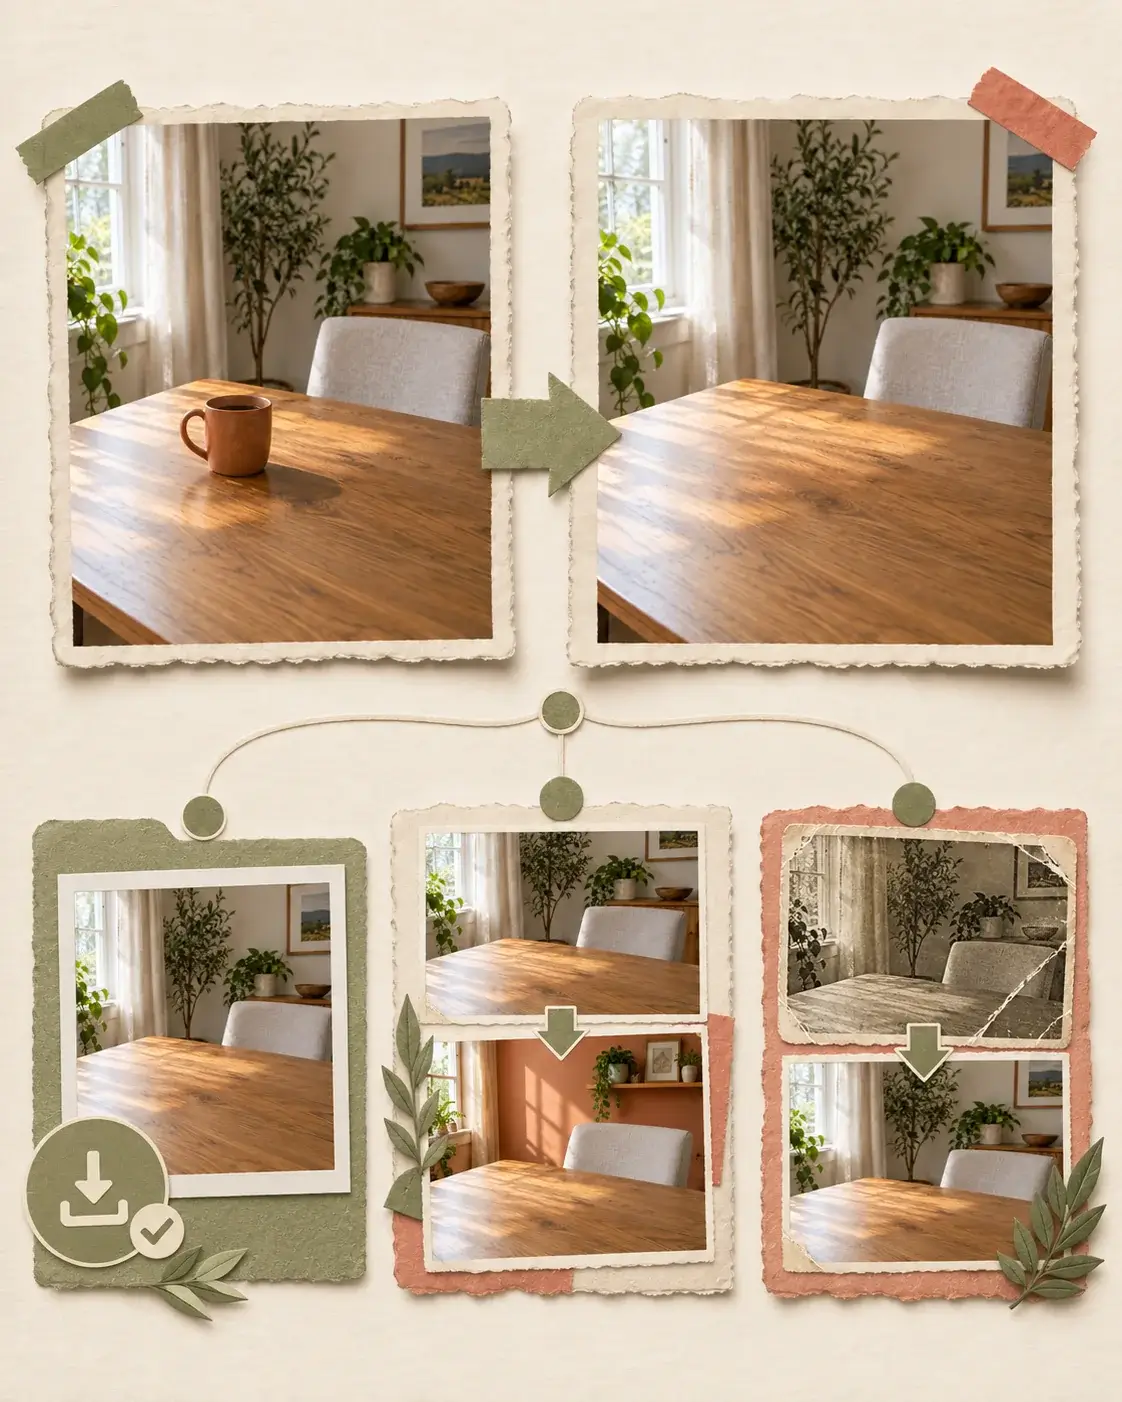
Continue Editing from Your Cleaned Photo
After using the object remover, save the clean result as the input for your next edit. Replace part of the scene if removal alone is not enough, or repair wider damage when the source is an old photo.
- 01
Save the Object-Free Result
Once you are happy with the result, download the edited photo. Use it as the starting point in another tool so the removed item stays gone.
- 02
Want to Change the Scene After Cleanup?
Open the cleaned image in Photo Editor when you want to replace the background or describe a broader change after removing the distraction.
- 03
Cleaning Up an Old Photo?
If the object-free image is an old scan with scratches, fading, or tears elsewhere, continue in Photo Restoration to repair the wider damage while using the cleaned image as your starting point.
Why Use This AI Remover?
You Choose the Exact Area
Use the magic eraser brush to mark only what you want gone. If the edge looks off, adjust the selection and try again.
AI Fills the Gap
The object remover reconstructs the selected region using surrounding detail. Simple backgrounds often need less review than faces or intricate patterns.
Compare Before Downloading
A side-by-side view makes it easier to judge the edit: check edges, textures, and shadows before downloading.
Edit Online with Free Daily Credits
Try the AI remover in your browser without Photoshop or an app download. Check your available credits before starting another edit.
Keep Editing After Object Removal
Once the magic eraser has removed the distraction, save the result you have reviewed. Use that clean starting point for further edits before sharing, publishing, or printing.

Make Broader Edits with AI Photo Editor
Object Remover clears the item you selected while keeping the surrounding photo. If you want a broader change, upload the saved image to AI Photo Editor and describe a new background or scene. The prompt-based editor lets you work beyond one brushed area.
Edit Photo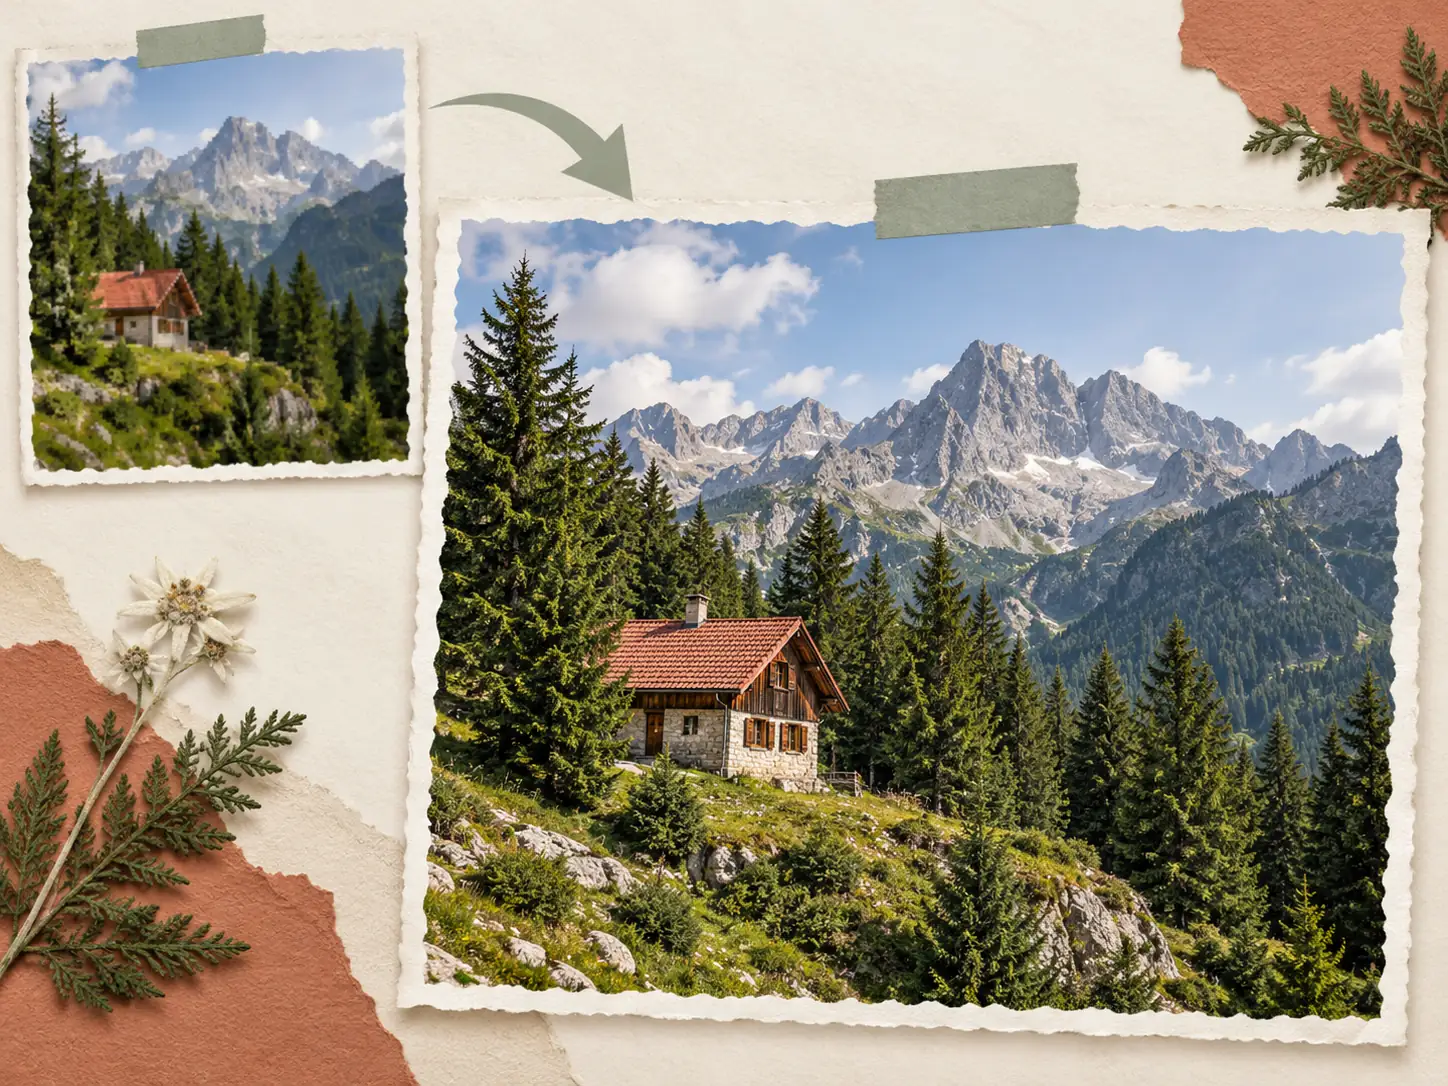
Enlarge the Clean Image with Image Upscaler
When you delete objects from pictures for a listing, presentation, or print, the original may still be too small. After using the AI remover, upload the saved image to Image Upscaler. Check repaired edges first, then compare the larger version before using it.
Upscale Image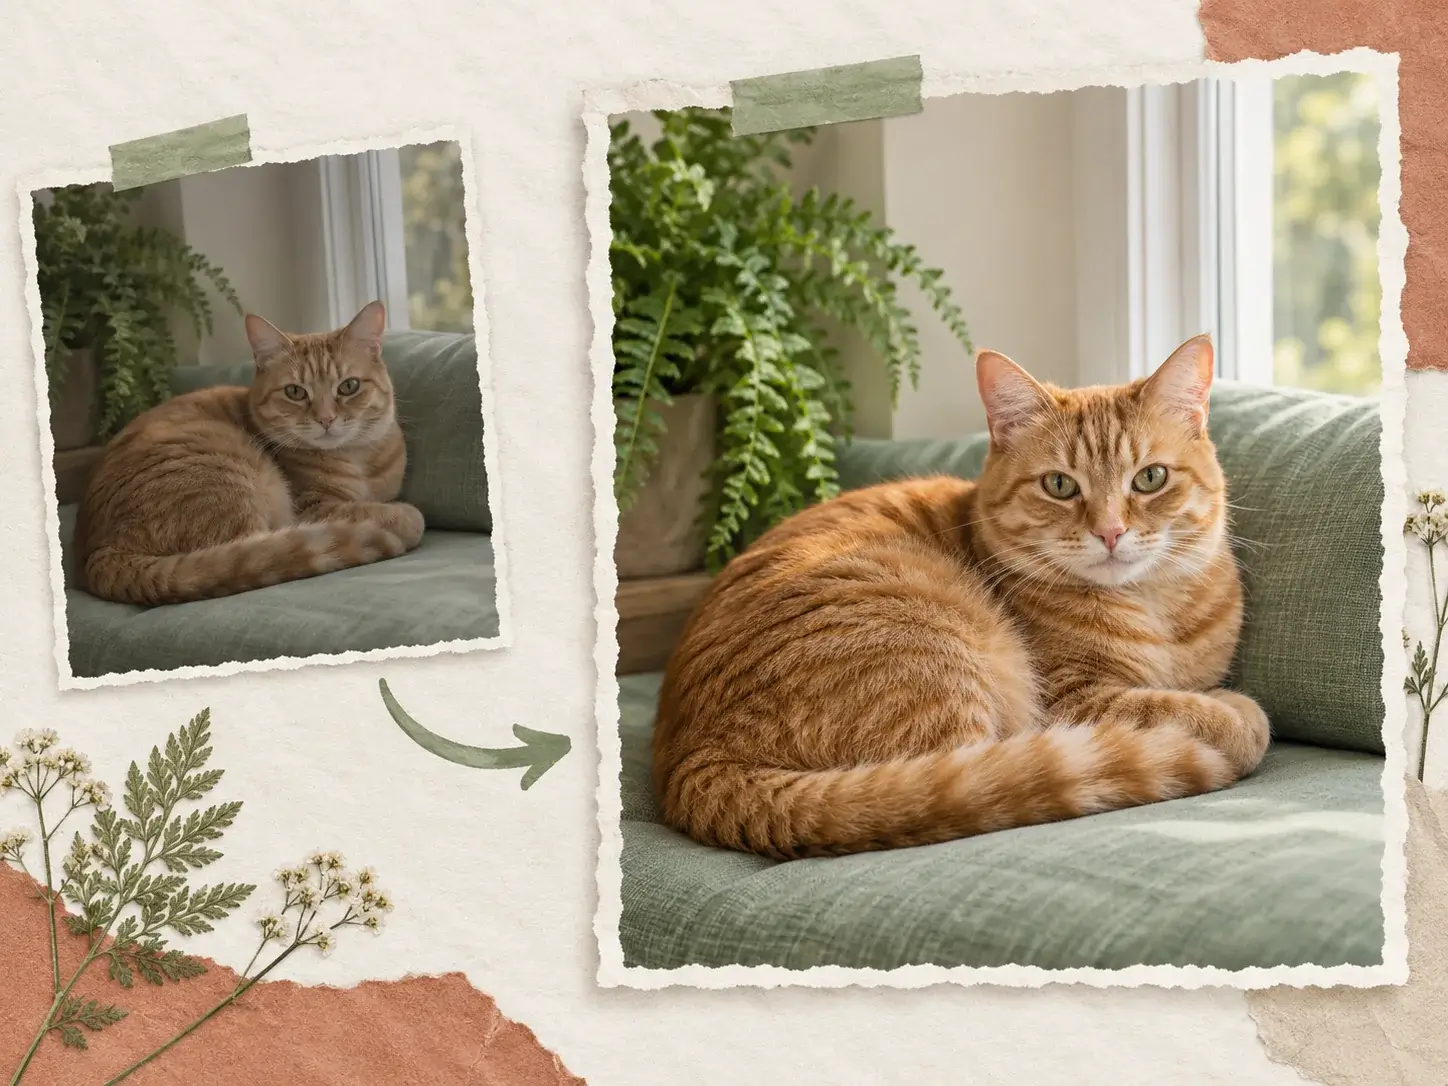
Improve Overall Quality with AI Photo Enhancer
The object remover repairs the area you mark, but it does not address softness, weak lighting, or flat color across the whole photo. Take the saved image to AI Photo Enhancer to improve overall clarity and tone. Review the final result to make sure the repaired area still blends with the scene.
Enhance Photo