
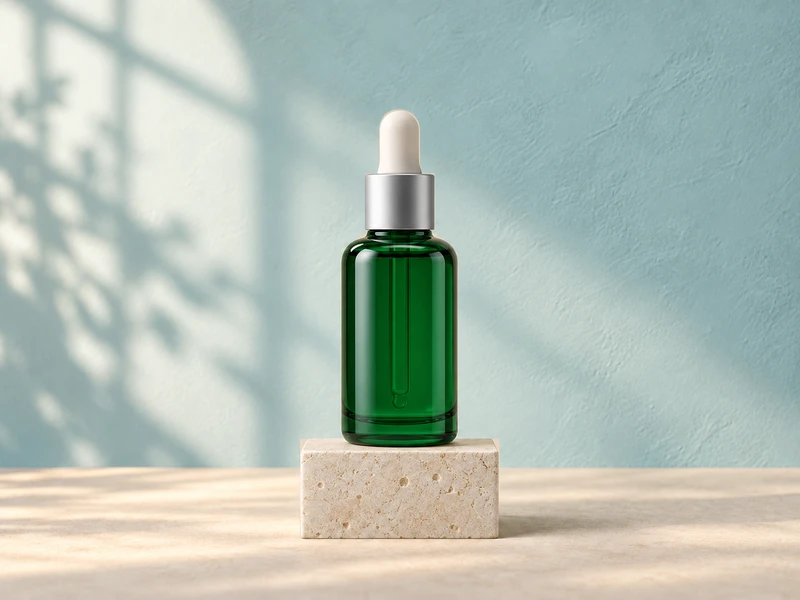
Change a Photo Background
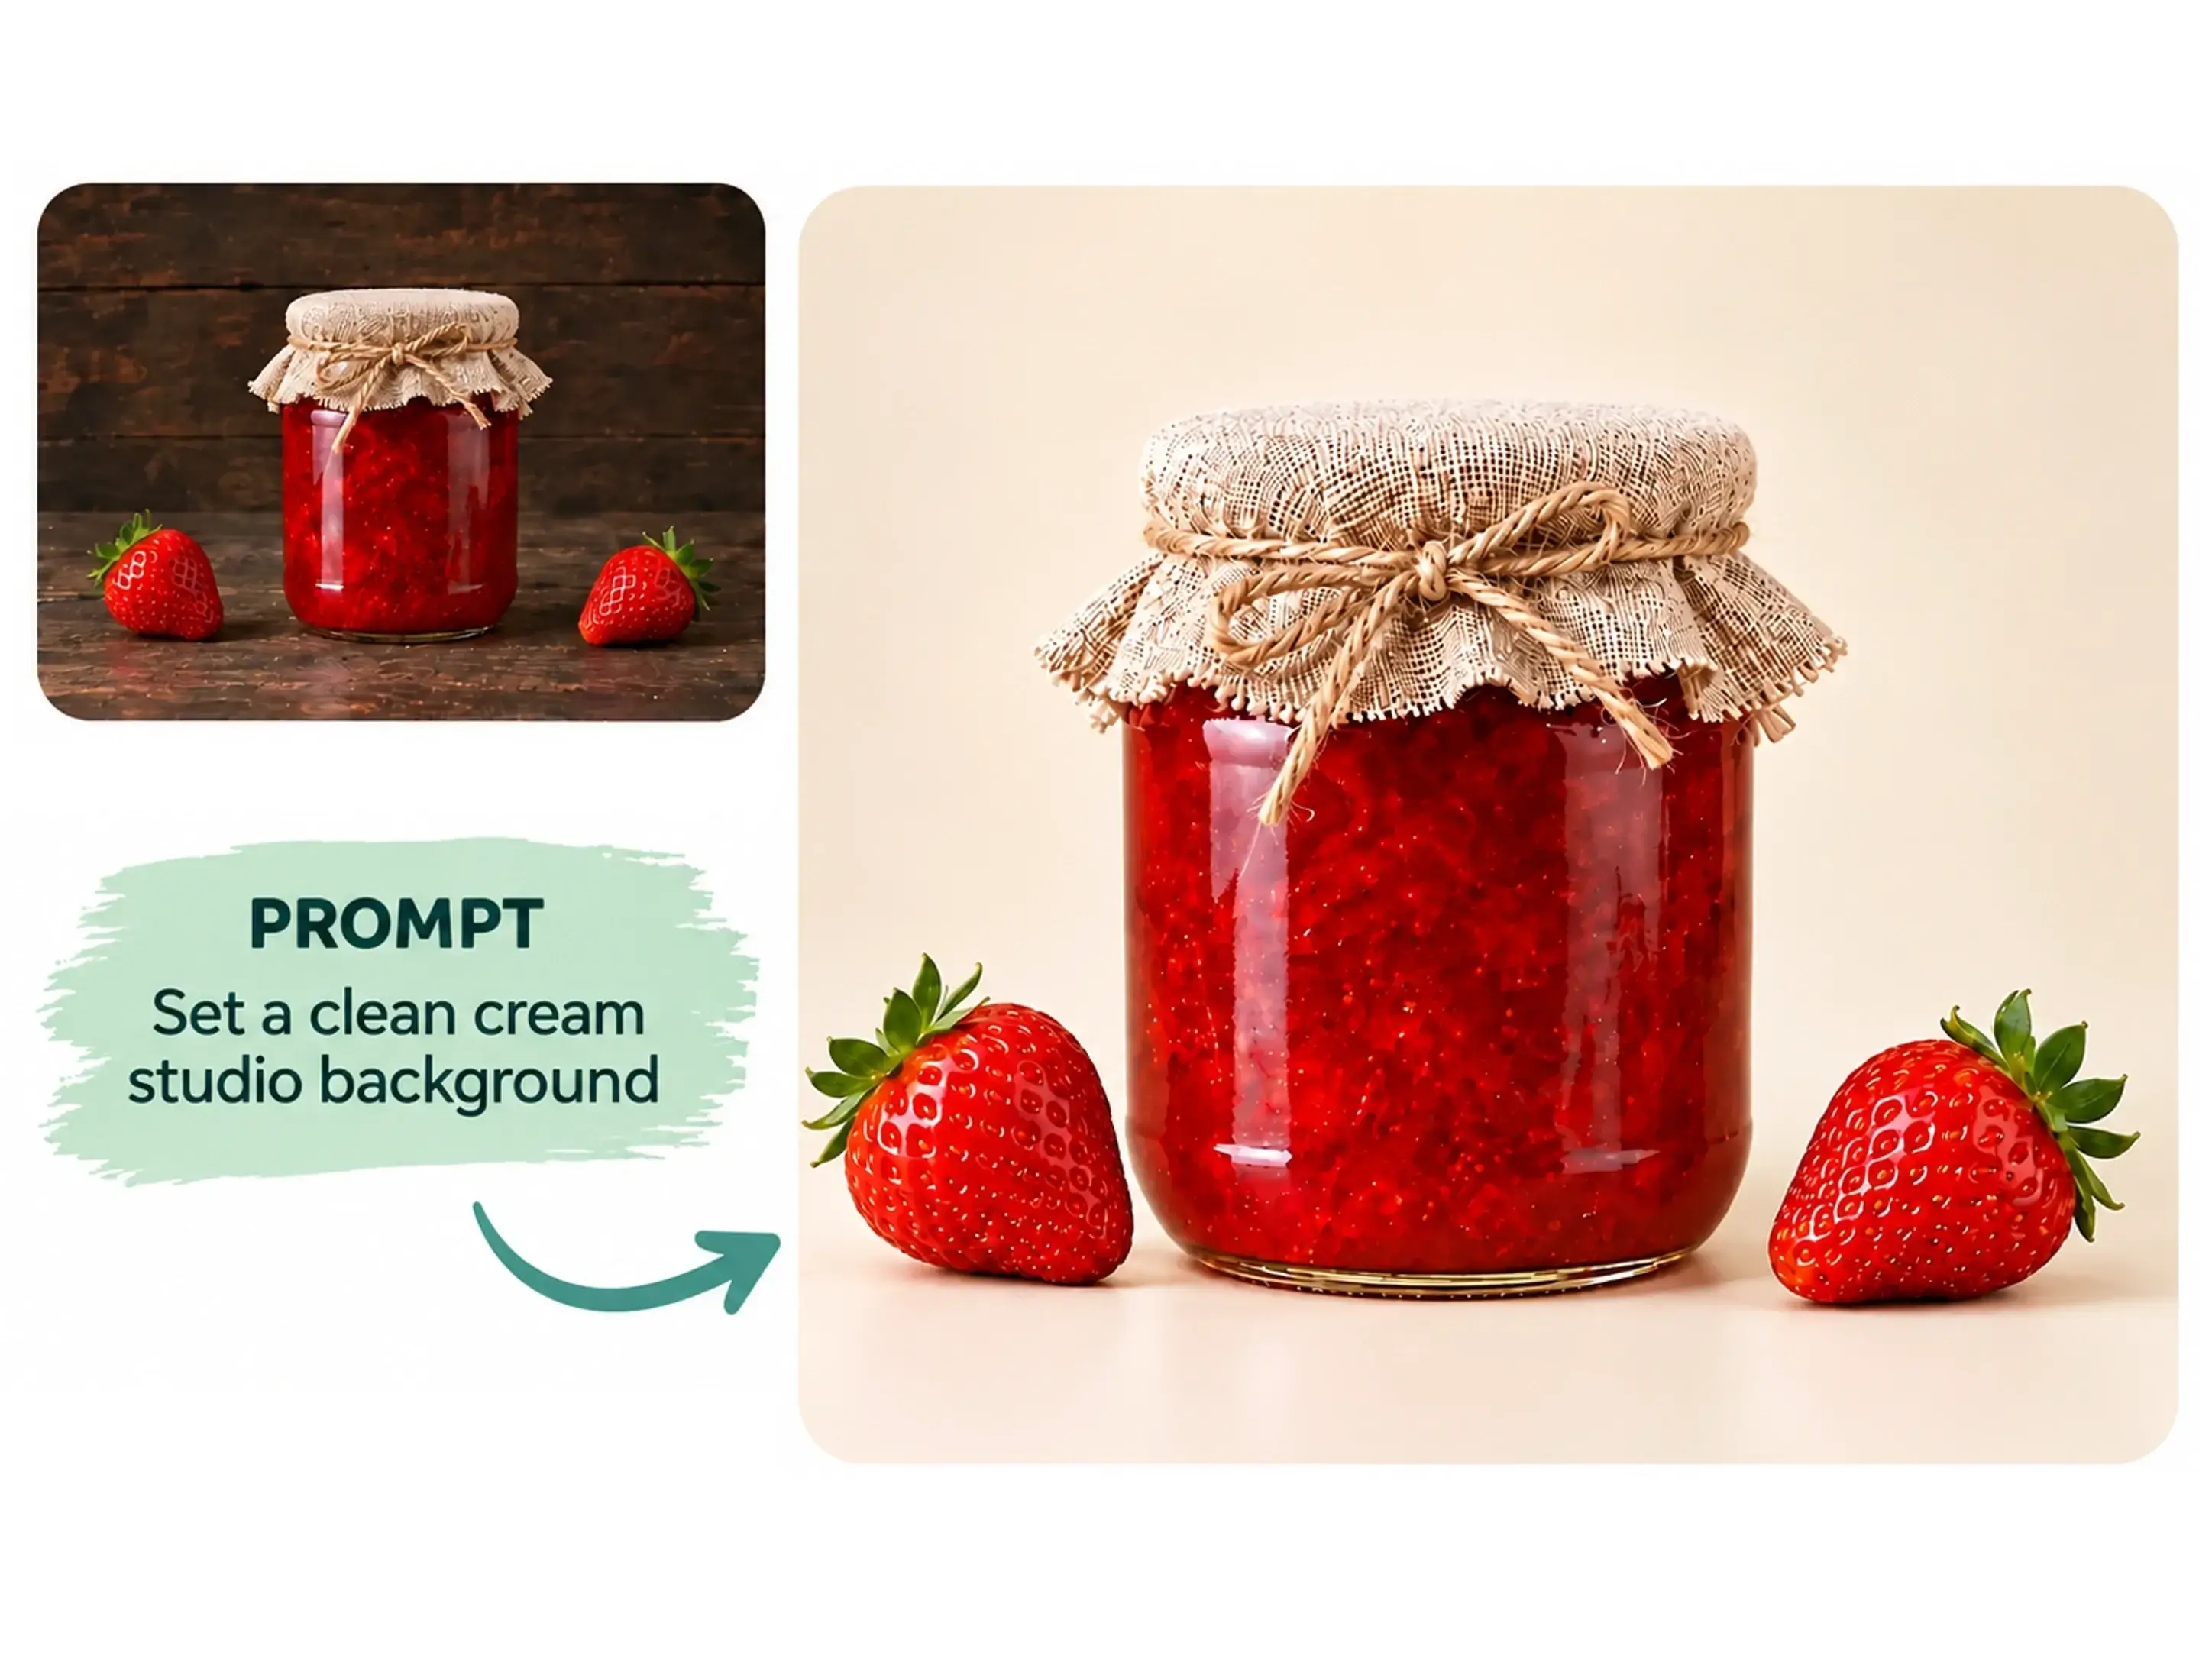
Move a product, person, or object into a clean setting while retaining its shape, material, perspective, and believable contact shadow.
Upload a photo, describe the change, and let the AI photo editor make the edit. Remove unwanted objects, replace backgrounds, refine portraits, or restyle an image with simple text prompts. Free to Try · No Sign-Up Required
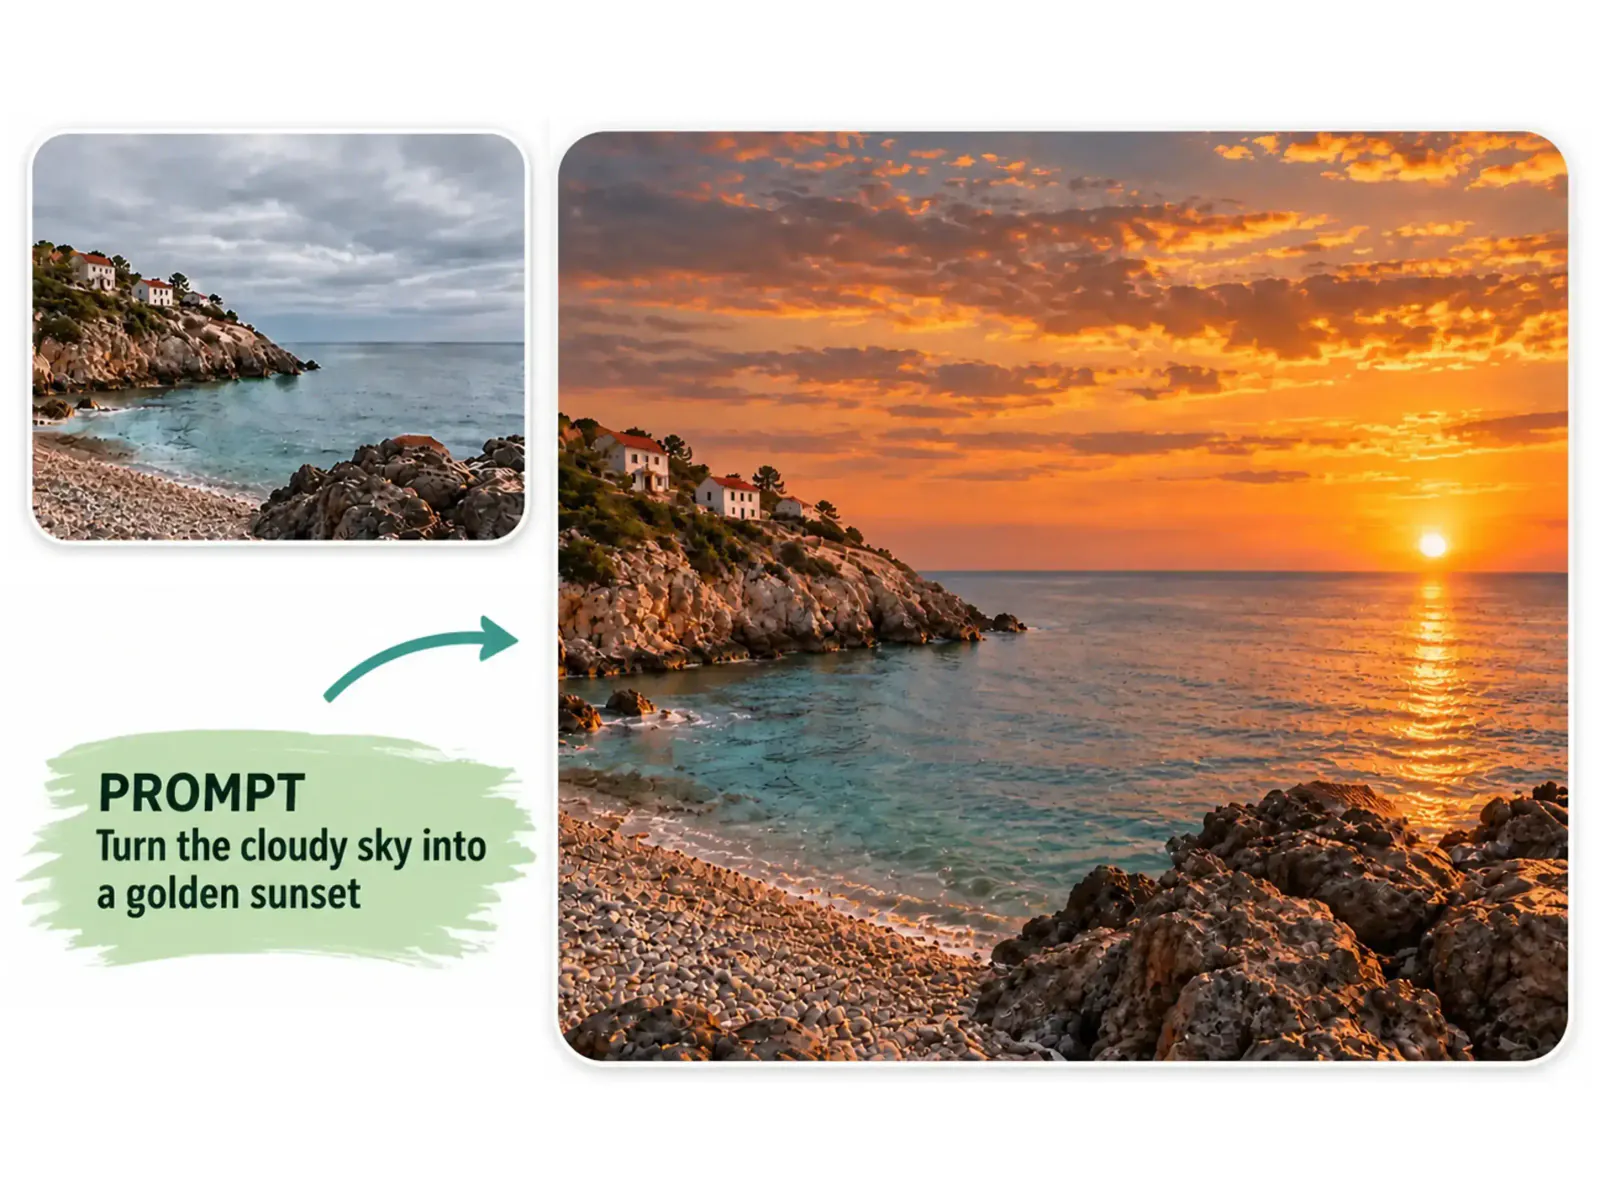
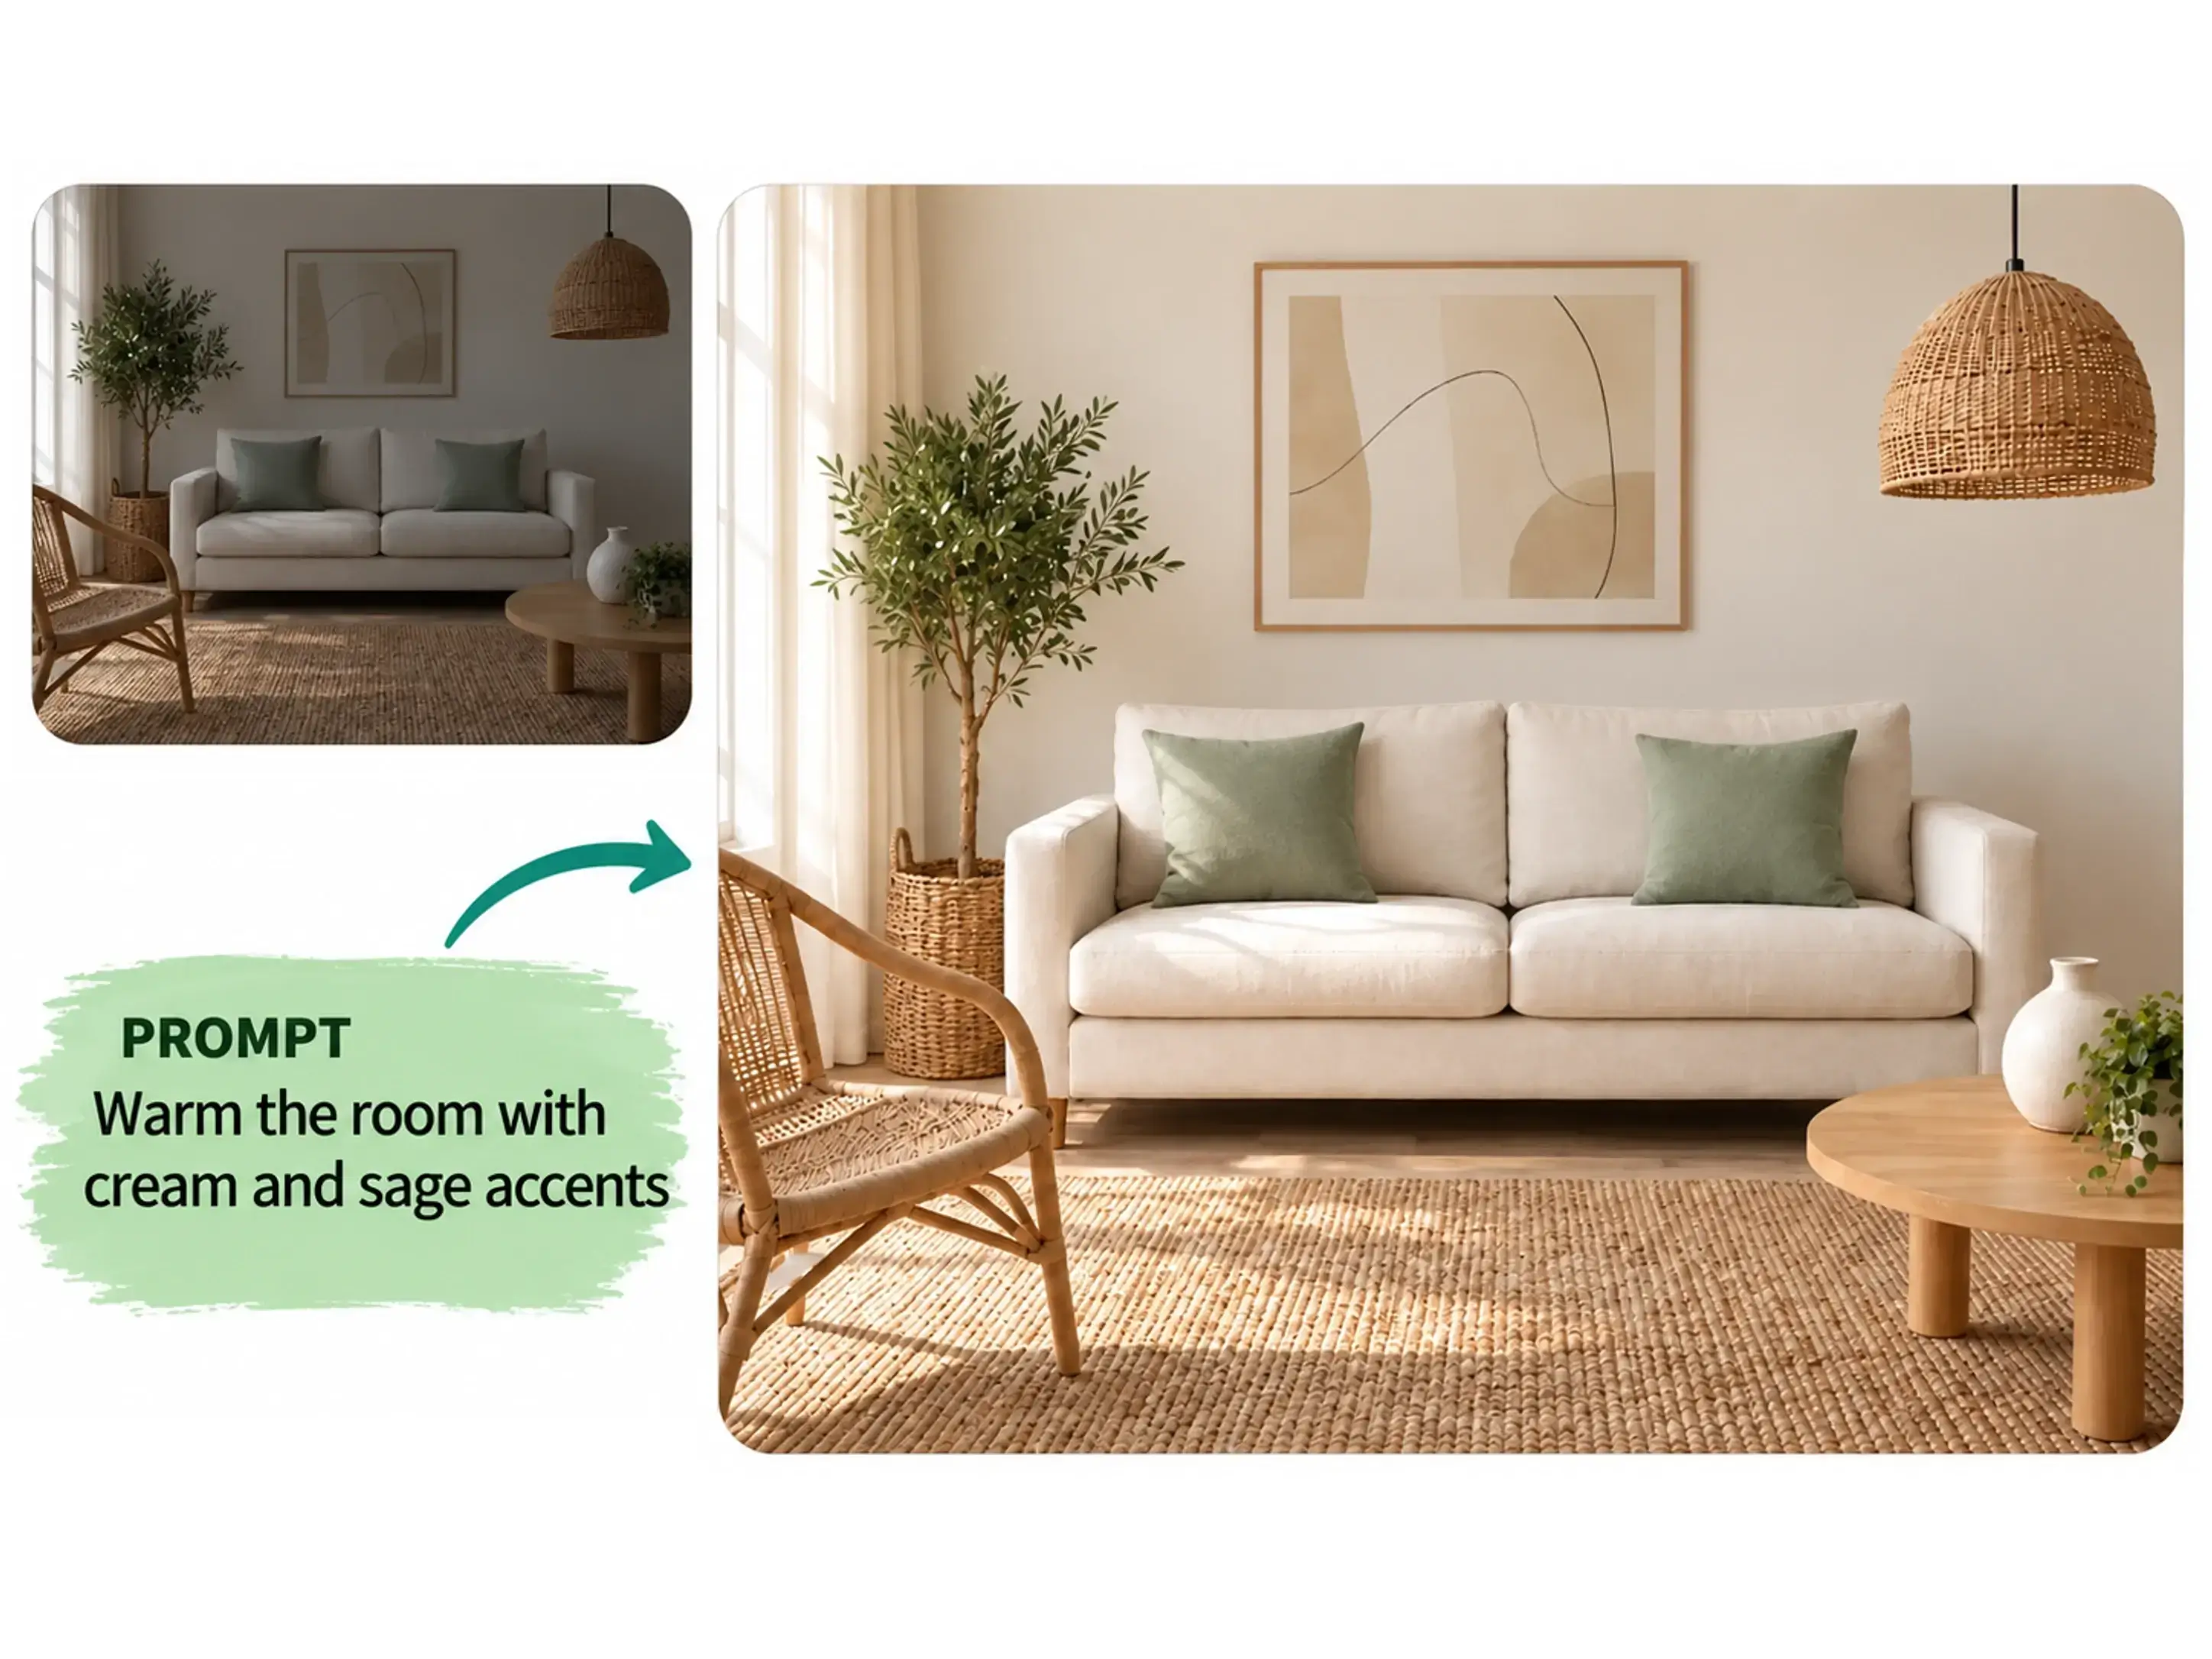
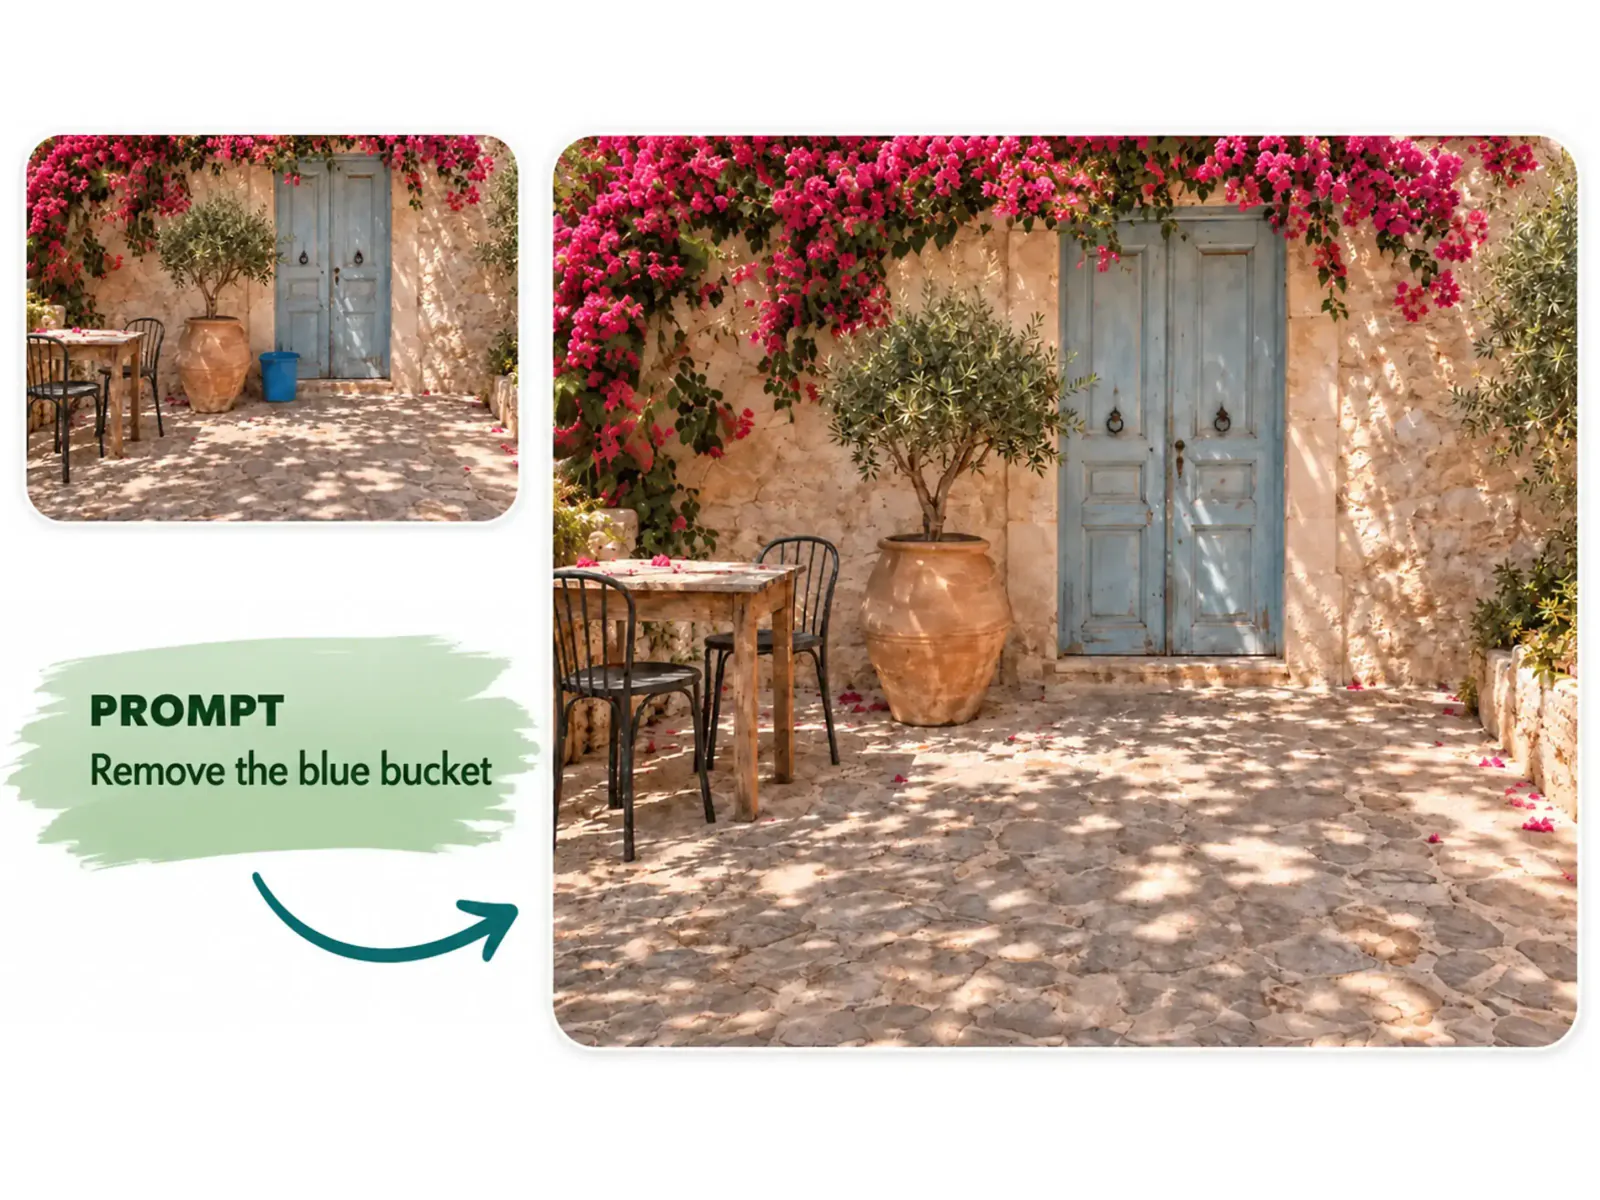
Click to select the picture
Choose a use case to load a detailed, ready-to-adjust prompt. The AI image editor gives you a clear starting point; replace the bracketed details with your real subject, setting, color, or style, then make the result your own.
Move a product, person, or object into a clean setting while retaining its shape, material, perspective, and believable contact shadow.
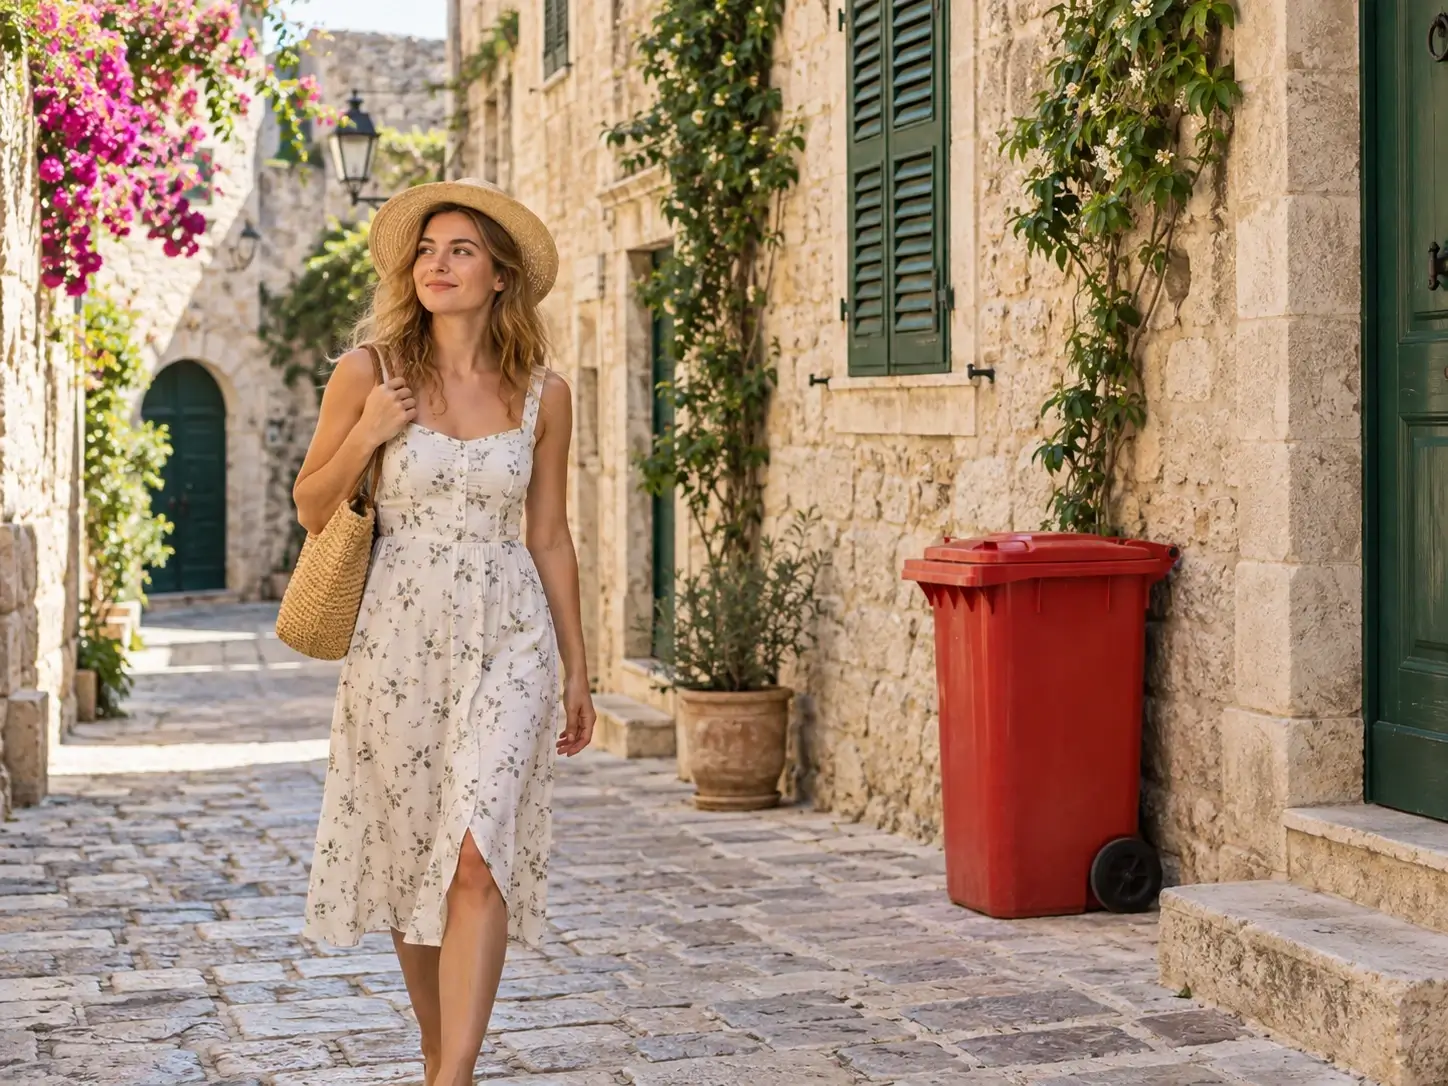
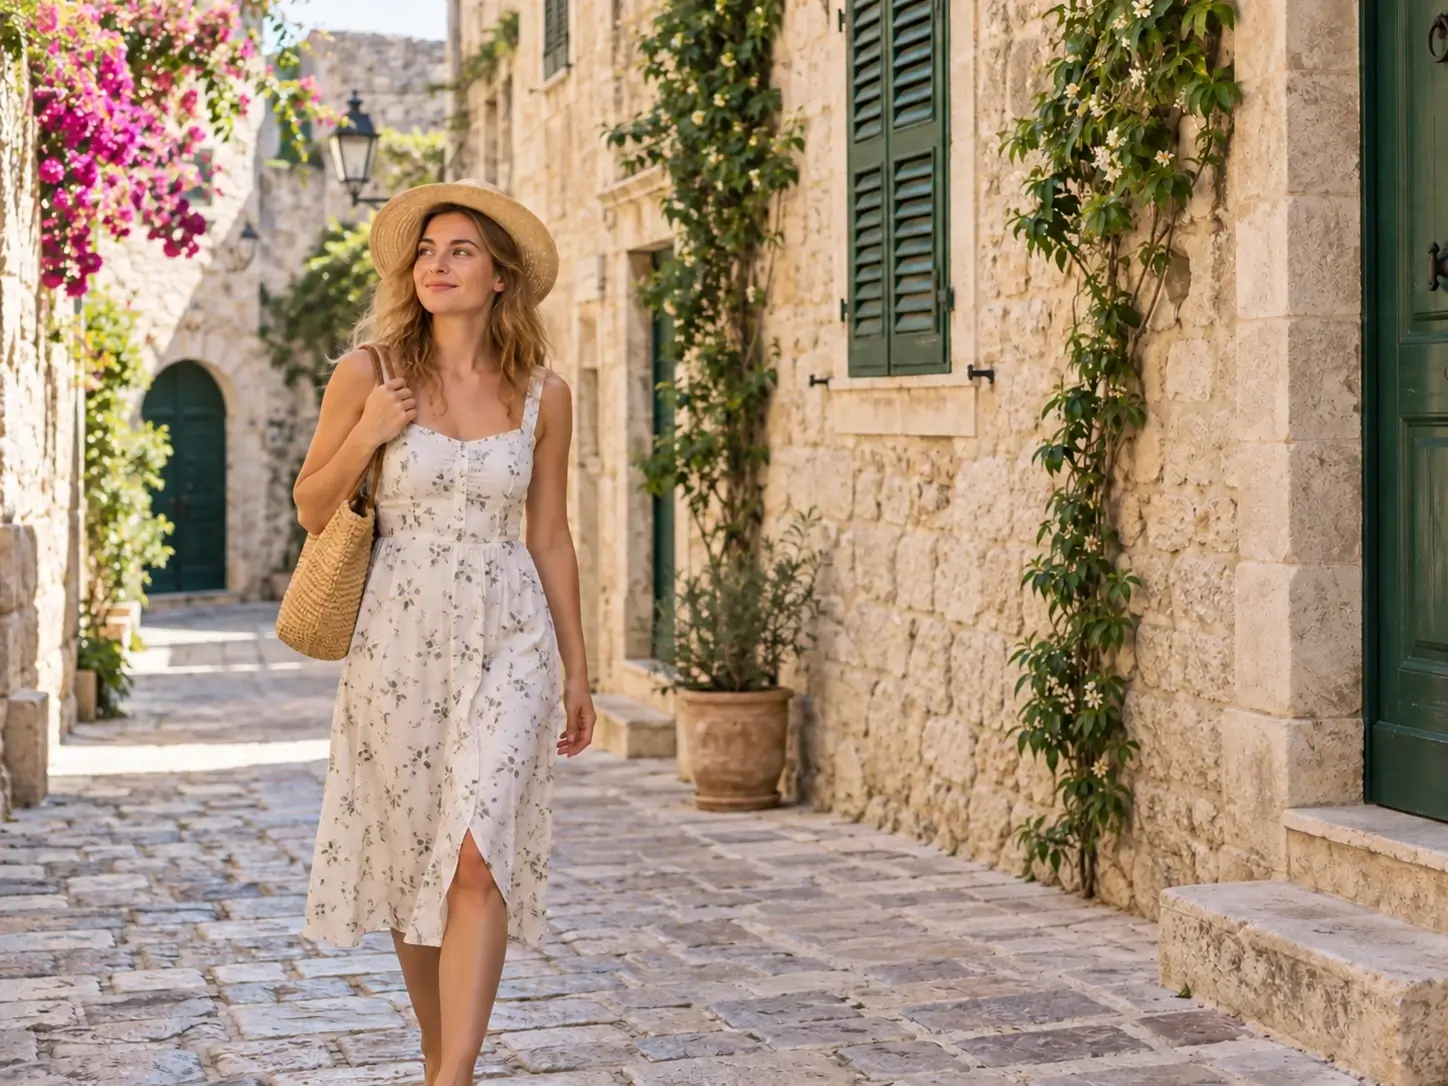
Erase a distracting logo, sign, person, or object and rebuild the surrounding texture, perspective, shadows, and repeated patterns naturally.
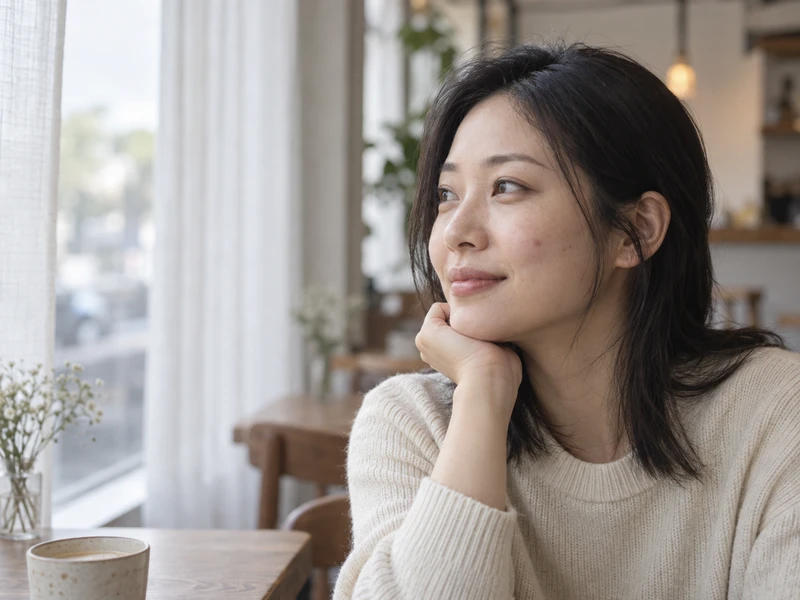
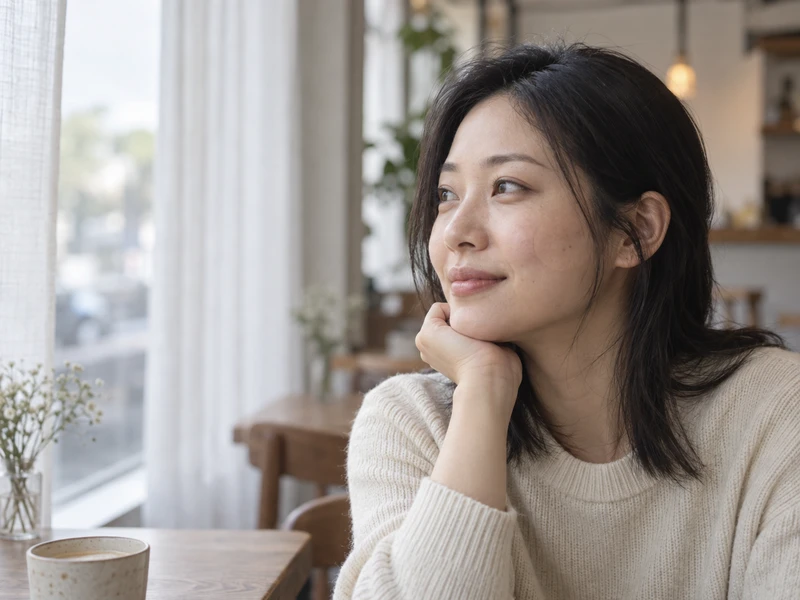
Make a natural portrait feel more polished with a subtle, localized retouch while retaining the person's real features, skin tone, expression, and identity.
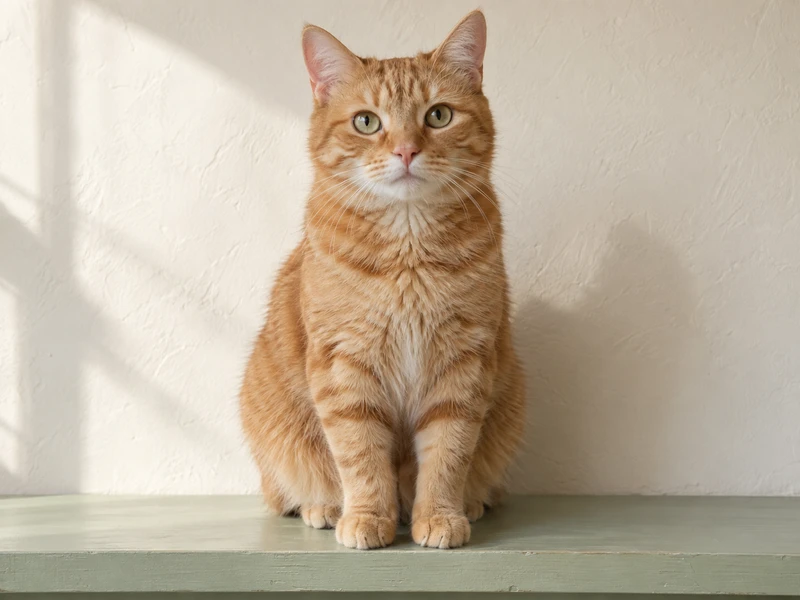
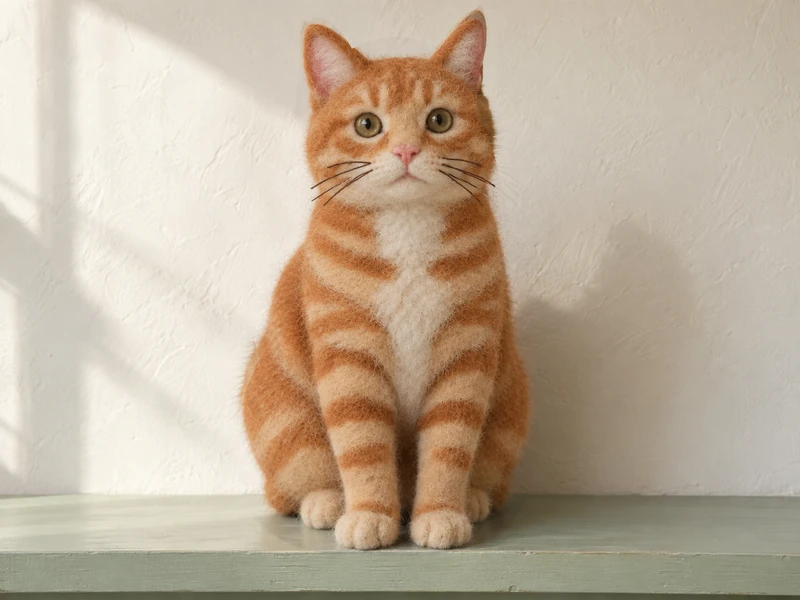
Turn one subject into a distinctive visual style while preserving its framing, recognizable details, and every other part of the image.
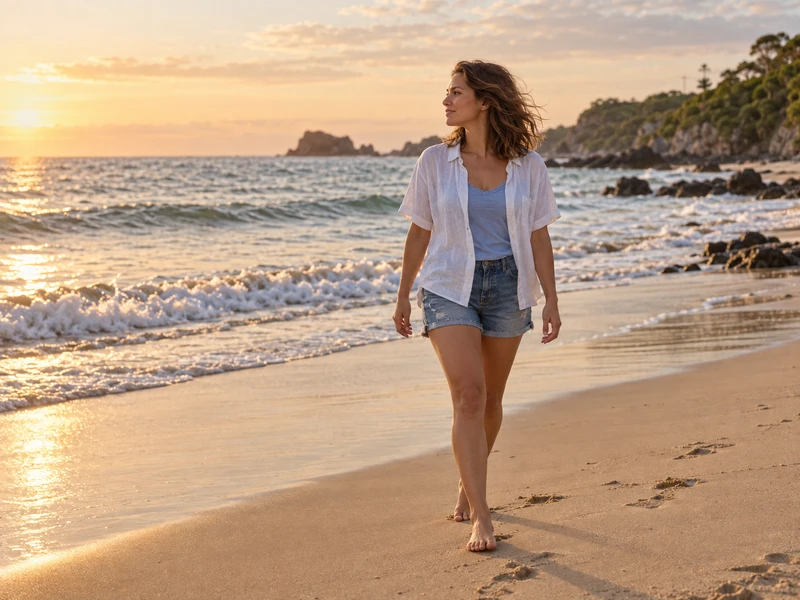
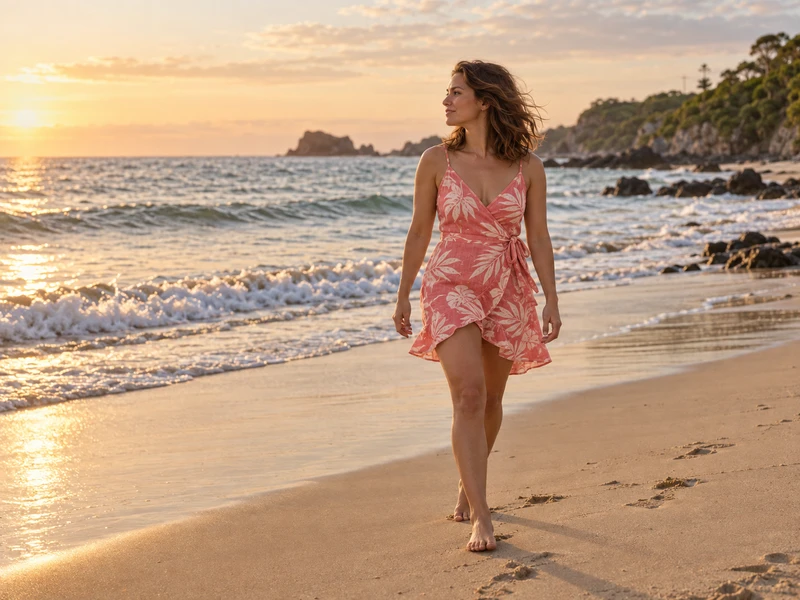
Preview a relaxed beach-ready outfit while preserving the person's face, body position, pose, lighting, and the rest of the scene.
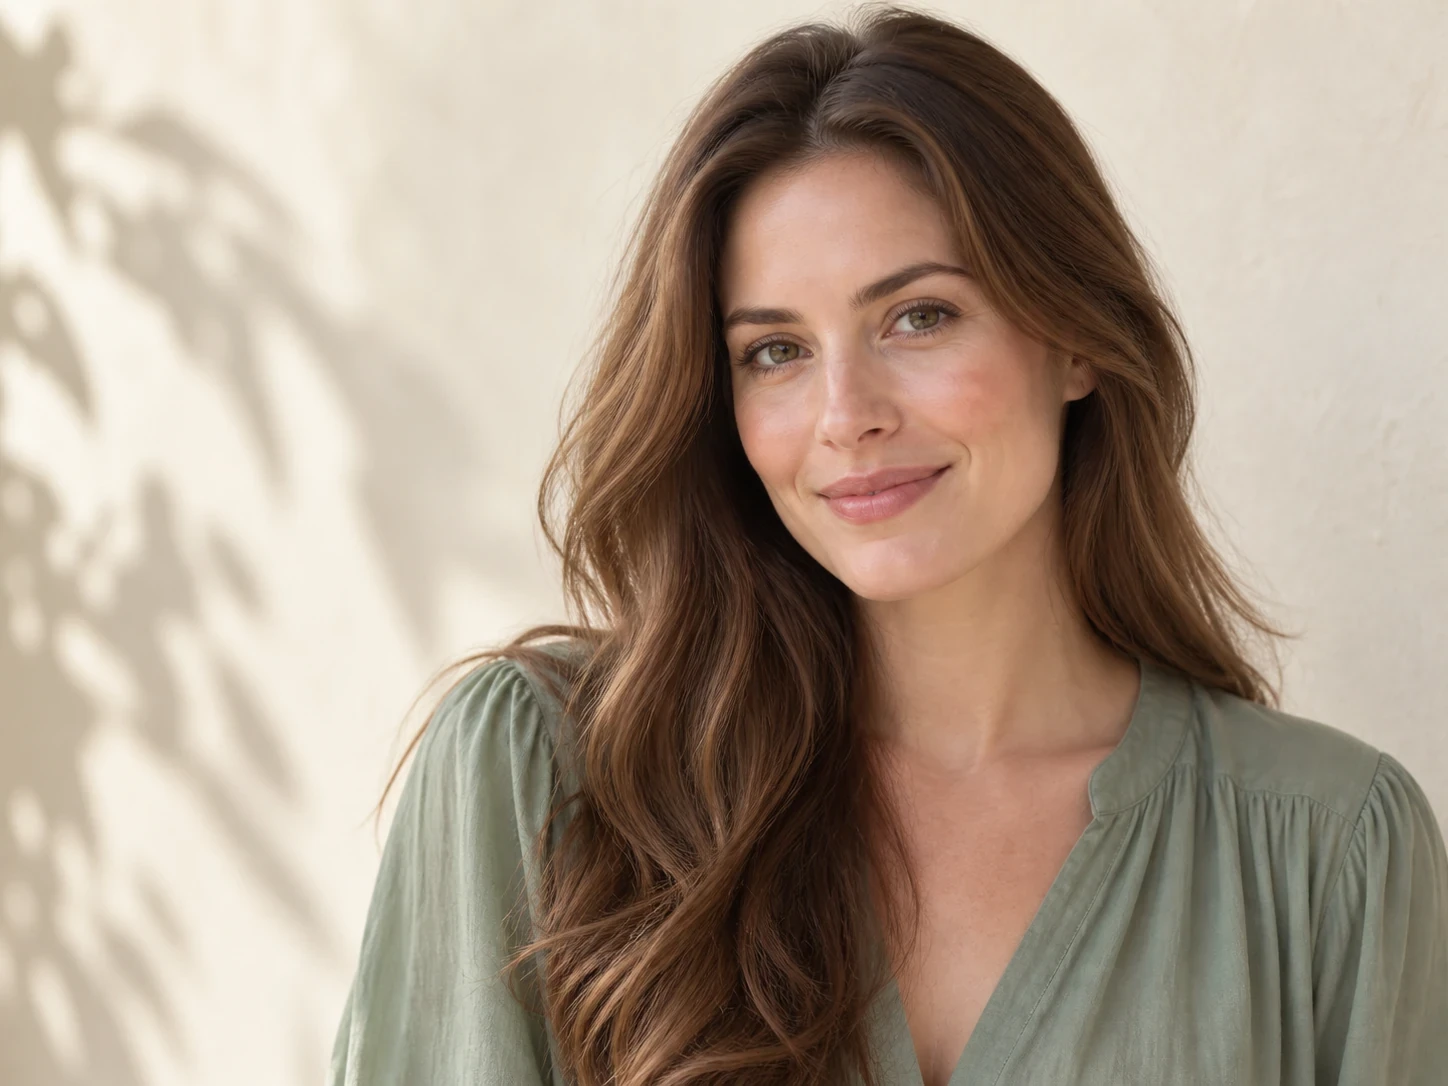
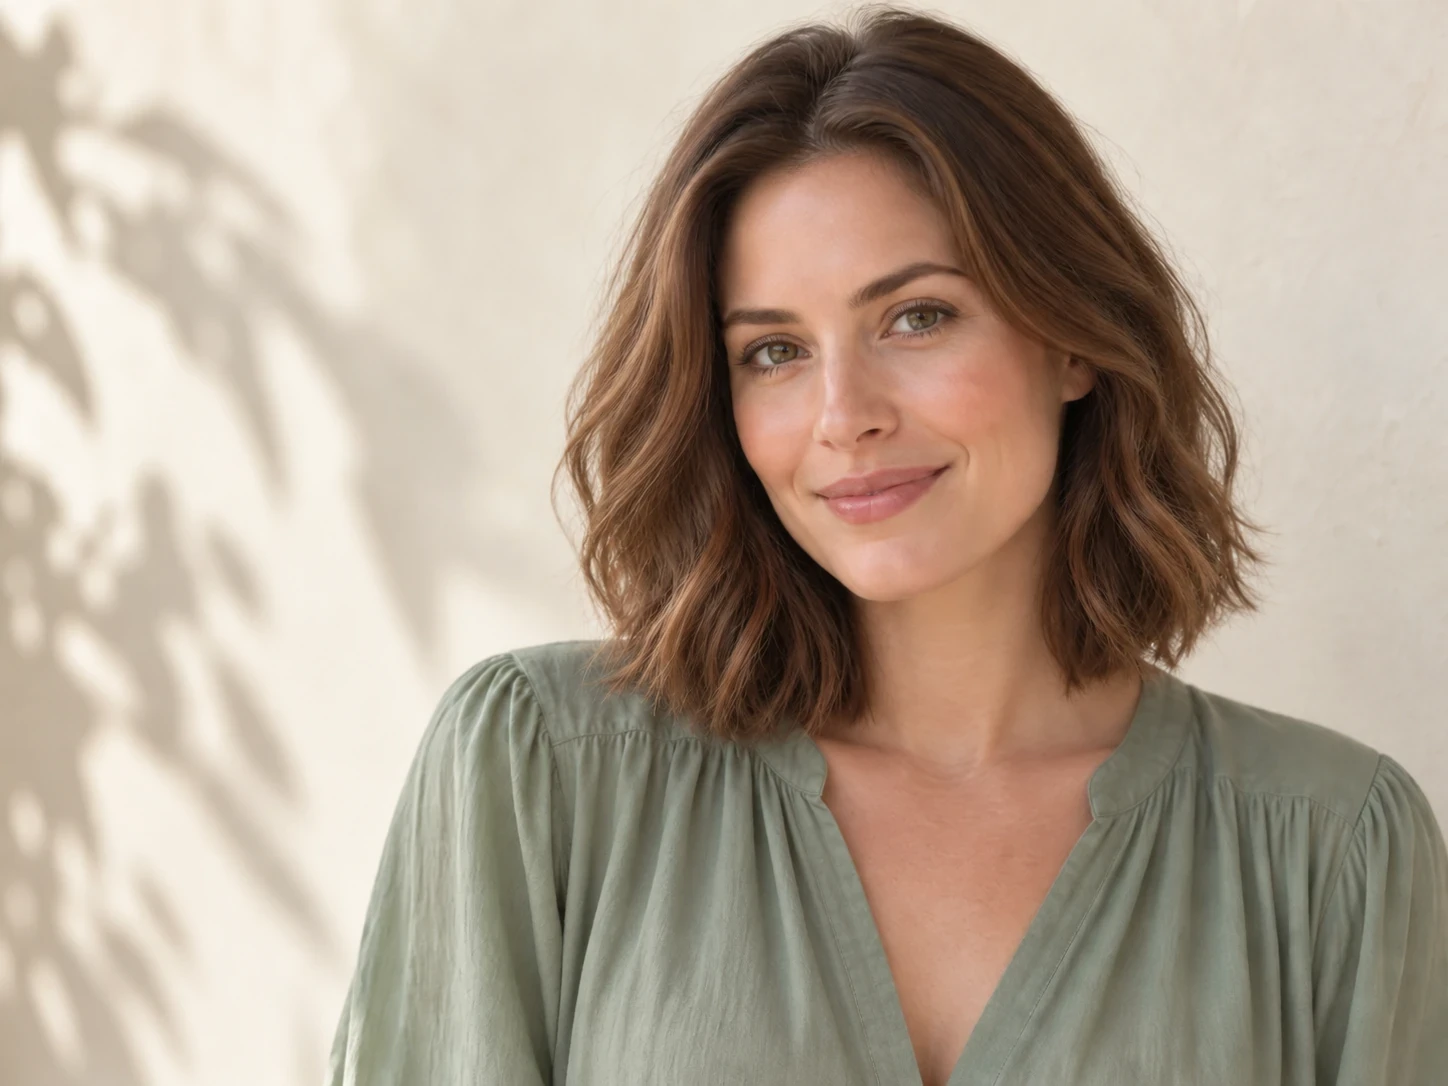
Explore a different haircut or hair color while preserving the person's identity, face, expression, body pose, clothing, and background.
Tell the AI photo editor what you want to change in plain language. The AI image editor can update the background, subject, lighting, style, or fine details without manual masks, layers, or adjustment panels.
Start with your own photo and direct a precise change. The online photo editor helps preserve the composition, people, products, and details you want to keep.
Explore several directions for the same image, from a cleaner product backdrop to a warmer portrait mood. The AI image editor makes it easy to compare results, then keep the version that best fits how you edit images online.
Upload an image, write a prompt, choose output settings, and download when you are ready. This photo editor brings everyday edits into one simple flow.
Use a detailed prompt for the visual change you need, then inspect the result before downloading. These examples show how an AI image editor supports prompt-based image editing for product shots, portraits, cleanup, and memory preservation without rebuilding an image manually.
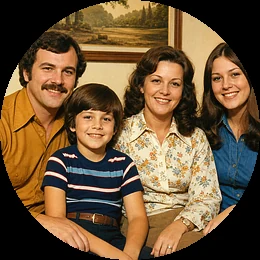
Made for cleaner edits, fresh creative directions, and results worth sharing
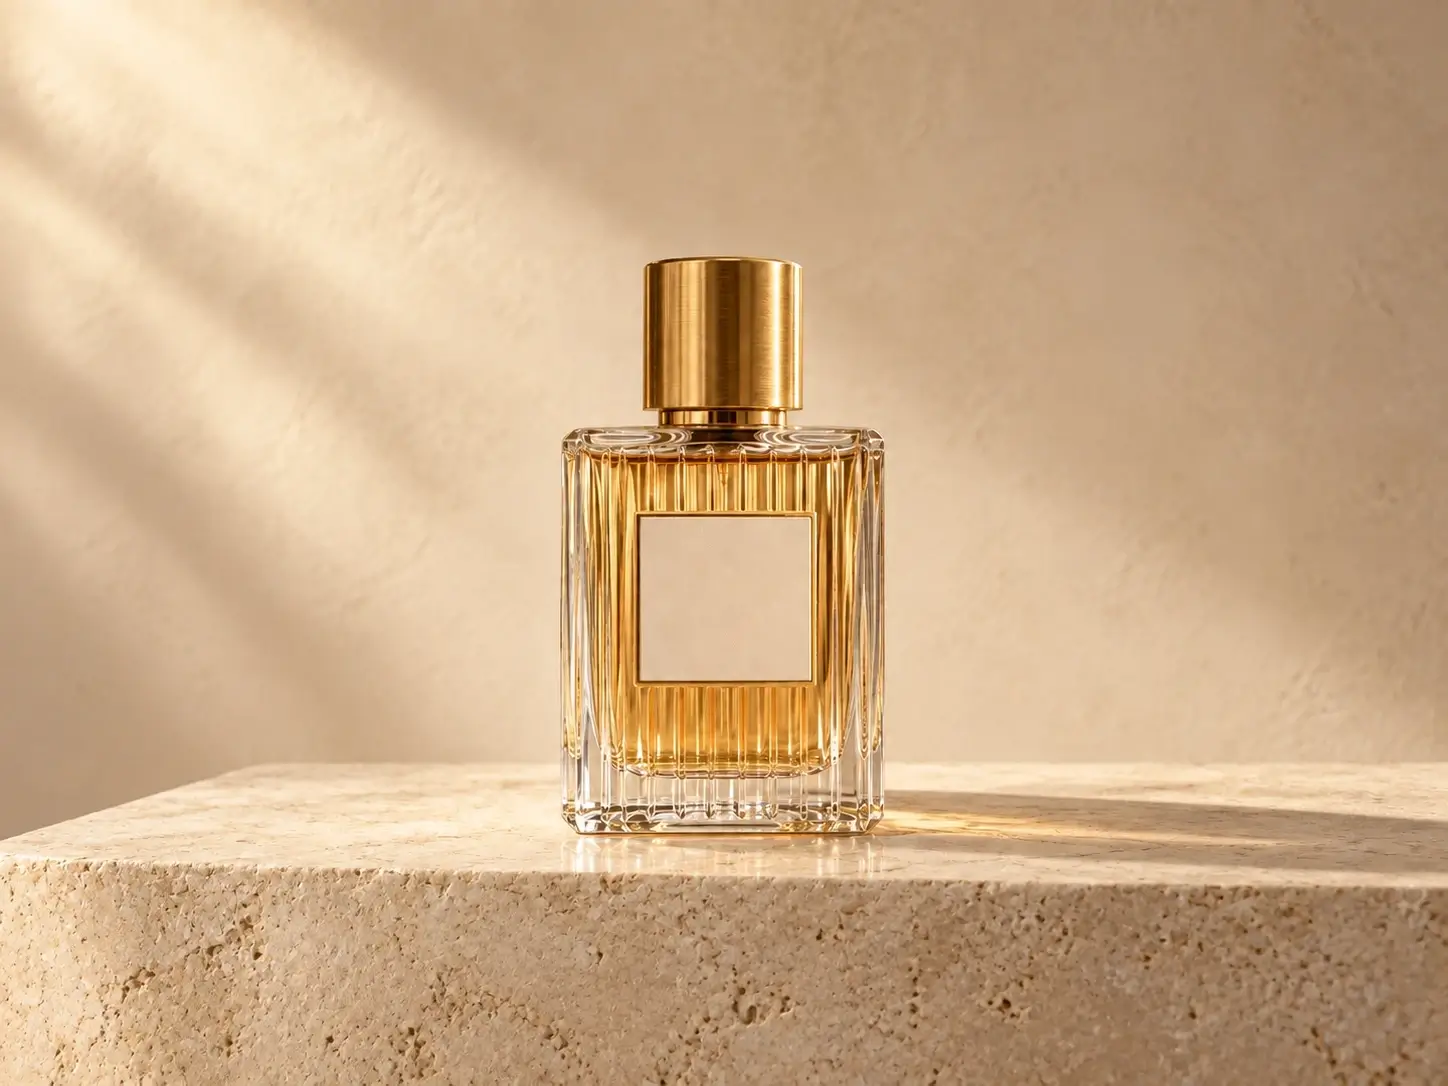
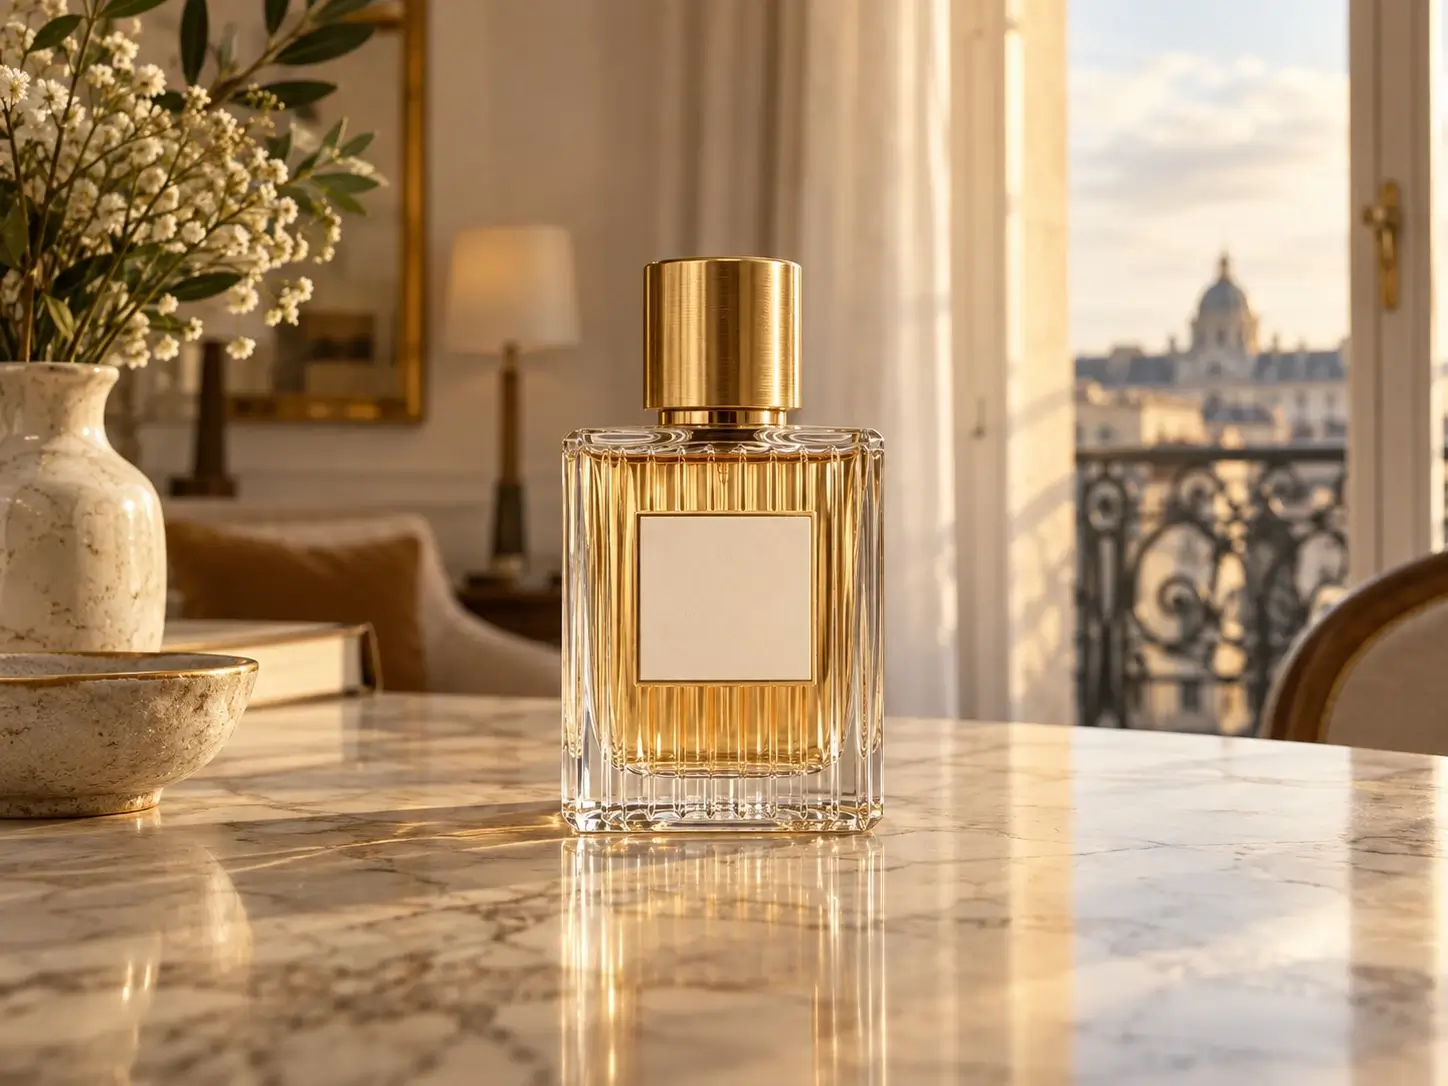
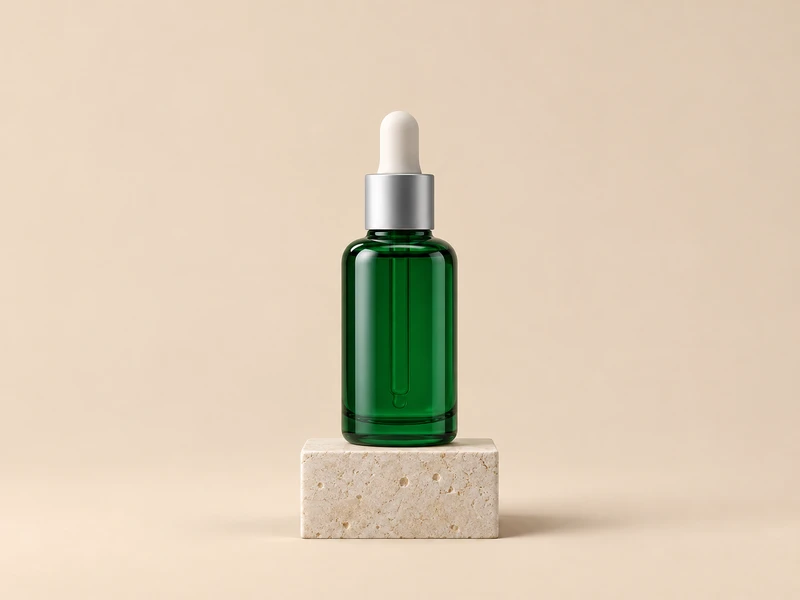
An online seller can turn a busy or inconsistent product snapshot into an image that feels ready for a product page, catalog, or paid campaign. The prompt should name the background style and shadow treatment, while explicitly protecting the product's shape, finish, label details, camera angle, and material texture so the result remains credible.
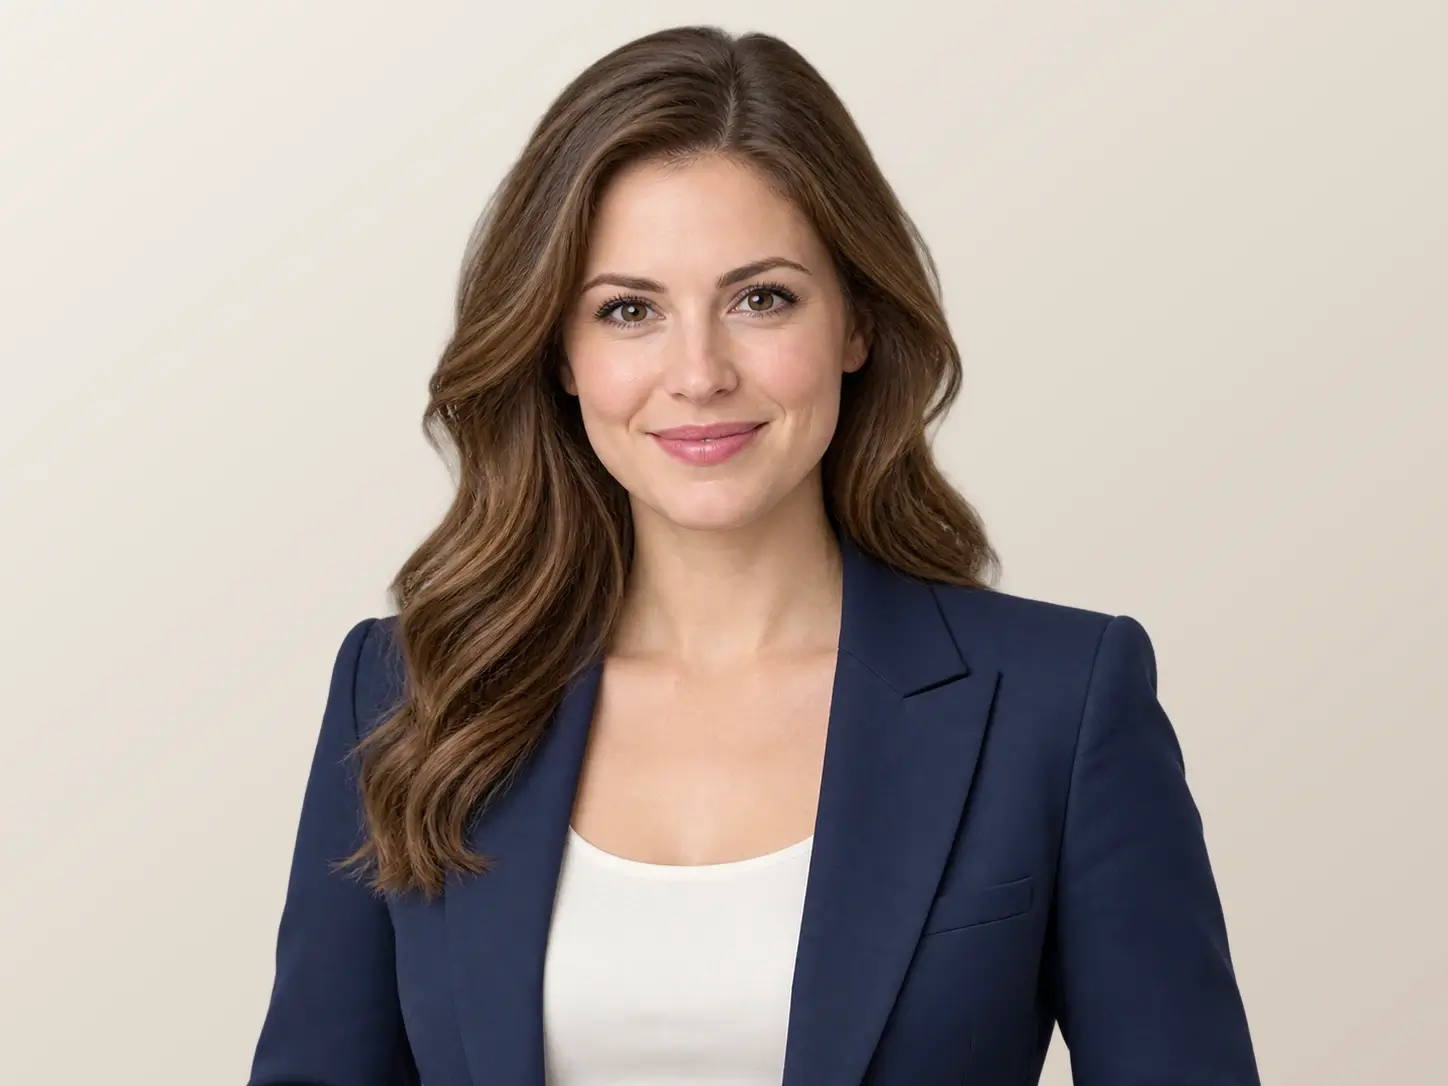
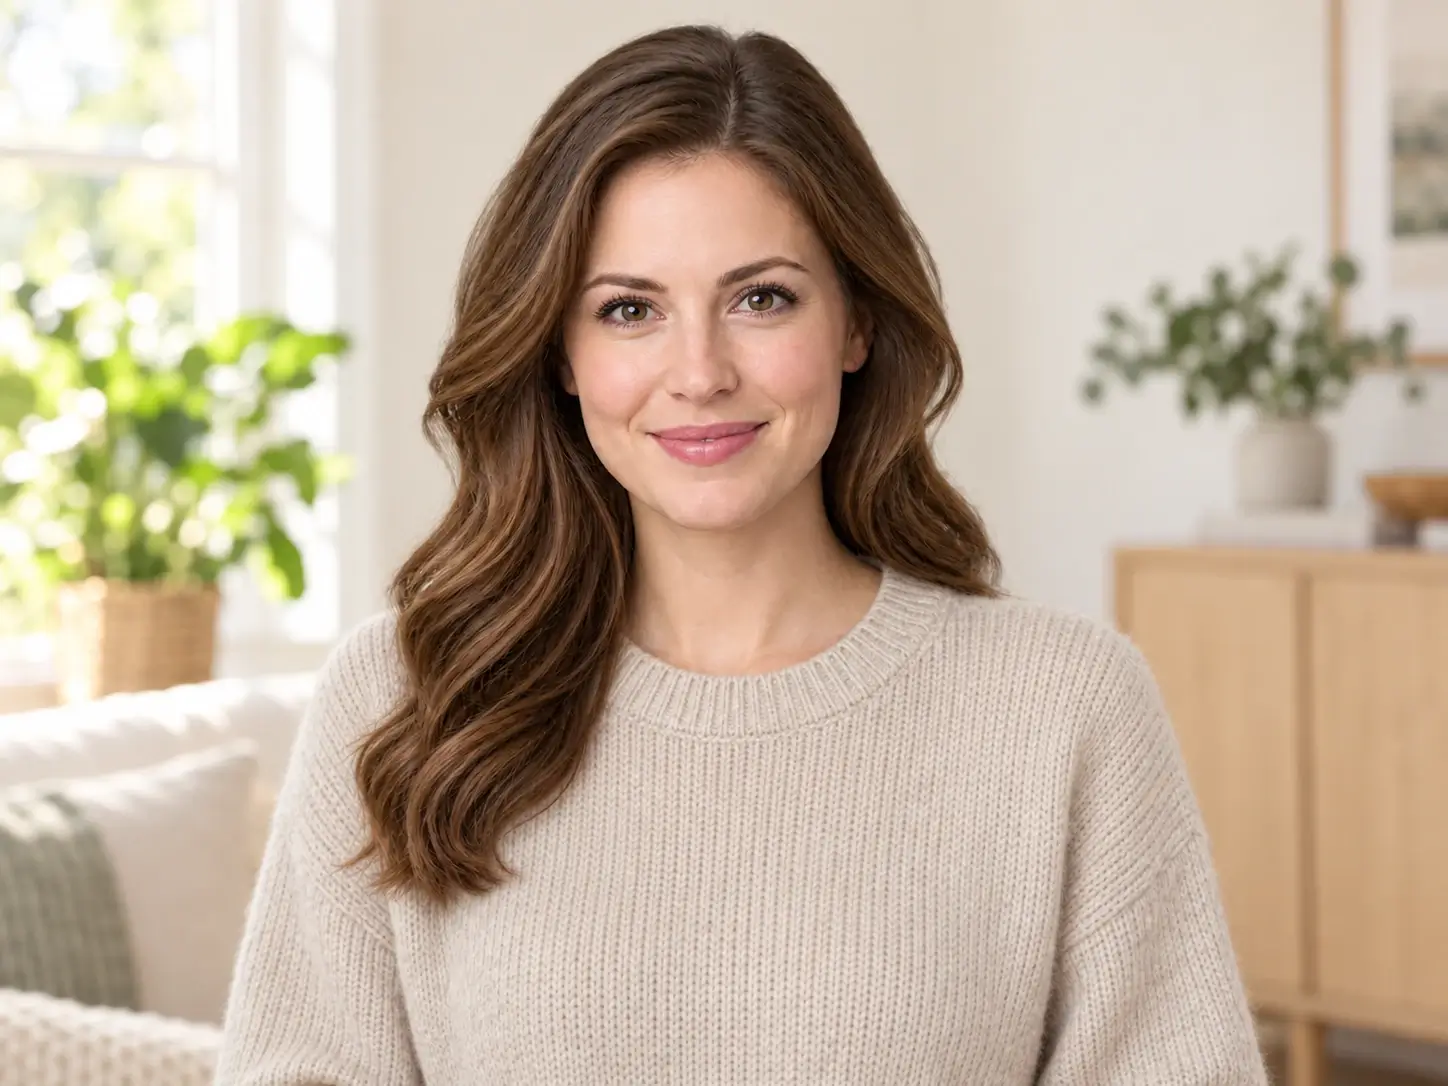
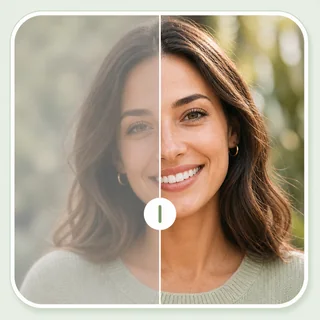
A creator or professional can make an everyday image feel more intentional for a profile, speaker bio, portfolio, or social channel. Rather than changing who is in the photo, the edit can improve the surrounding mood, balance light and color, and create a cleaner presentation while preserving recognizable facial features, expression, and skin tone.
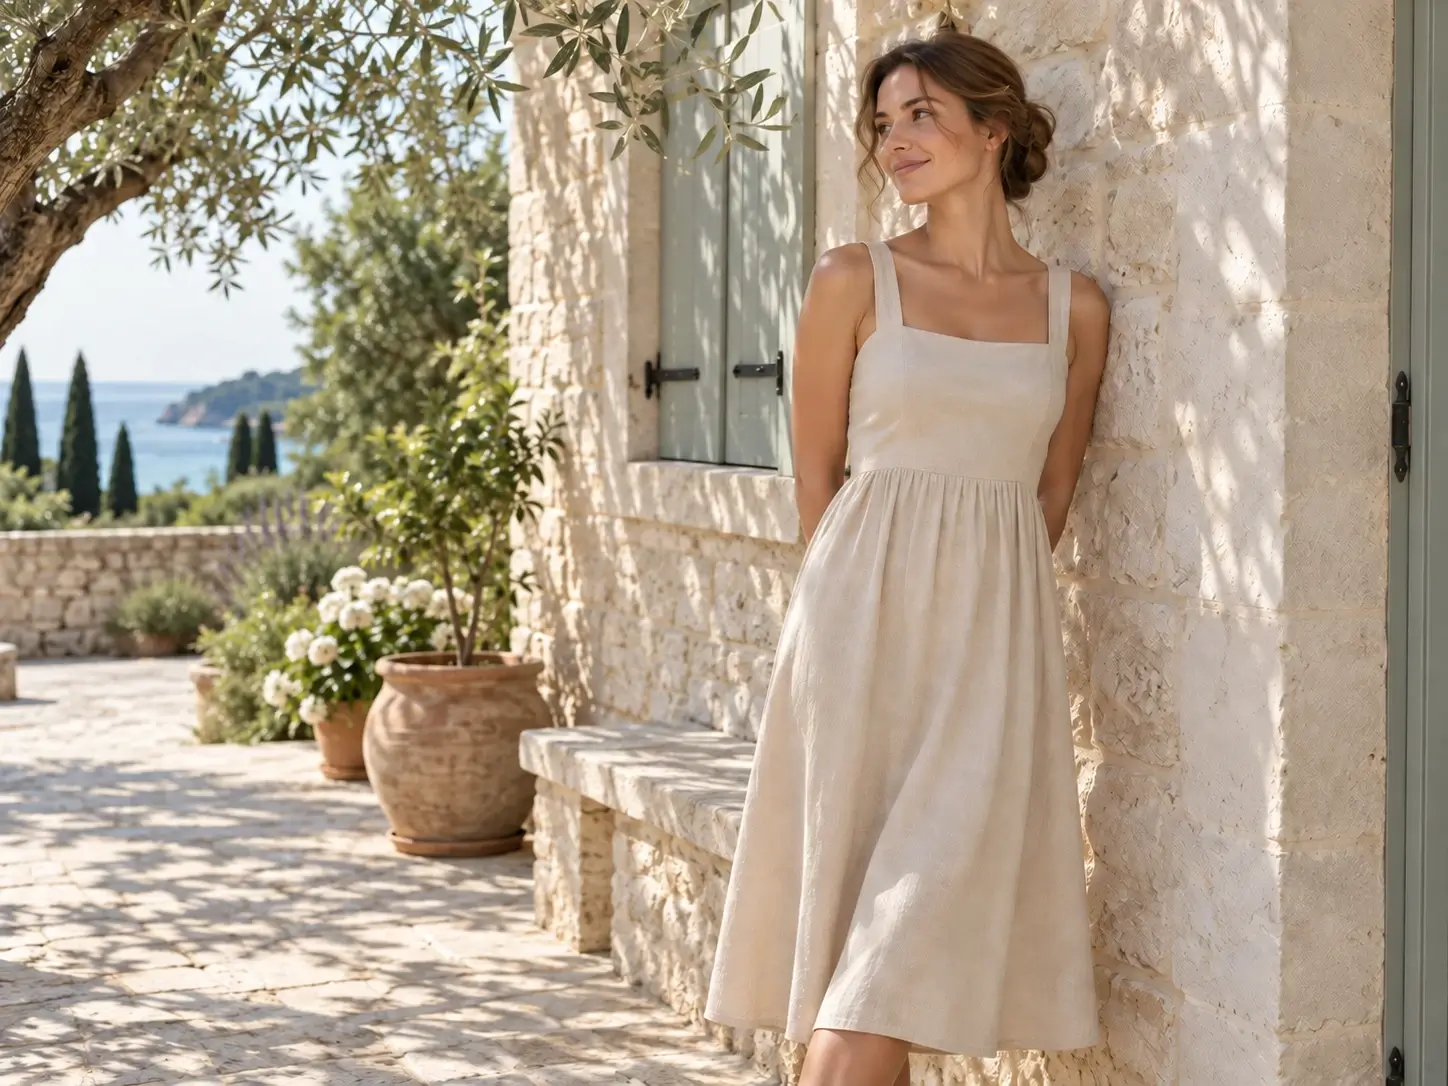
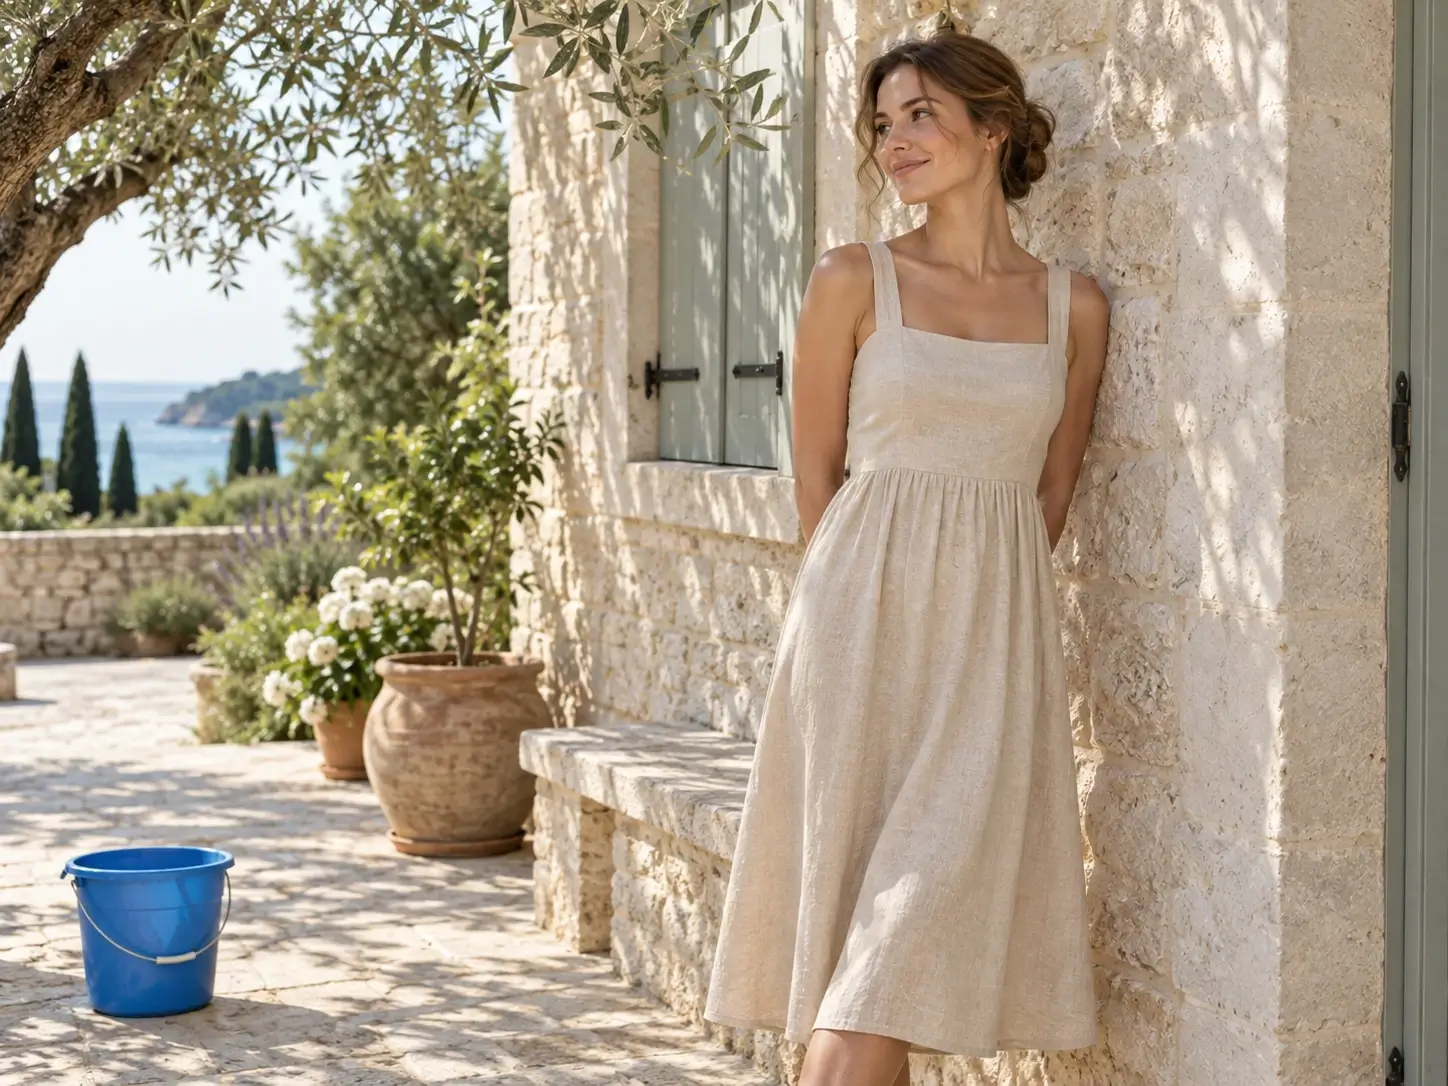
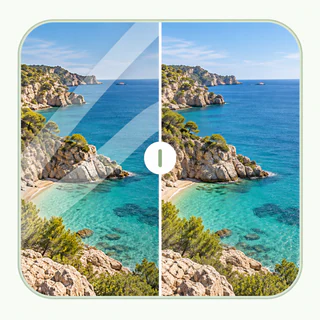
A travel photo, event image, or campaign asset can lose its focus because of one distracting mark, person, sign, or object. Use an object-removal prompt to rebuild the obscured area, then inspect edges, architectural lines, reflections, repeated patterns, and text-sensitive areas closely before the edited image is published or shared.
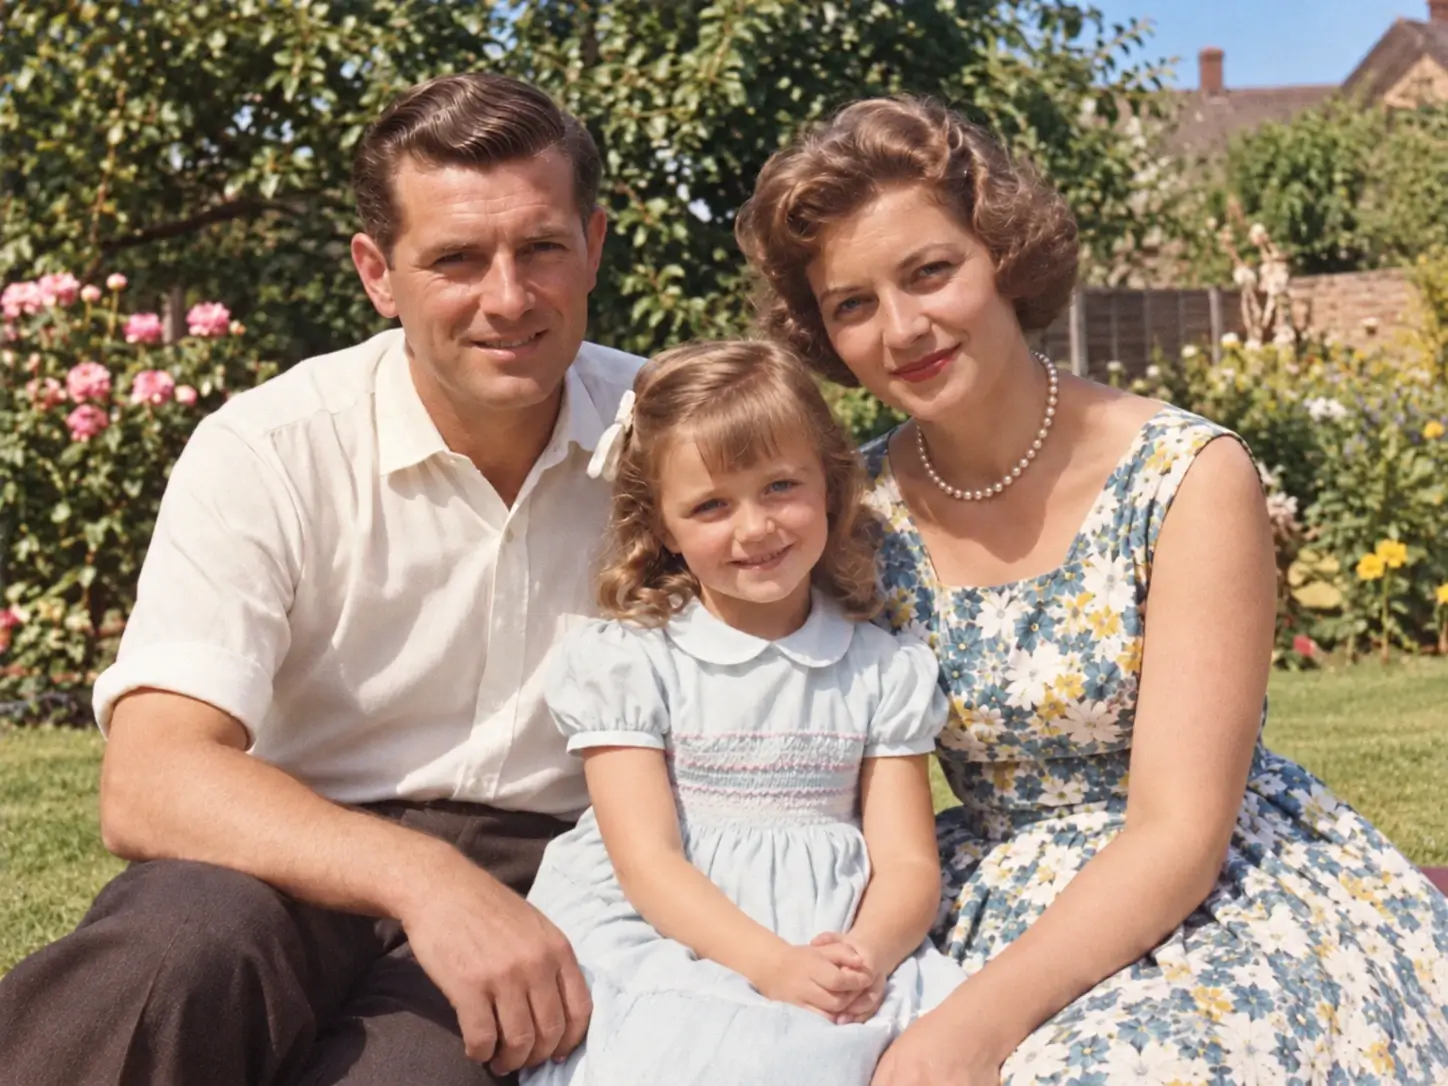
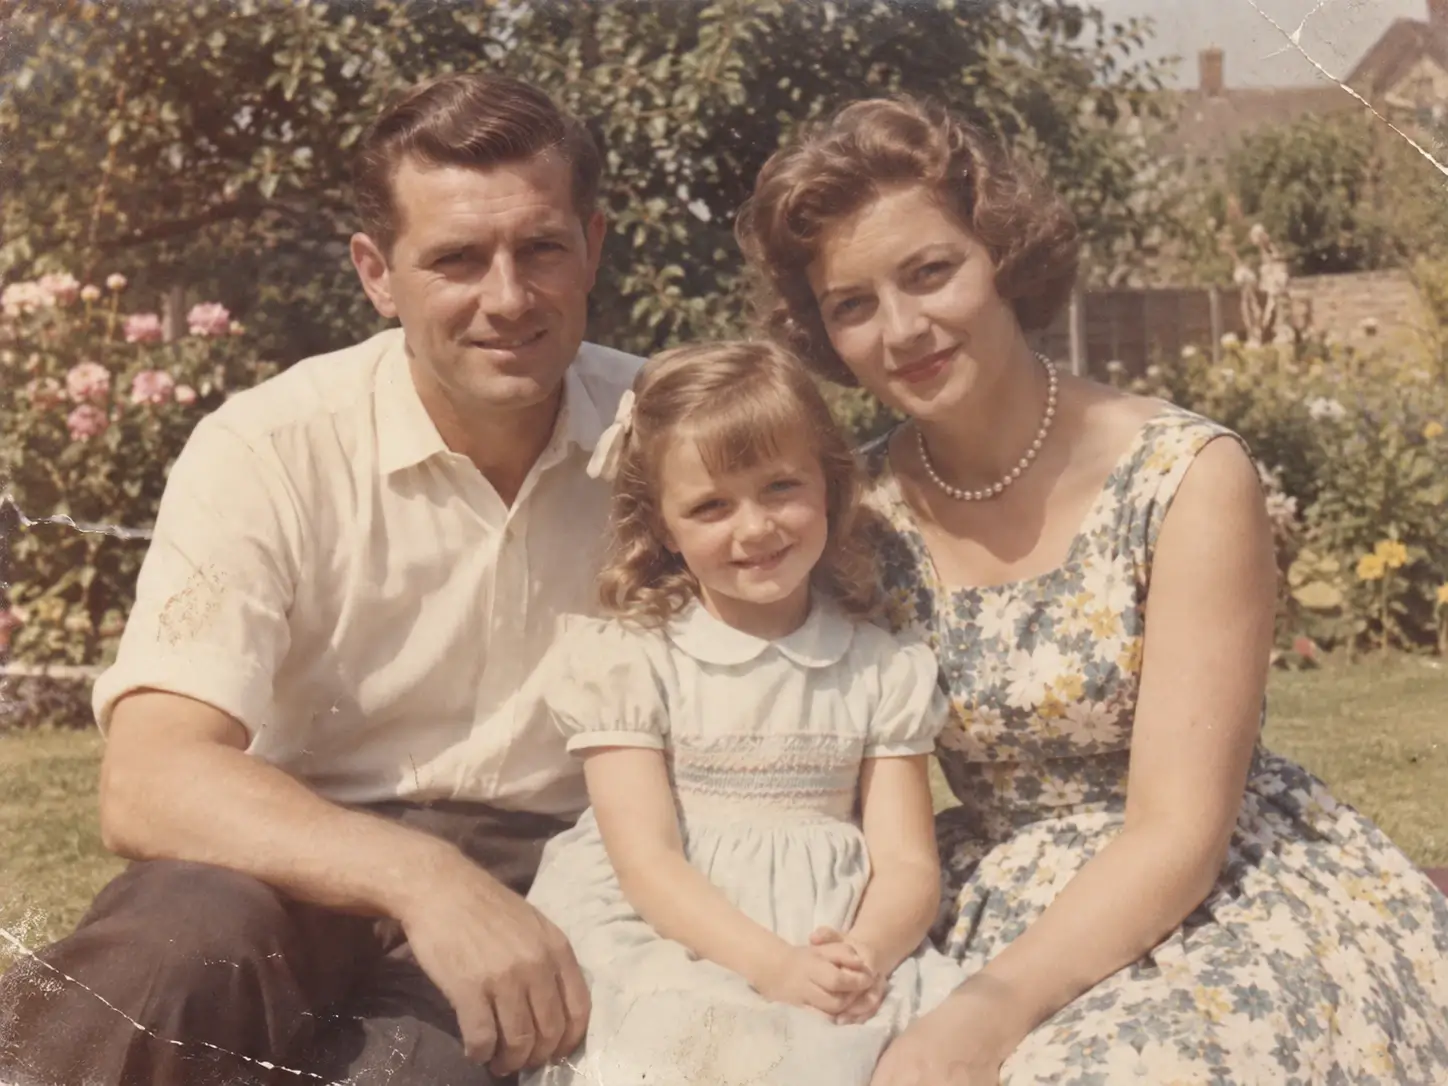
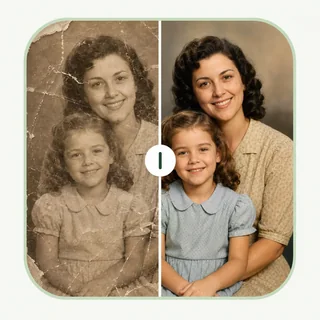
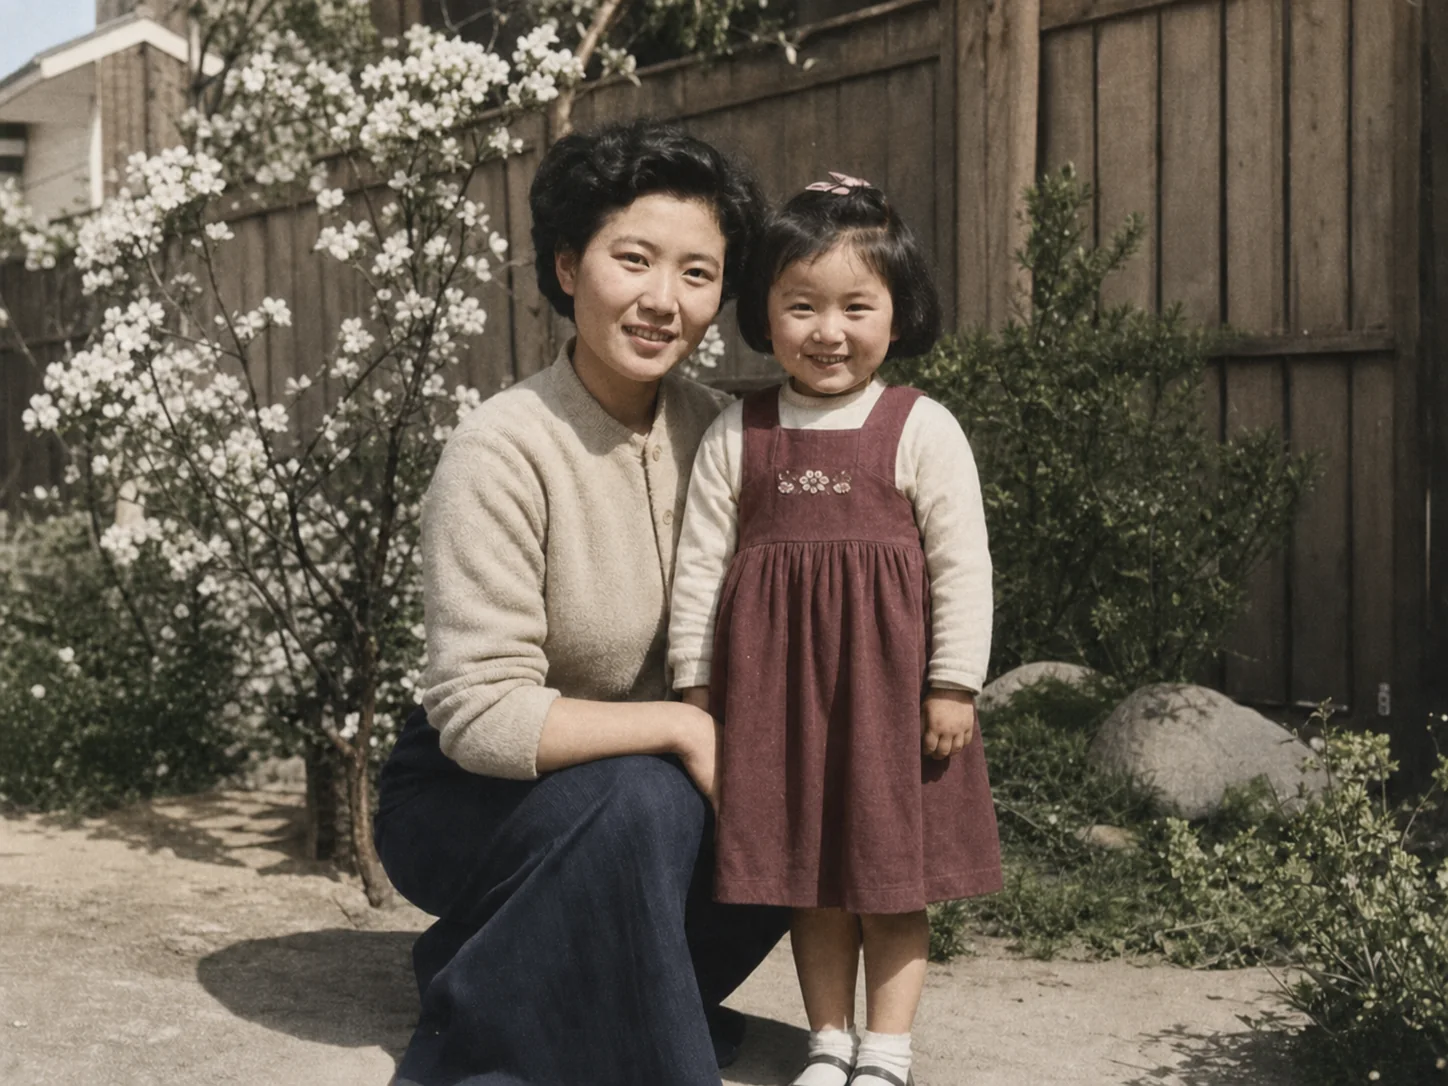
A faded family snapshot can be prepared for a new album, a celebration post, or a digital archive by restoring contrast, correcting color, and gently repairing visible wear. Keep the instruction focused on retaining the original people, clothing, objects, and period details; a preservation-minded prompt produces a more trustworthy result than aggressively inventing missing detail.
Open the AI image editor and add the JPG, PNG, or WebP image you want to edit. Begin with the clearest available source so AI can retain the details that matter.
In the photo editor, write the prompt in plain language. State what should change, what should stay, and the visual result you want.
Review the generated image, especially faces, text, edges, and product details. Refine the prompt if needed, then download the version you prefer.
Use this photo editor to create a cleaner setting for a product image, test a seasonal backdrop, or remove a distraction before using the image in a listing, catalog, or campaign.
Use our ai photo editor to polish an everyday portrait, try a different styling direction, or improve the setting around a subject while protecting their recognizable features.
Remove a visual interruption, change the mood, or restore attention to the moment you captured before sharing a travel or family image.
Adapt one image for a channel launch, a campaign theme, a thumbnail, or a consistent feed style. Review branded text, product claims, and recognizable details before you publish.
Refine a headshot or personal image for a portfolio, author page, team directory, speaker profile, or professional social presence while keeping the person recognizable.
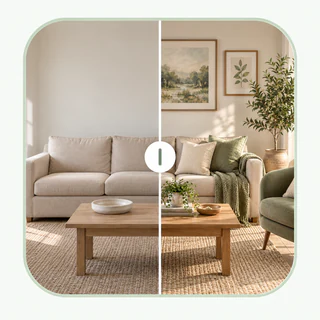
Use an AI image editor to test an updated room mood, remove a small distraction, or explore a different staging direction for a concept board, rental listing, renovation idea, or property presentation.
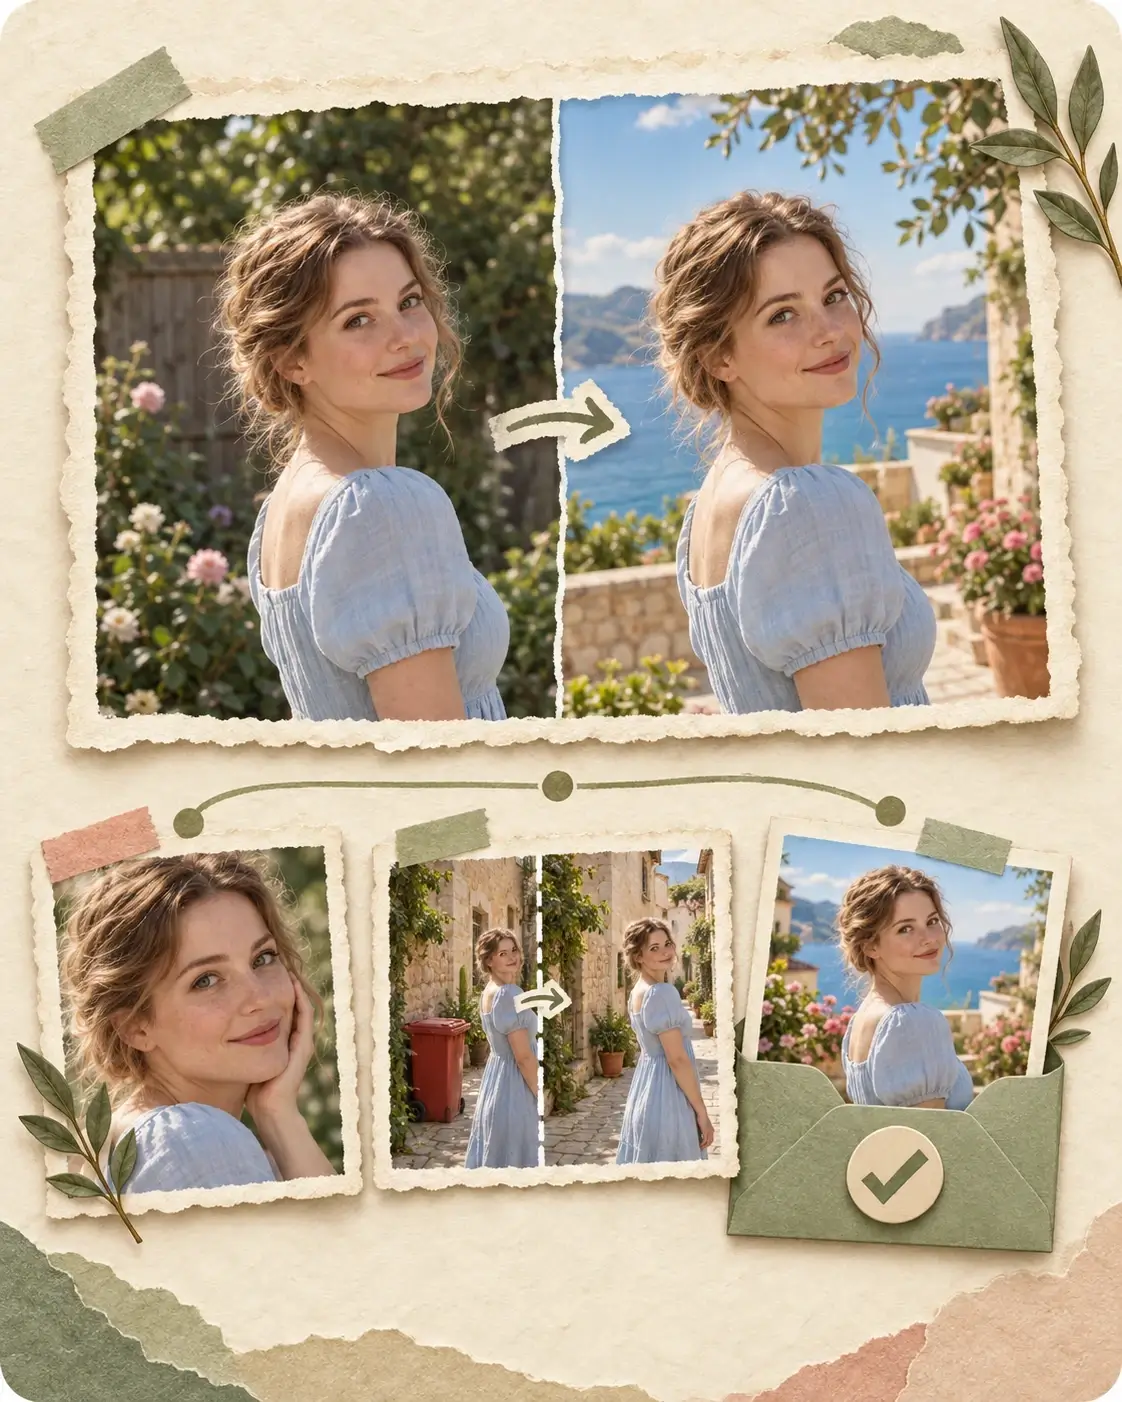
Use the photo editor when your image needs a deliberate visual change. AI photo editor keeps your prompt, subject, and output choices in one flow; for sharpening, restoration, or enlargement after the edit, continue with the tool built for that next step.
Use a prompt to update the setting, remove a distraction, refine the subject, or create a new style direction. Keep the request focused on one clear outcome.
If the edit is right but the image still needs more clarity, continue with AI Photo Enhancer to improve visible detail, light, and color.
If you need more pixels after editing, use Image Upscaler to prepare a larger version for print, display, or a high-resolution layout.
Name the target change, describe the desired setting or style, and call out what must remain unchanged. Specific instructions make it easier to assess whether the output matches your intent.
Start with the best version of your photo. A clean, well-lit source gives the editor more reliable visual information for people, products, textures, and scene boundaries.
Zoom in on faces, lettering, logos, fine patterns, and object edges before publishing. Make another prompt pass when a critical detail needs a more precise result.
Choose an aspect ratio, format, quality, and resolution that match where the edited image will be used, from a social post to a product page or presentation.
Use another focused tool only when the completed photo edit still needs sharper quality, restoration, or a larger final size.
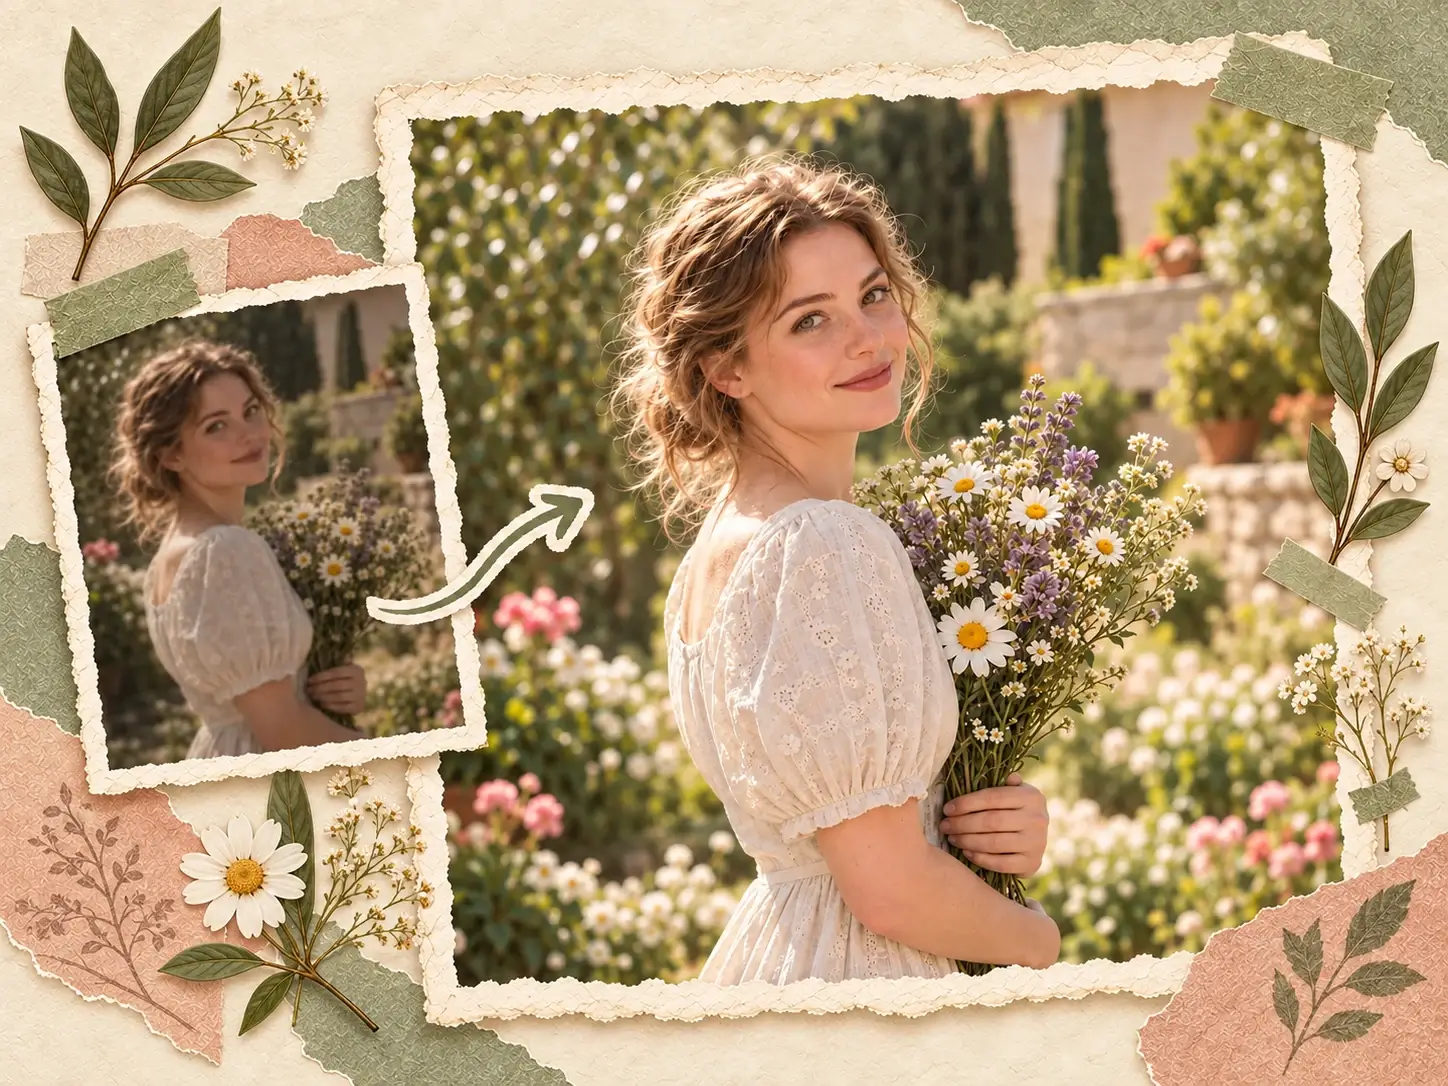
After making the visual edit, use AI Photo Enhancer when the result needs sharper visible detail, more balanced light, or more natural color before you share it.
Enhance Image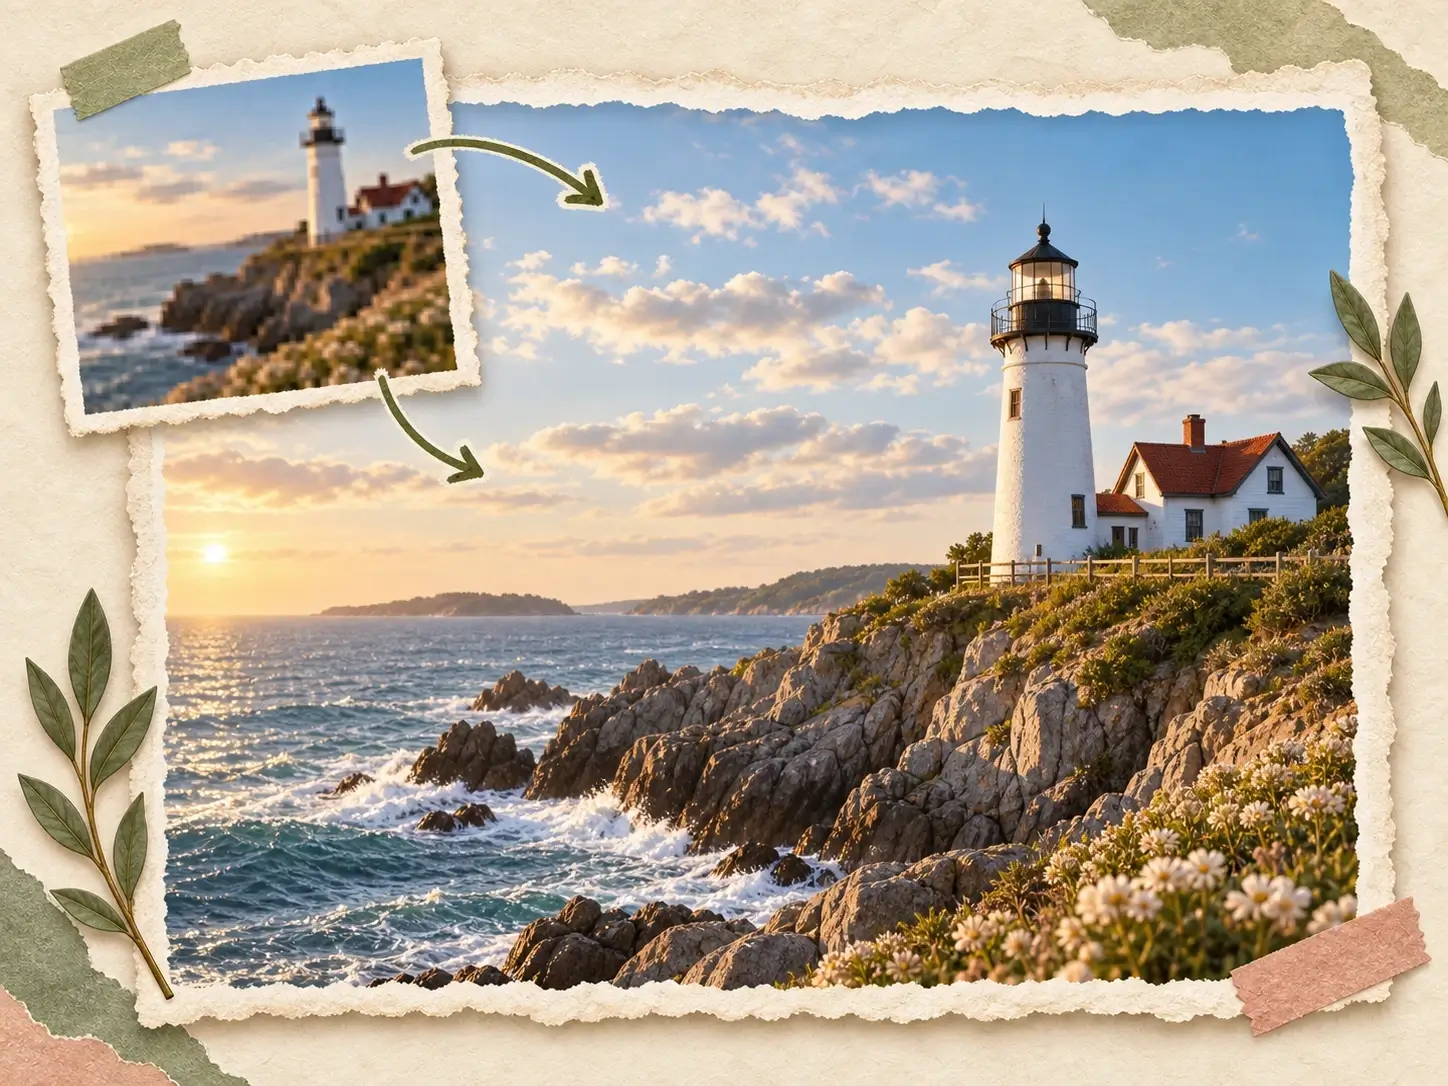
When the edited photo is ready but too small for its next destination, create a larger output for a print layout, detailed product page, or high-resolution presentation.
Upscale Image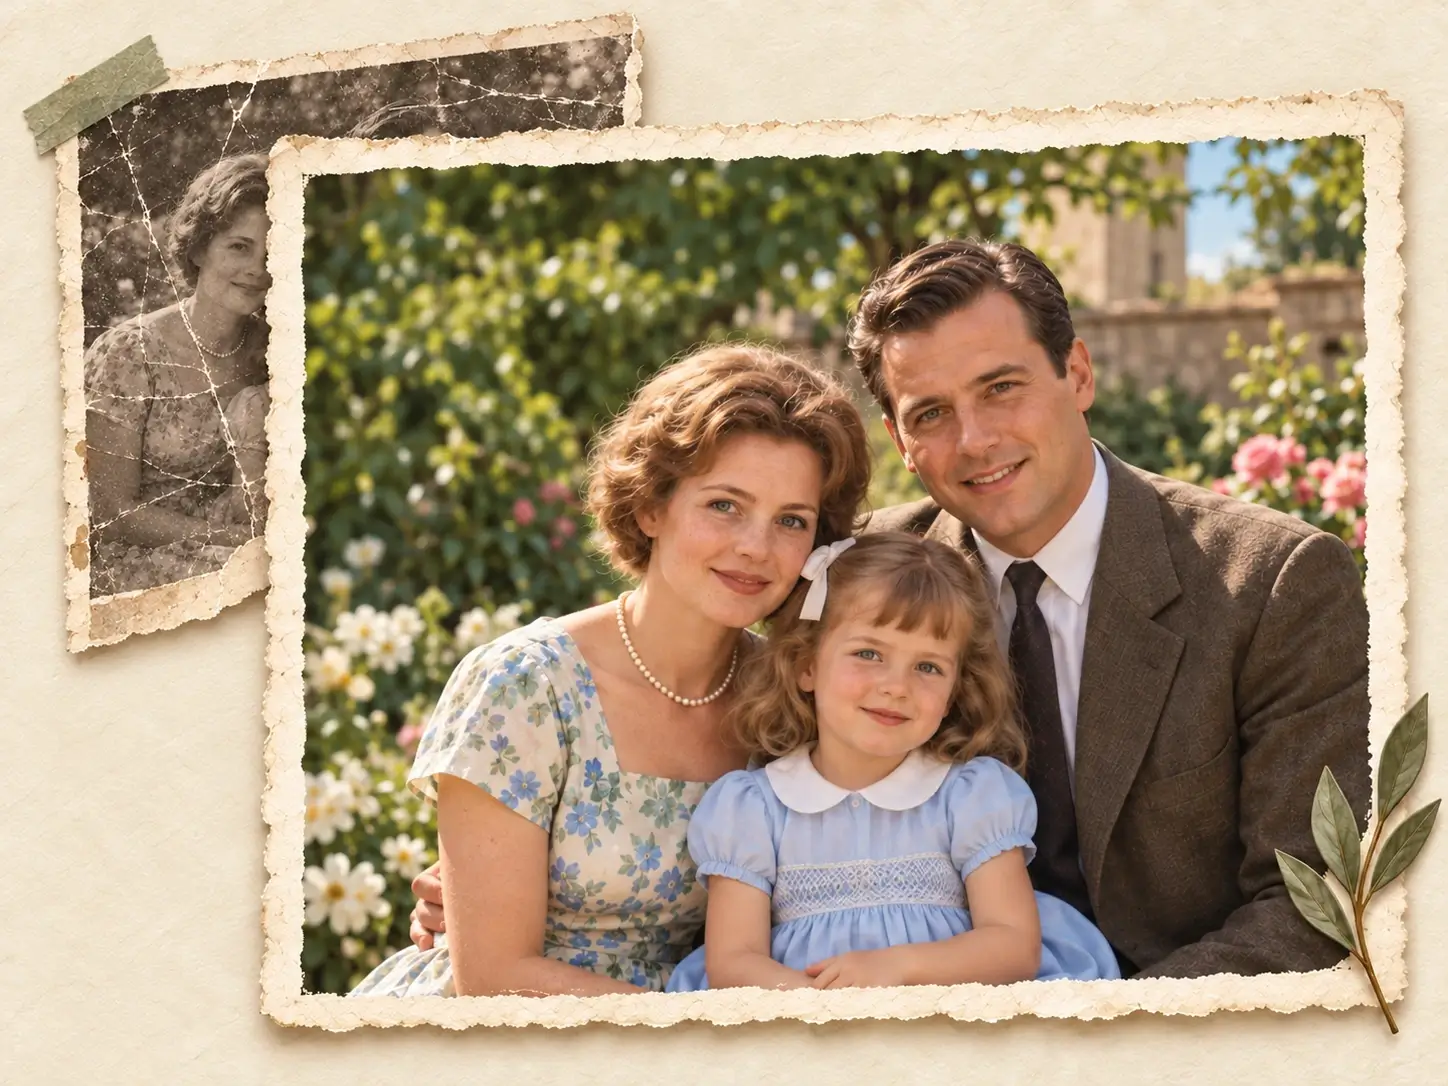
For scratches, heavy fading, stains, or old-photo damage, repair the original first. Then return to editing if you still want a new setting, style, or finishing direction.
Restore PhotoI can test a cleaner background for a product photo without rebuilding the listing image from scratch. The prompt examples also make it much easier to begin.
For travel photos, I use the editor to remove small distractions and try a warmer mood. I like being able to keep the original photo as the starting point.
It is a practical way to explore several art directions for the same image. I can quickly show a client different settings before we choose a final design.