


AI Image Upscaling for Print: Keep Details Natural in 2026
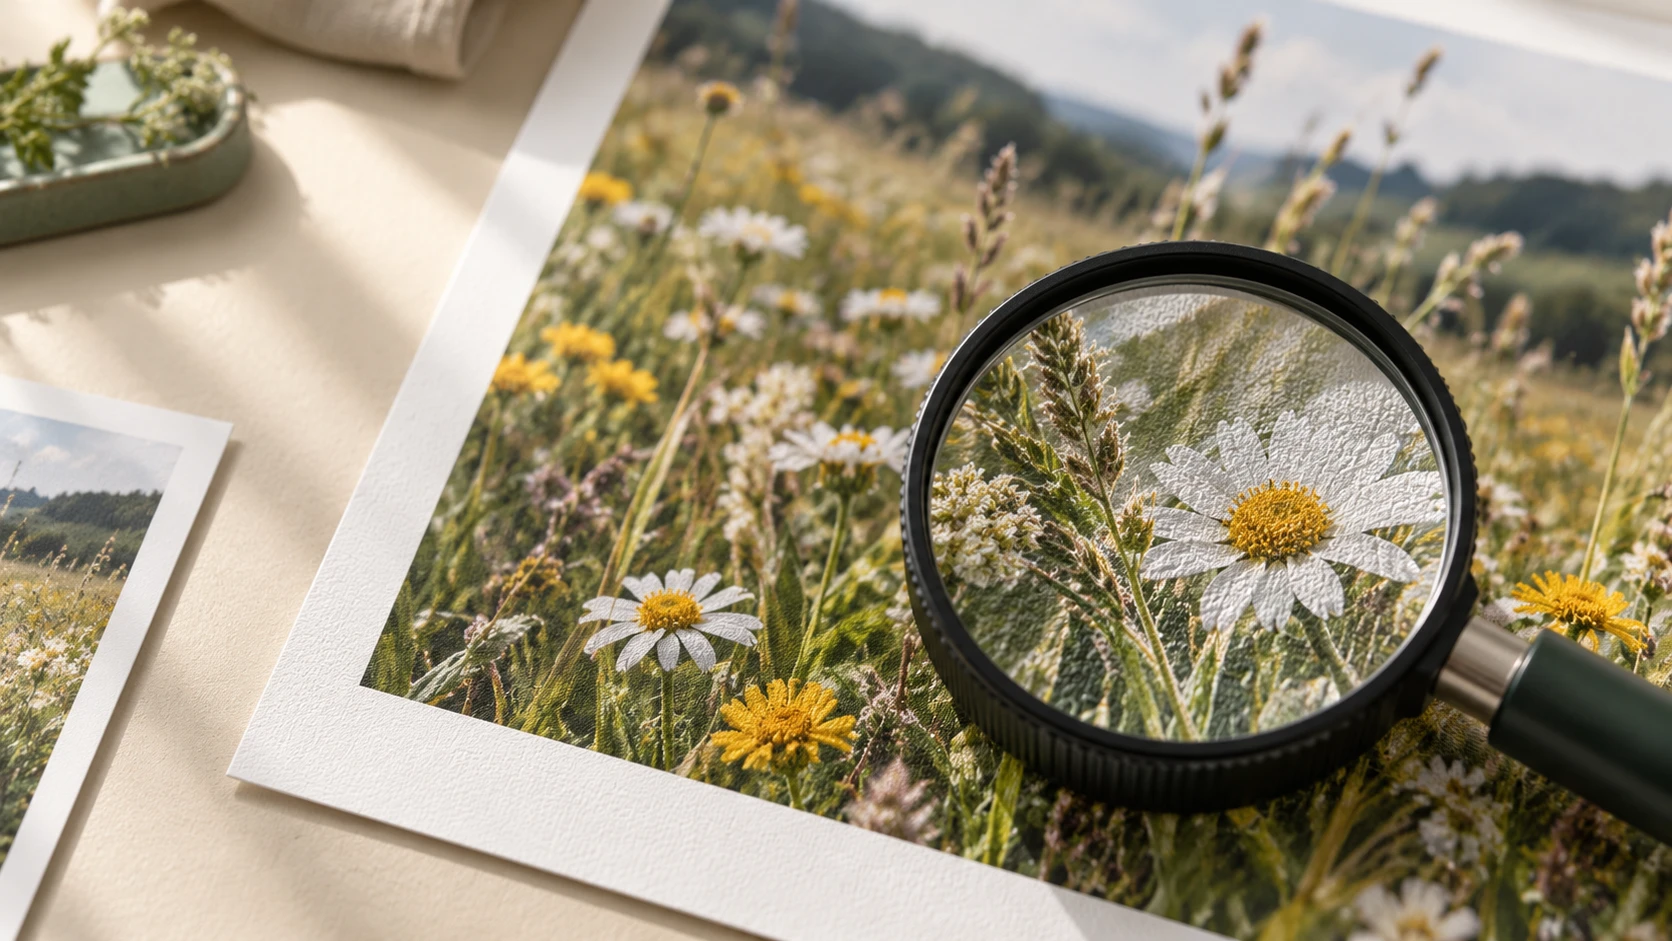
A photo that looks fine on a phone can look soft on an 8 × 10-inch print. The problem is often simple: after cropping, the file does not have enough pixels for the size you want. AI image upscaling for print can create a larger file and improve its apparent detail, but the strongest result starts with a realistic size target and ends with a careful visual check.
Quick answer: Multiply the print width and height in inches by your target pixels per inch (PPI), then compare those numbers with the cropped image. For a close-viewed print, 300 PPI is a useful starting point. Upscale only as much as needed, inspect the result at 100% and at the intended print size, and make a small test print before ordering a large one.
Start with the print size, not a “4K” label
“4K” describes one dimension of an image; it does not tell you whether the image fits a particular print. A 4,000-pixel-wide landscape might work well for one print shape and poorly for another after a heavy crop. The relevant calculation is:
Required pixels = print dimension in inches × target PPI.
Adobe's print-resolution guidance treats 300 PPI as the usual high-quality target for prints viewed up close. Larger pieces viewed from farther away may work at a lower effective PPI. Always ask the print lab for its file specifications when the job matters.
| Finished print | Pixels at 300 PPI | Pixels at 200 PPI |
|---|---|---|
| 4 × 6 in | 1,200 × 1,800 | 800 × 1,200 |
| 8 × 10 in | 2,400 × 3,000 | 1,600 × 2,000 |
| 11 × 14 in | 3,300 × 4,200 | 2,200 × 2,800 |
| 16 × 20 in | 4,800 × 6,000 | 3,200 × 4,000 |
These are planning targets, not a guarantee that an image will look good. A noisy, compressed, or badly focused 3,000-pixel file may print worse than a clean photograph with fewer pixels. Paper, viewing distance, and printer settings also affect the result.
Use the pixels left after cropping
Check your final crop before choosing an upscale factor. Suppose a 2,000 × 1,500-pixel photo is cropped to 1,500 × 1,200 pixels for a landscape 10 × 8-inch print. At 300 PPI, that print needs 3,000 × 2,400 pixels. The cropped file needs 2× enlargement on both sides. If you calculate from the uncropped original instead, you may choose a print size the final composition cannot support.
PPI metadata does not add pixels
Changing a file's resolution field from 72 PPI to 300 PPI without resampling leaves its pixel dimensions unchanged. It changes how large those pixels are assigned to print. To create a larger pixel file, you must resample or upscale it. Adobe's explanation of image size and resampling makes that distinction clear.
When AI image upscaling for print is useful
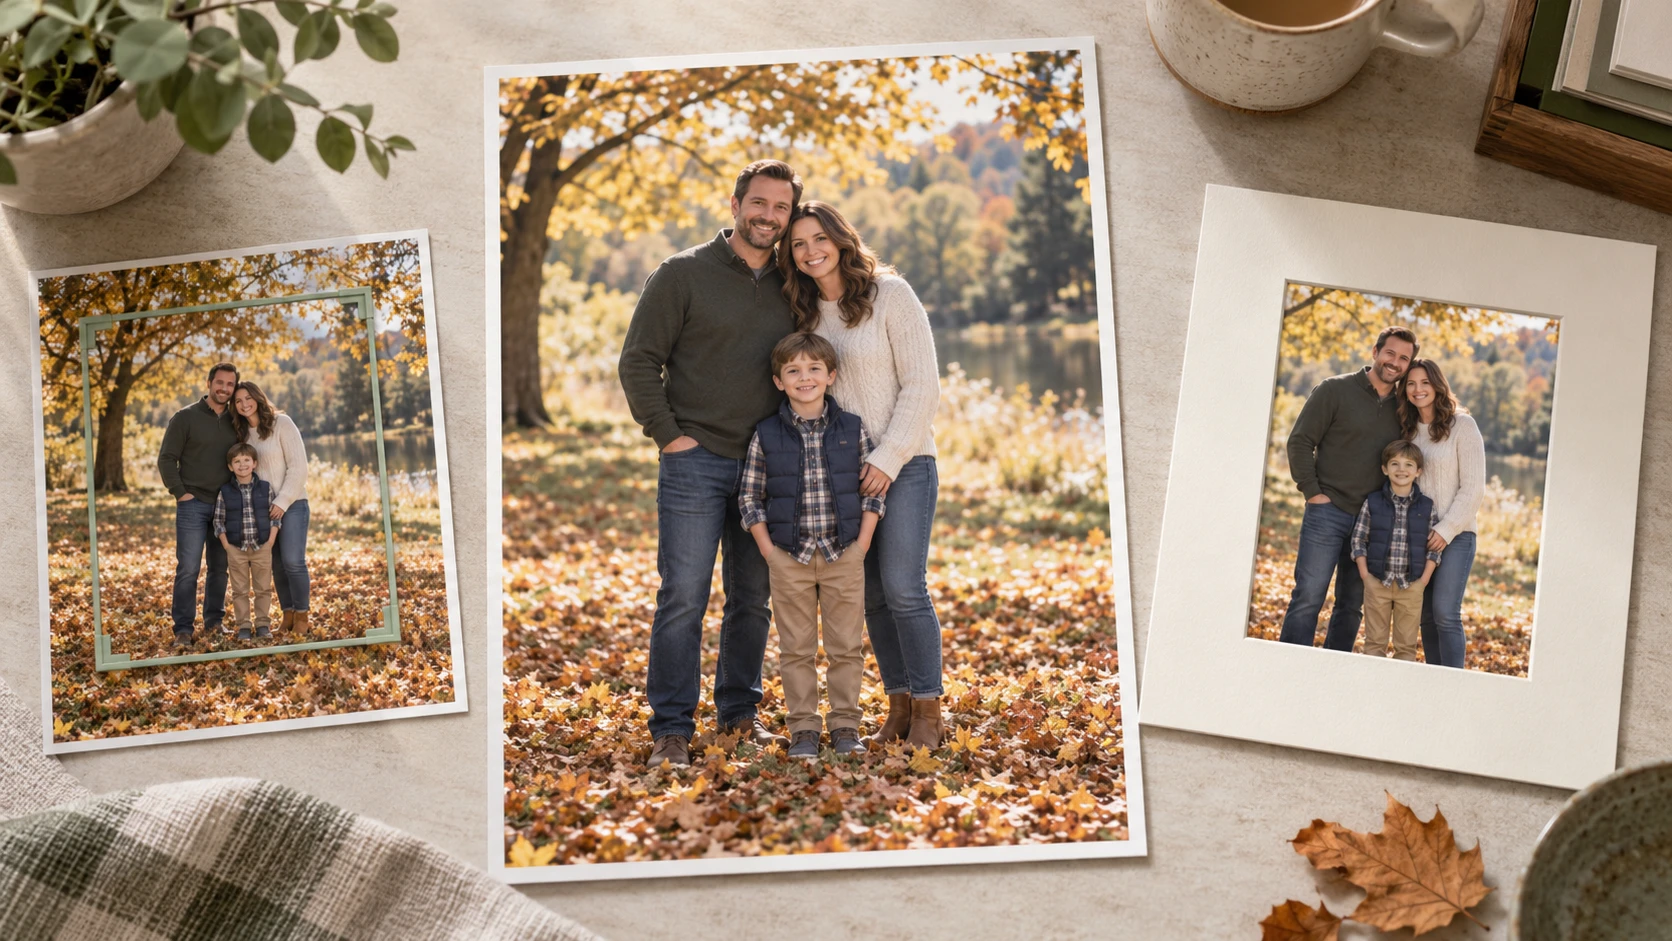
AI image upscaling for print is useful when a good image is slightly too small for its destination: a cropped family portrait, a product image needed for a display, a travel photo destined for an album, or a scanned print you want to enlarge. It can smooth jagged edges and infer plausible texture while increasing pixel dimensions.
This is now a practical part of mainstream photo editing: an Adobe tutorial published in 2026 demonstrates 2× and 4× enlargement specifically for photographs that lack enough pixels to print well. The availability of the tool does not remove the need to calculate the target and examine the result.
That inference is the limitation. The software cannot know every detail that the camera never captured. It may invent texture in hair, fabric, foliage, signs, or faces. Natural-looking detail is more valuable than maximum sharpness, especially in photographs of people or products where accuracy matters.
| Source problem | Better first move | Why |
|---|---|---|
| Good photo, too few pixels | Upscale to the required size | The source already has usable detail to guide the enlargement. |
| Flat light or weak color | Enhance tone and color, then reassess size | Extra pixels do not fix dull exposure. |
| Motion blur or missed focus | Try a dedicated deblur step; compare with the original | Upscaling alone can enlarge the blur or create false edges. |
| Scratches or fading in an old scan | Repair the damage before the final upscale | A larger file makes defects more visible. |
| Tiny screenshot or heavily compressed download | Find the original file if possible | AI has less reliable information to work from. |
A practical workflow for natural-looking prints
You do not need the largest export offered by a tool. A good AI image upscaling for print workflow produces enough pixels for the intended print while keeping the image recognizable.
1. Find the best source file
Use the camera original or the highest-quality scan you have. Avoid a version saved from a messaging app, social feed, or slide deck if the original exists. Repeated compression can turn subtle texture into blocks and halos that an upscaler may amplify. Keep an untouched copy so you can compare the final result with the actual photograph.
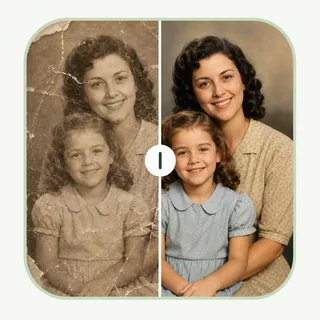
If the subject is an old print, scan it cleanly and straighten it before enlarging. Dust and scratches are easier to address when they are not multiplied across a much larger file. For a photo that needs significant repair, use a restoration workflow before judging whether an upscale is necessary.
2. Make the final crop and calculate the target
Choose the print's aspect ratio and crop the image. Then read the remaining pixel width and height. Multiply the desired print dimensions by 300 for a close-viewed target, or use the print provider's recommendation. If the cropped file already meets the target, skip upscaling. Adding pixels will not automatically make the print better.
For example, a 1,800 × 1,200-pixel image fits a 4 × 6-inch print at 300 PPI if the orientation and crop match. It will deliver only 180 PPI at 10 × 6.67 inches. Whether that larger size is acceptable depends on viewing distance and the image itself.
3. Fix visible quality problems before enlarging
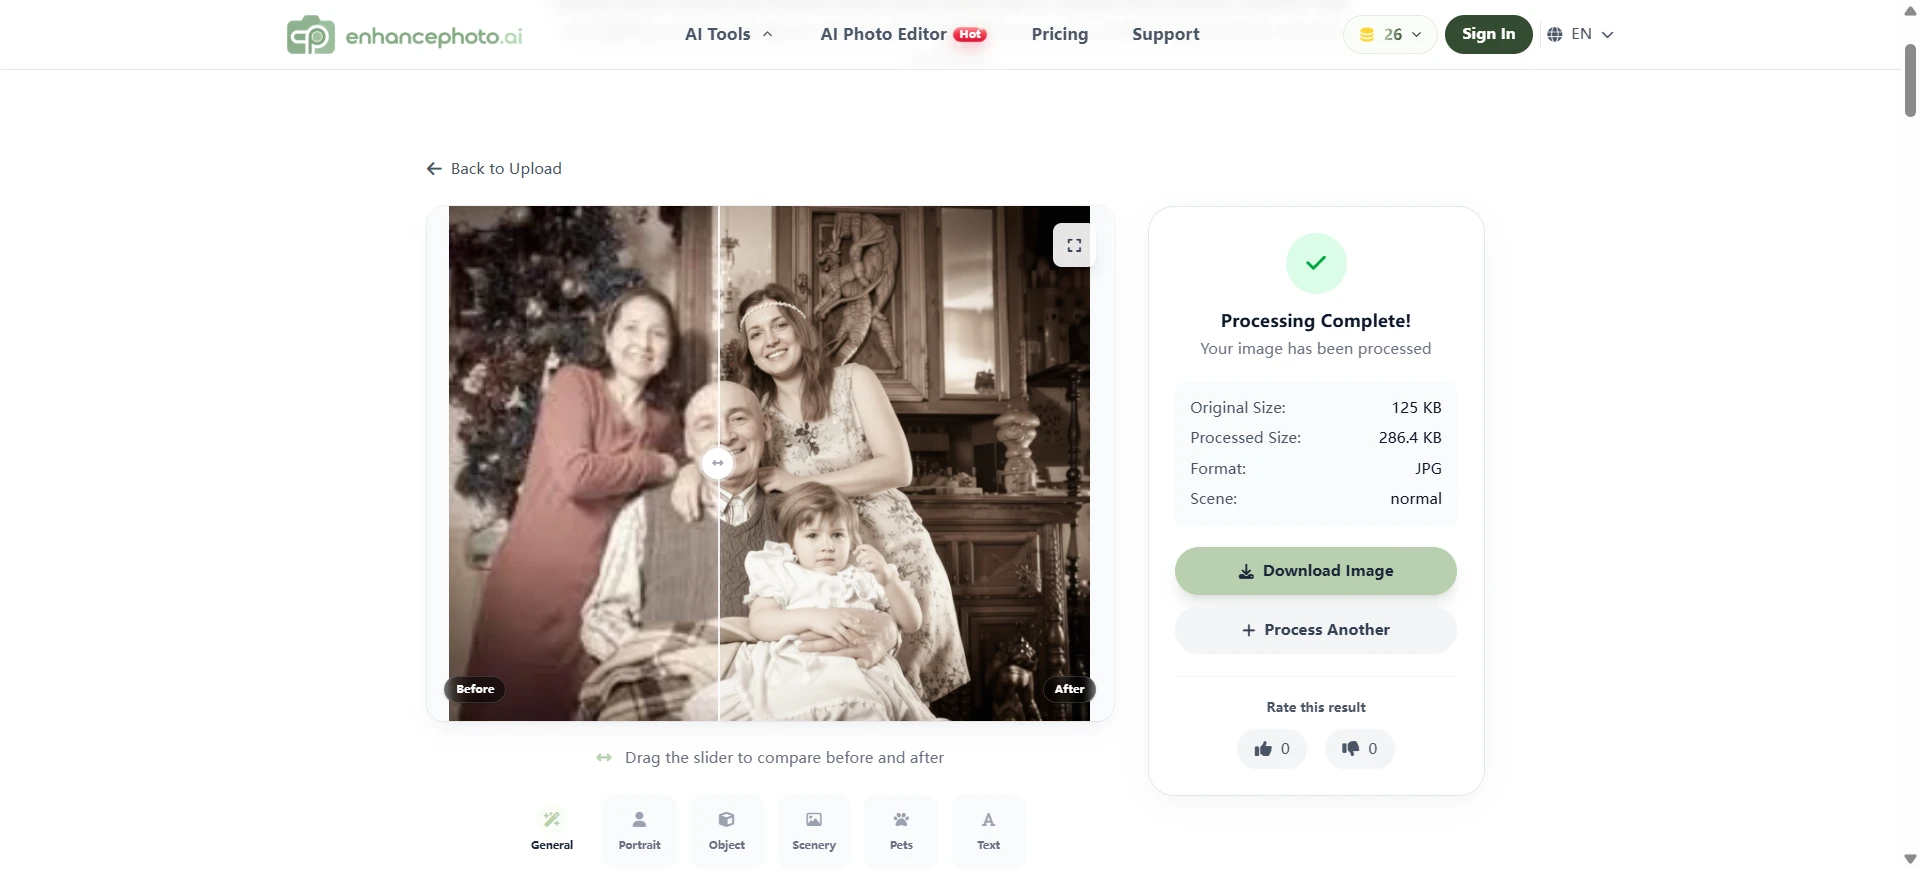
Assess exposure, color, noise, and blur at the original size. A gentle correction can give an upscaler a cleaner source. EnhancePhoto.ai's image enhancement tool is suited to clarity, light, color, and noise; its photo restoration tool addresses visible age damage in old images. If you need to change a background or remove an object, complete that deliberate edit before the final size increase with the AI photo editor.
Do not sharpen aggressively at this stage. Bright outlines around high-contrast edges can become more obvious after enlargement. Compare the edited source with the untouched copy and keep the more believable version.
4. Choose the smallest useful enlargement
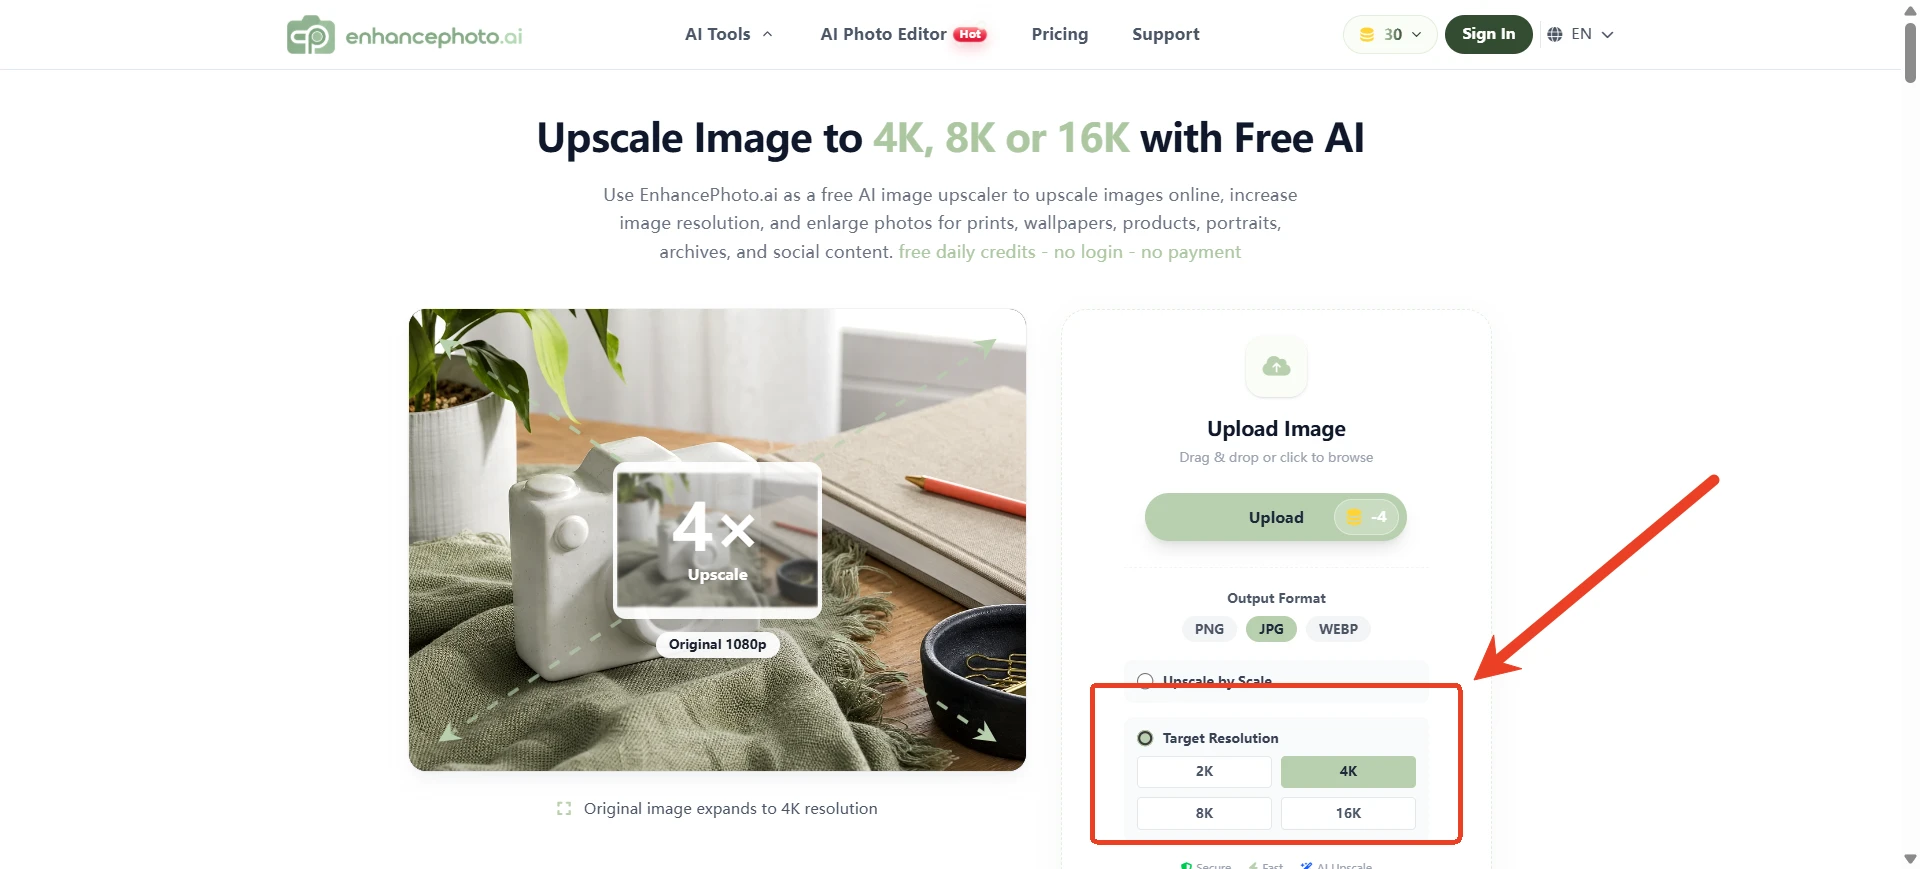
Calculate the factor separately for width and height. If your cropped file is 1,500 × 1,200 pixels and your target is 3,000 × 2,400, 2× is enough. If the target is 6,000 × 4,800, 4× is needed. A 4× setting multiplies each dimension by four, creating sixteen times as many pixels; it is not merely a modest quality boost.
EnhancePhoto.ai offers 2× and 4× image upscaling, as well as target-resolution options and JPG, PNG, or WebP downloads. Start with the smaller factor that clears your calculated requirement. The site currently offers free daily credits without a login or payment step, so check the available credit amount before processing a batch of candidates.
5. Review the image at two scales
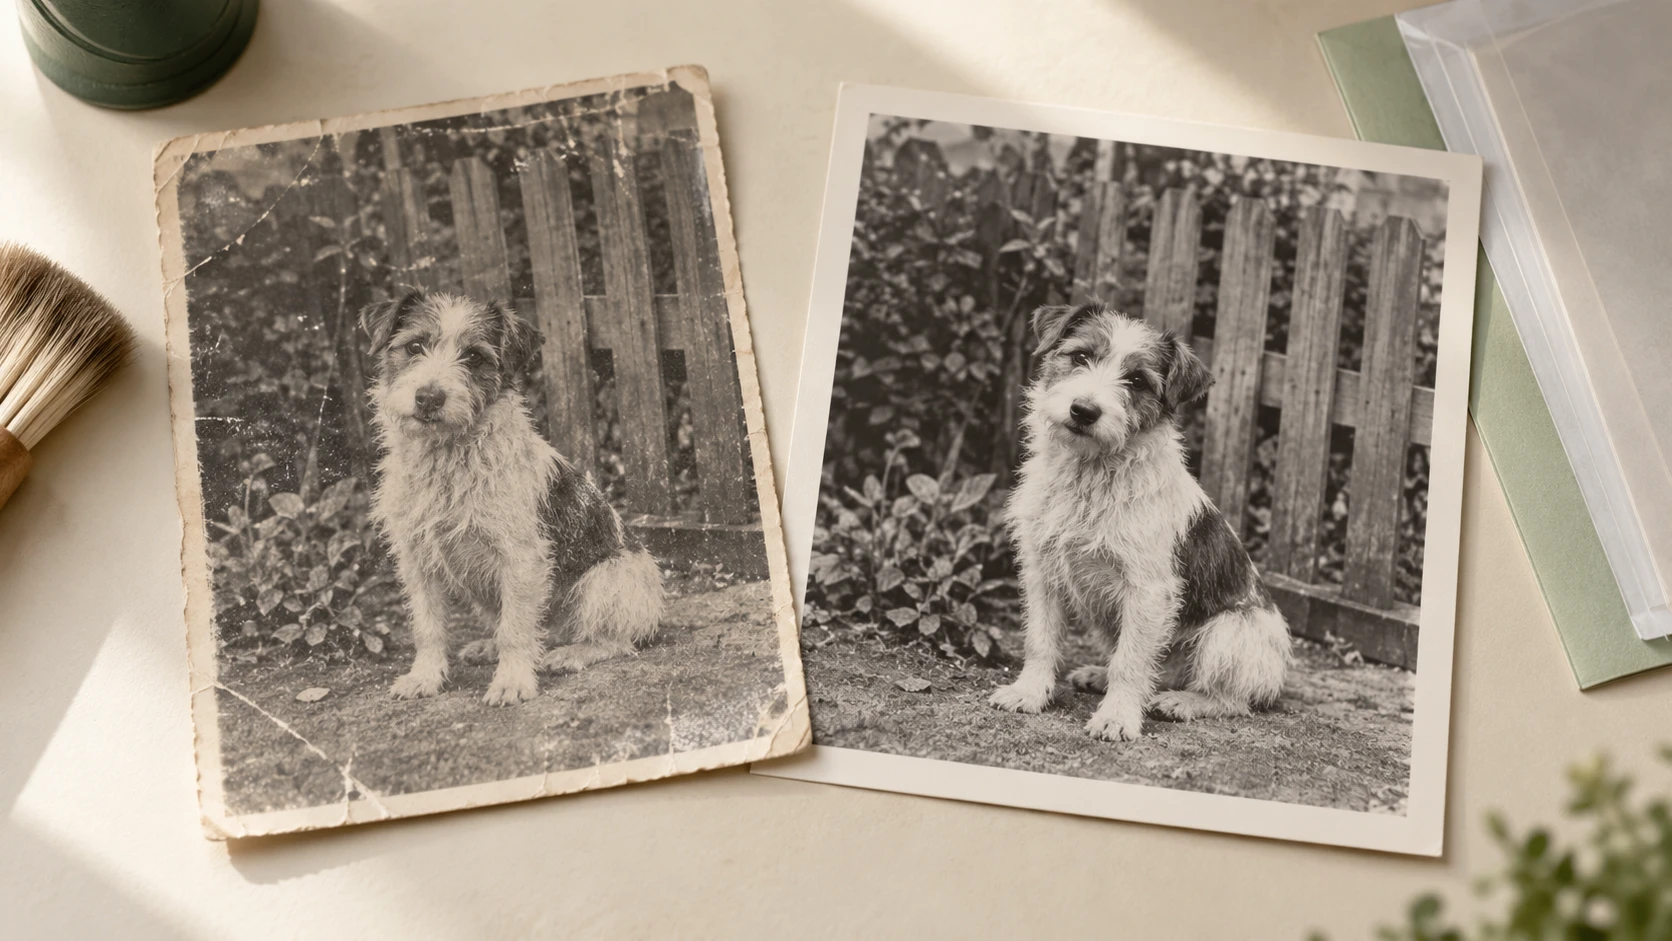
First inspect at 100% magnification. Look closely at faces, hair, lettering, product labels, tree branches, brickwork, and repeating patterns. These areas can reveal invented detail, warped letters, waxy skin, or edge halos. Then view the image at roughly its intended physical print size. A flaw that looks dramatic at 300% zoom may disappear in a framed print, while a broad patch of unnatural texture may remain distracting.
Compare the upscale with a conventional resize and with the original. Do not assume the AI version wins every time. For an accurate portrait or a product with legally important labeling, fidelity should outweigh the appearance of extra detail. If the result changes important features, reduce the scale, try a cleaner source, choose a smaller print, or leave the image unenhanced.
6. Export for the actual print provider
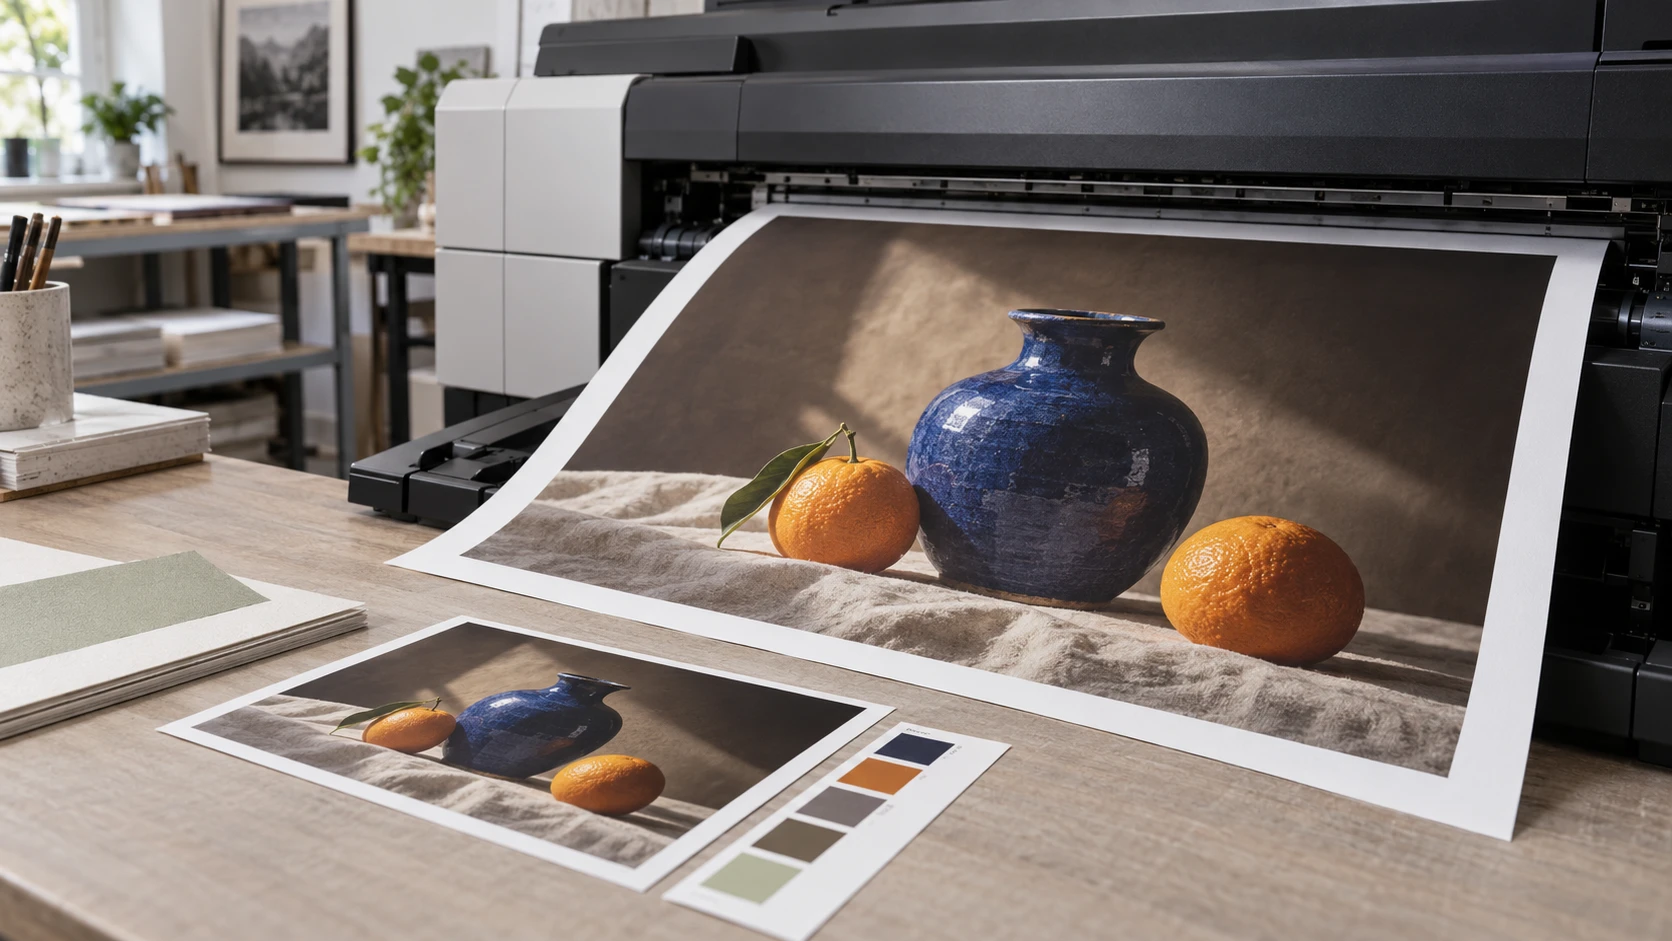
Ask the lab which format, color profile, dimensions, and sharpening it prefers. JPG is widely accepted for photographic prints; some workflows accept PNG or TIFF. Do not convert to CMYK unless the provider requests it. Export a high-quality file once, and check the exported pixel dimensions and crop again rather than relying on the editing preview.
If the print is expensive or important, order a small proof or print a representative crop at the same physical scale. Paper can mute fine texture and change contrast compared with a bright screen. A proof makes the decision tangible before committing to a large format.
Example: preparing a family photo for an 8 × 10-inch print
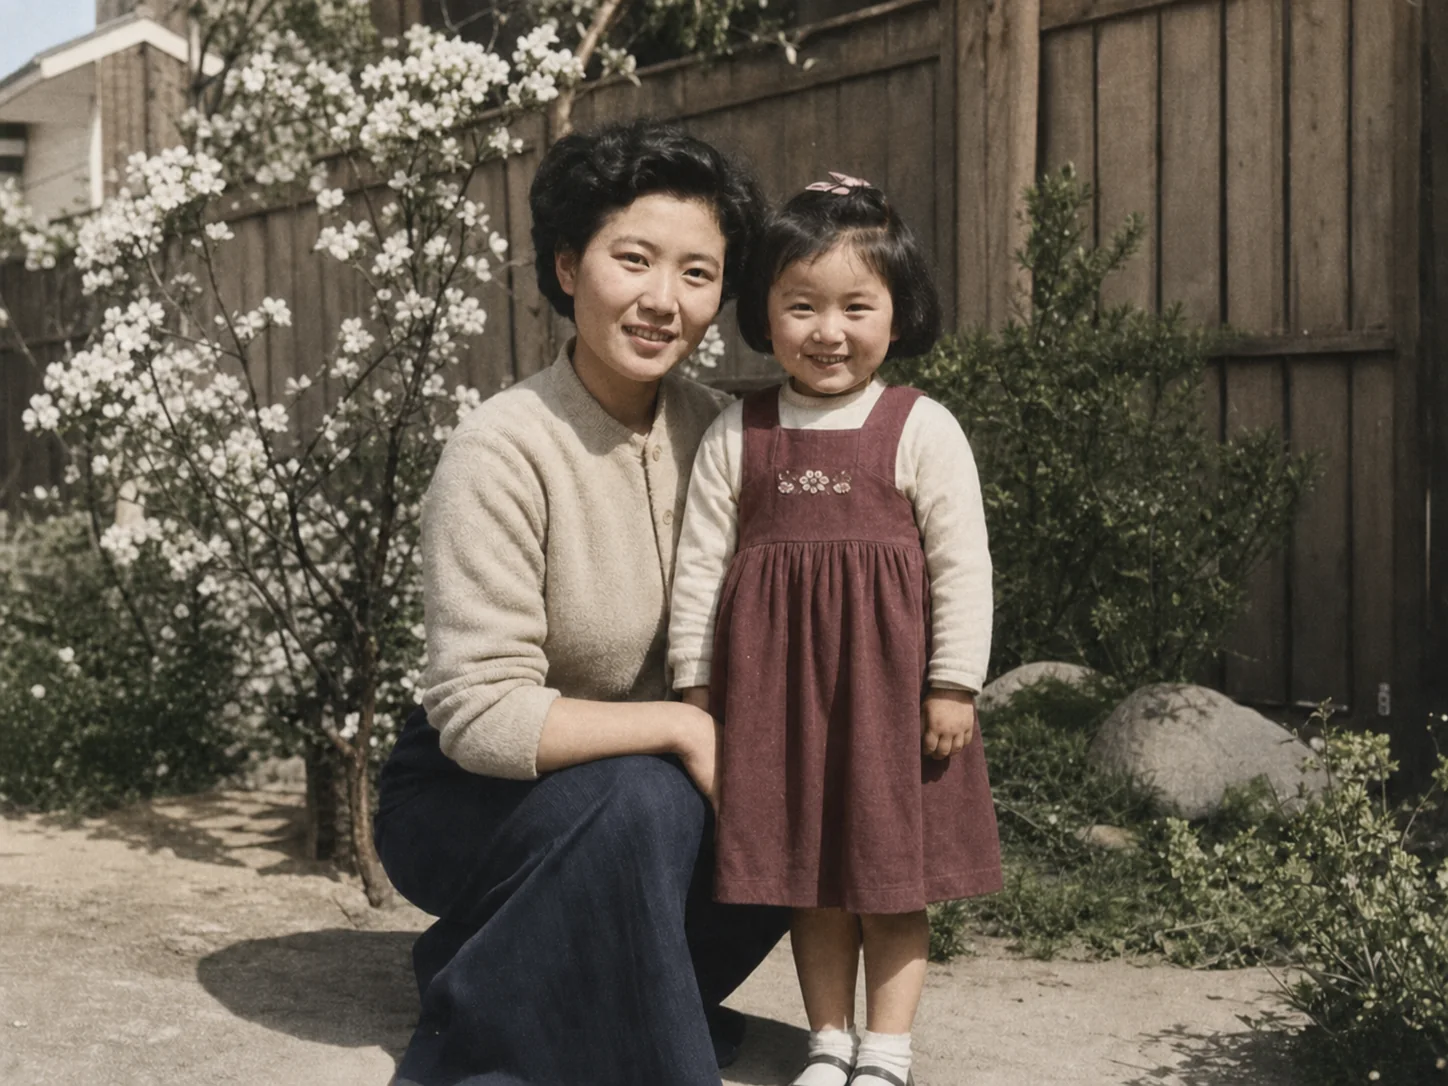
Imagine a 2,400 × 1,800-pixel family photo. This AI image upscaling for print example starts with an 8 × 10 print, which has a 4:5 ratio, so the composition needs cropping. After framing the people, the file measures 1,800 × 1,440 pixels. At 300 PPI, the desired output is 3,000 × 2,400 pixels. A 2× upscale produces 3,600 × 2,880 pixels, leaving a little room for the printer's final sizing.
Before enlarging, check that every face is reasonably sharp in the source. Correct any strong color cast and keep skin texture natural. After the 2× pass, compare eyes, hairlines, clothing patterns, and background edges with the original. If anyone looks subtly different, try a gentler process or make a 5 × 7 print instead. A smaller truthful print is often more valuable than a larger one with a changed face.
How EnhancePhoto.ai fits the print workflow
The site's tools map to distinct problems in AI image upscaling for print. Use only the steps your image needs rather than applying every tool in sequence.
| Need | Tool | Decision point |
|---|---|---|
| Improve a dull or noisy source | Image Enhancer | Does the original need tonal or clarity work before enlargement? |
| Repair an aged scan | Photo Restoration | Are scratches, fading, or tears part of the source? |
| Change visual content | AI Photo Editor | Must an object or background change before final sizing? |
| Create enough pixels for print | Image Upscaler | Does the cropped file fall short of the target dimensions? |
EnhancePhoto.ai lets you run a browser-based single-image workflow and download the result in common formats. The key advantage for this task is choosing the right tool for the defect you can actually see, then checking the file against the print size you calculated. Its AI results should still be reviewed; no online tool can guarantee an authentic reconstruction of detail missing from the source.
Mistakes that make an enlarged print look artificial
- Choosing 4× by default. If 2× meets the required dimensions, a larger file adds processing and may create more invented texture.
- Sharpening a compressed copy. JPEG blocks and ringing can become crisp-looking defects. Search for the original first.
- Judging only at extreme zoom. Inspect at 100% and at the approximate print size, then make a proof when quality matters.
- Ignoring the crop. The final composition, not the original uncropped photo, determines the available pixels.
- Changing only the PPI number. Metadata alone cannot create new image information.
- Treating AI detail as recovered fact. Texture in a restored face or historical image may be plausible rather than true.
Frequently asked questions
Is 300 PPI always required for photo prints?
No. It is a useful target for close-viewed prints, but a larger print seen from farther away can look good at a lower effective PPI. Follow your print provider's requirements and judge a proof at the real viewing distance.
Can I print a 1,000-pixel-wide image at 10 inches?
Yes, but it would have only 100 pixels per inch at that width before resampling. It may look soft up close. AI upscaling can create a larger file, but its quality depends heavily on the source. Consider a smaller print or a better original if accuracy is important.
Does AI image upscaling for print restore the original detail?
It can preserve visible structure and create plausible new pixels, but it cannot prove what missing detail really looked like. Compare faces, text, products, and repeating textures with the original before printing.
Should I enhance before or after upscaling?
Fix clear source problems such as strong color casts, noise, scratches, or a deliberate content edit first. Upscale once to the target size, then make only gentle finishing adjustments if the enlarged result needs them. The exact order can vary with the image and tool, so compare both versions when the result is important.
Which file format should I send to a print lab?
Use the lab's specification. High-quality JPG is common for photographs, while PNG or TIFF may be suitable in other workflows. The right crop, pixel dimensions, and color profile matter more than choosing a format by name alone.