




How to Colorize Old Family Photos Before Thanksgiving
Old family photos often carry more meaning than their image quality suggests. A faded wedding portrait, a black-and-white family gathering, or a scratched photograph from a grandparent's album can become a thoughtful Thanksgiving gift when it is carefully restored and colorized.
The best results do not come from adding color immediately. Start with a clean scan, repair major damage, colorize the image, and then review the result before printing or sharing it with family.
Quick Answer
To colorize old family photos before Thanksgiving, scan the original at high quality, work from a duplicate, repair severe scratches and fading, apply AI colorization, review uncertain colors with relatives, enhance or upscale the final image, and then print or share it. AI colorization creates a plausible interpretation of missing colors, not a guaranteed record of historical reality.
What You Need Before You Start
Before you colorize old family photos, gather:
- The original photograph
- A high-quality scan or camera capture
- A flat, evenly lit surface
- A photo restoration or enhancement tool
- An AI photo colorizer
- A printer or digital sharing destination
Handle older photographs carefully. Avoid bending them, rubbing the surface, or placing them in direct sunlight. If the original is fragile, work from a scan rather than repeatedly handling the physical print.
A high-quality scan is especially important when the photo contains small faces, handwriting, clothing details, or background objects. The more information available in the source image, the more useful the colorization result is likely to be.
For additional handling and storage guidance, see the Library of Congress guidance on caring for photographic materials.
Step 1: Scan the Family Photo Carefully
The first step is to create a digital copy.
Use the highest practical resolution available. For photos that you may later print, a scan around 300 to 600 DPI is generally more useful than a quick low-resolution phone capture. Keep the image flat and make sure the entire photograph is visible.
Check the scan for:
- Cropped corners
- Glare
- Strong shadows
- Dust on the scanner glass
- Tilted framing
- Reflections from glossy prints
- Missing edges
If you are using a phone, place the photo near a window with indirect light. Keep the phone parallel to the photograph so that faces and borders do not become distorted.
Save the original scan separately. Create a second working copy for restoration and colorization.
Step 2: Restore Damage Before Adding Color
Many old photos have scratches, dust, fading, stains, blur, or torn edges. Colorizing a heavily damaged image first can make the defects more noticeable.
Restore the most distracting problems before colorization:
- Remove dust and small scratches.
- Improve contrast if the image looks washed out.
- Recover shadow and highlight detail where possible.
- Reduce blur without creating artificial facial details.
- Crop damaged borders only when they do not contain important information.
Do not over-edit the image at this stage. The goal is to create a cleaner source for colorization, not to make the photograph look completely new.
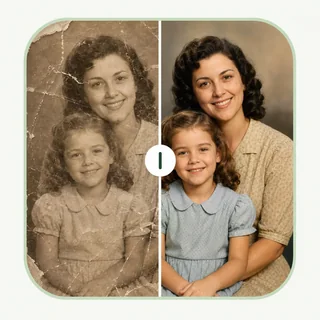
For example, a faded black-and-white family portrait may need gentle contrast adjustment and scratch removal. A torn group photograph may need more careful reconstruction before any color is added.
Step 3: Colorize the Old Family Photo
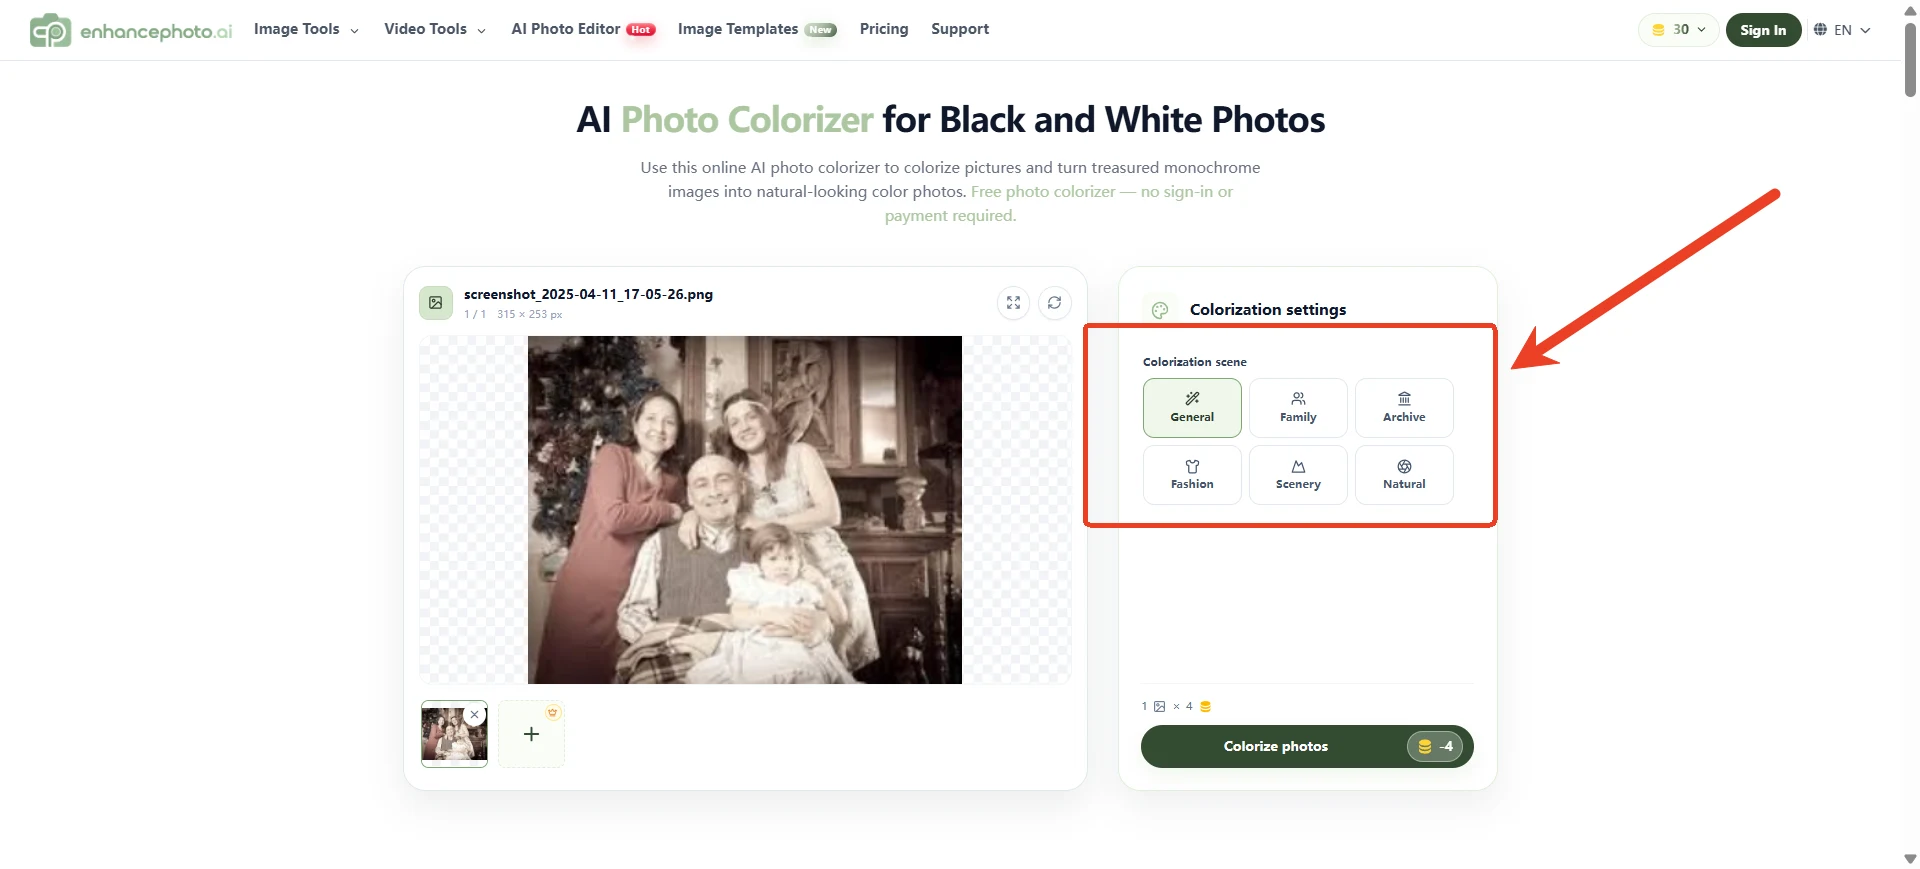
Once the image is clean enough, upload the working copy to an AI photo colorizer.
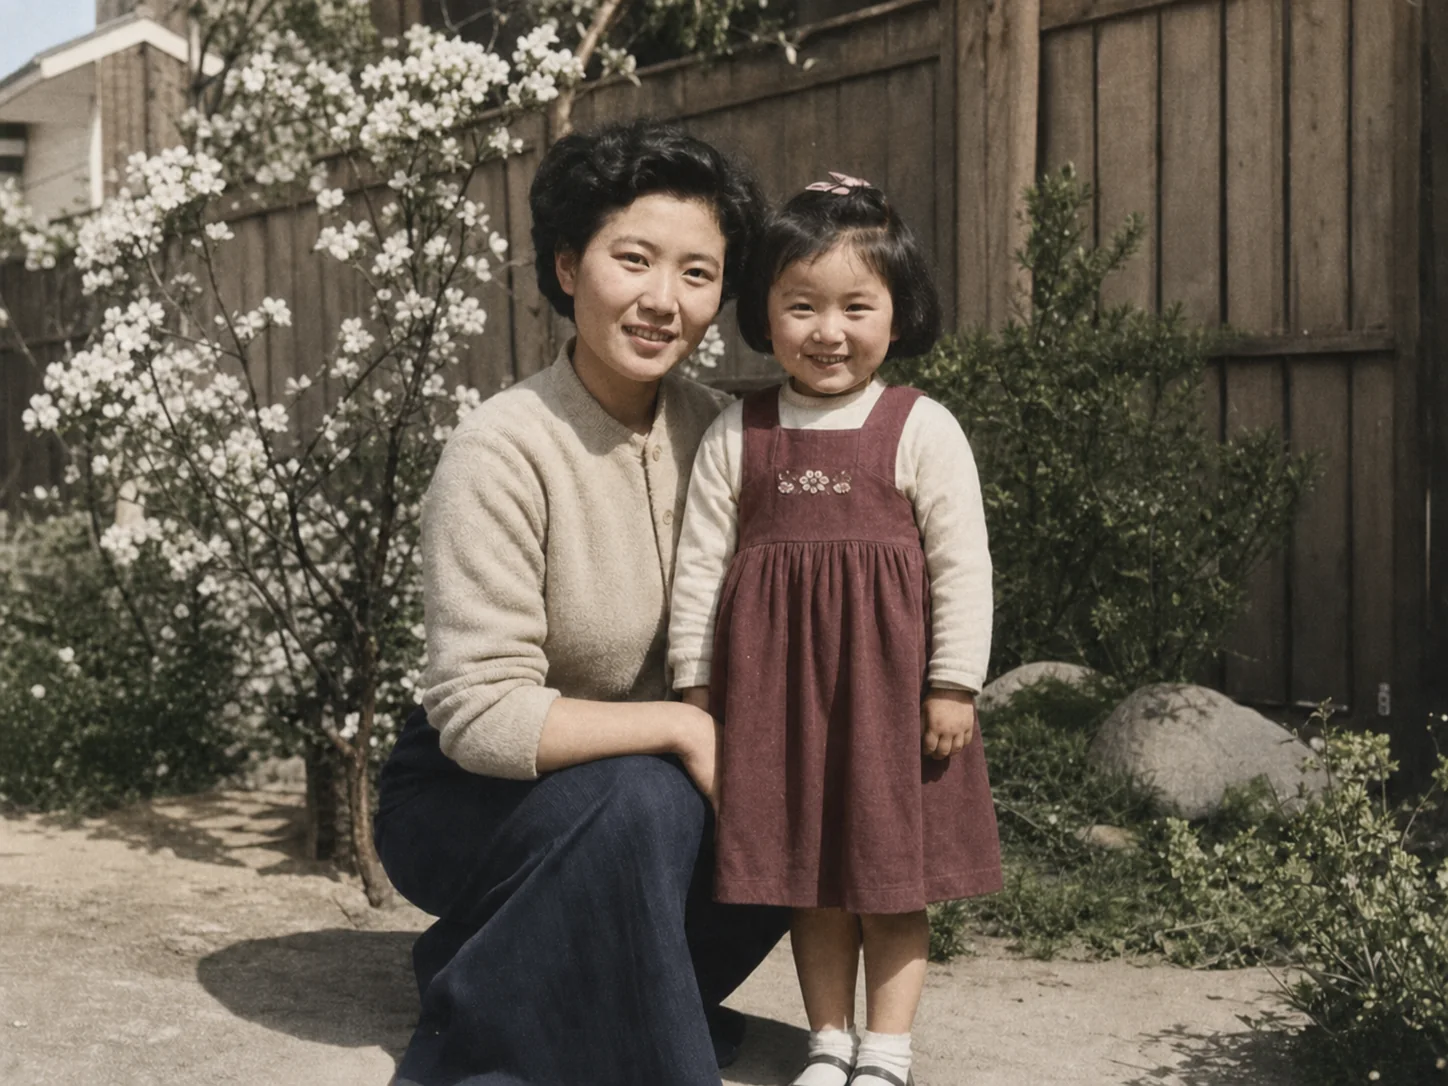
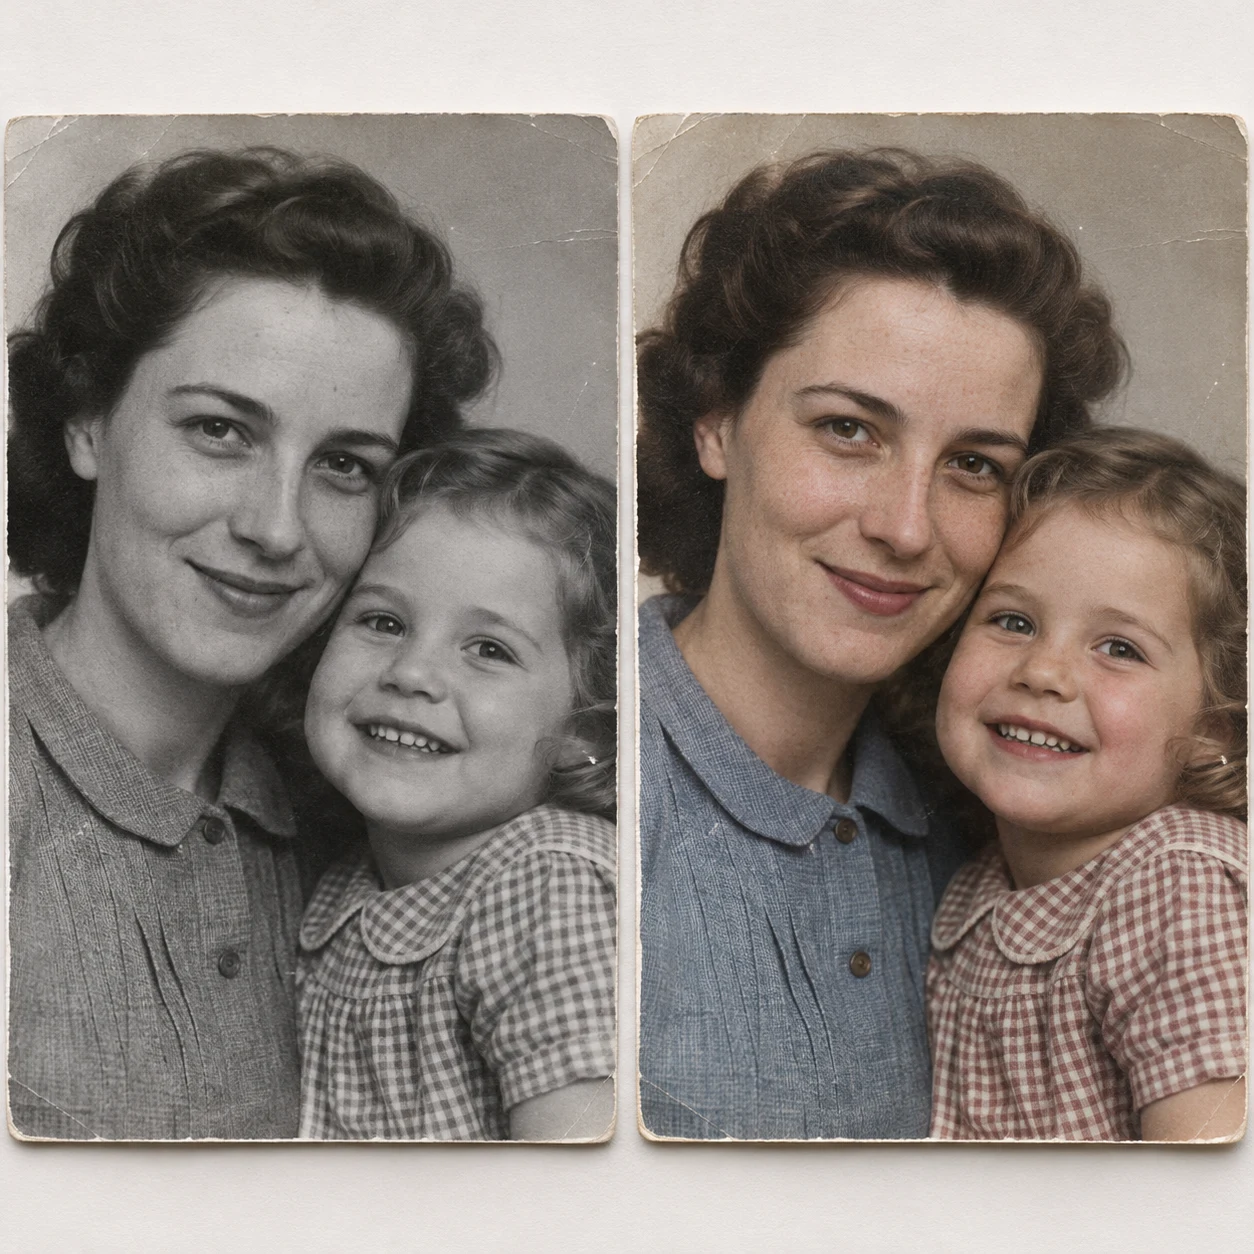
With EnhancePhoto's Photo Colorizer, you can process a black-and-white or faded family image online and create a natural-looking color version without manually painting every area.
The colorizer may estimate:
- Skin tones
- Hair colors
- Clothing colors
- Wall and furniture tones
- Outdoor foliage
- Sky and background colors
- Paper or photograph warmth
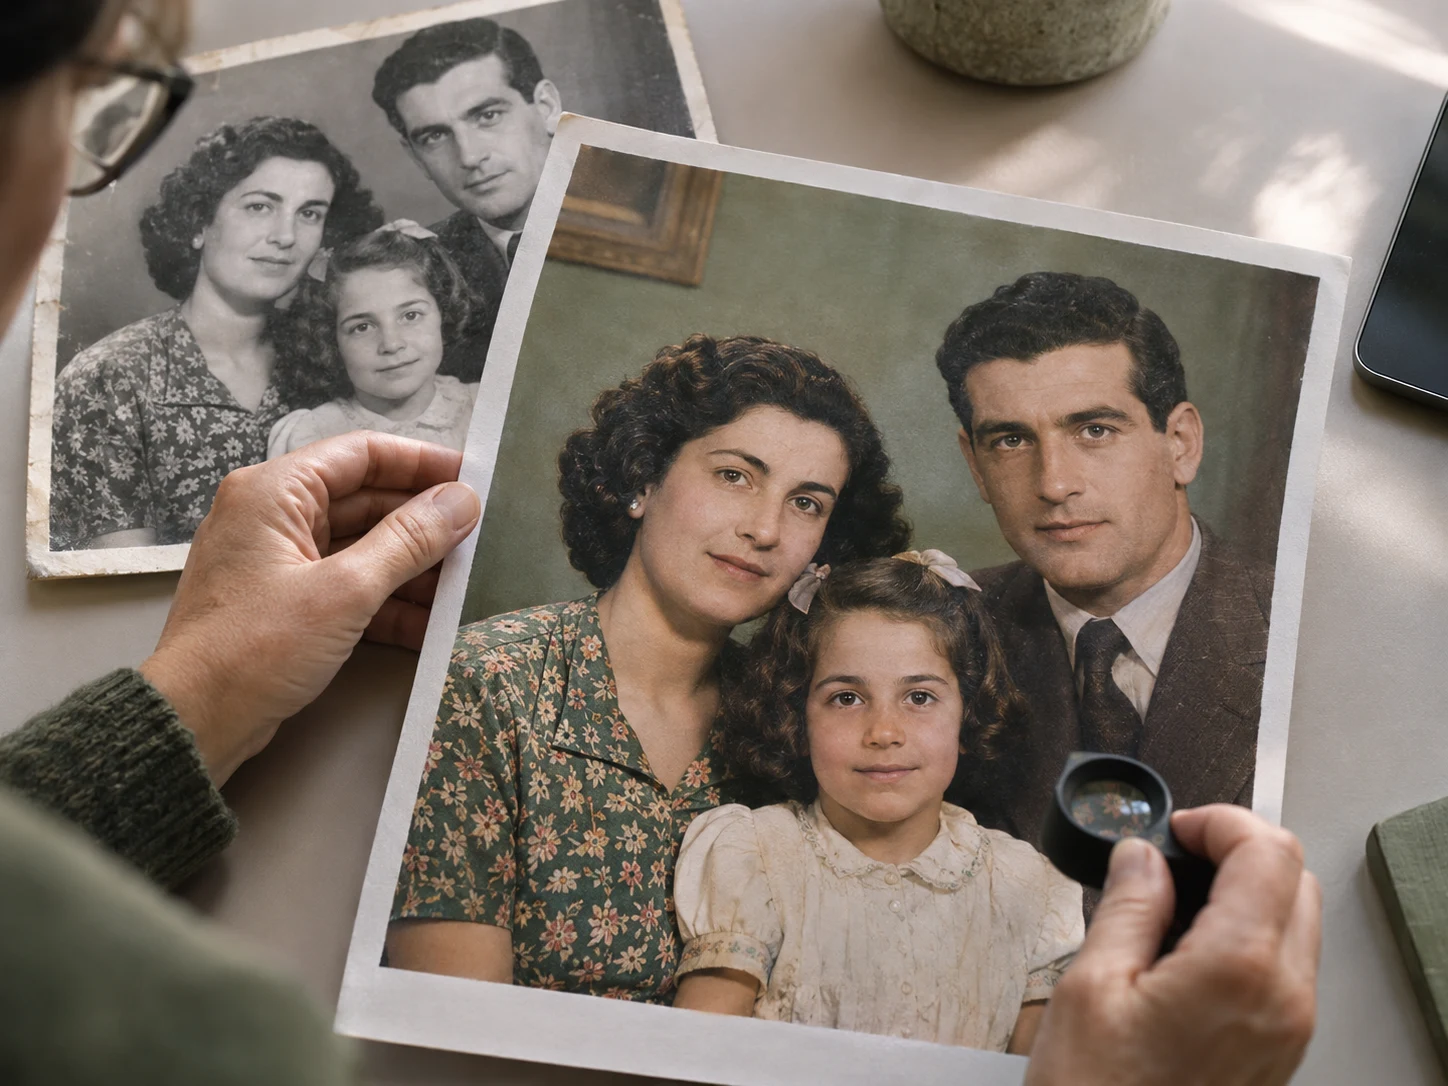
The result is an interpretation, not a guaranteed record of the original colors. A photograph usually does not contain enough information to prove whether a dress was blue, green, or burgundy. Treat the first result as a carefully generated starting point.
Adobe's own guidance for colorizing old photographs also recommends preparing the image before colorization and reviewing the result rather than assuming every generated color is historically exact. See Adobe's guide to colorizing old photographs for a related professional workflow.
Step 4: Review the Colors Before Sharing
AI colorization can produce a convincing image, but it should still be reviewed by a person who understands the family or historical context.
Look closely at:
- Skin tones
- Hair and eye colors
- Military or school uniforms
- Wedding clothing
- Family heirlooms
- Flags, signs, and logos
- Background walls and furniture
- Seasonal details such as flowers or leaves
Ask relatives whether they remember the colors. A family member may know that a particular dress was yellow, that a house had green shutters, or that a military uniform had a specific pattern.
If the original color is uncertain, do not present the result as historical proof. A simple note such as “AI-colorized interpretation” can help preserve the distinction between documented history and visual restoration.
Step 5: Enhance or Upscale the Result
After colorization, inspect the image at full size.
The colorized result may still need:
- Detail enhancement
- Noise reduction
- Sharpening
- Face refinement
- Resolution upscaling
This is especially important if you plan to print the photo. A result that looks good on a phone screen may appear soft when printed at a larger size.
Use enhancement carefully. Excessive sharpening can create halos around faces, while aggressive facial reconstruction can make relatives look unlike themselves.
A good workflow is:
- Preserve the original scan.
- Save a restored copy.
- Save the colorized copy.
- Create an enhanced or upscaled print version.
- Keep all versions clearly labeled.
For print preparation, you can use EnhancePhoto's Image Enhancer and Image Upscaler after the colorization step.
Step 6: Choose the Right Thanksgiving Format
A colorized family photo can become more than a digital file. Consider how your family will use it.
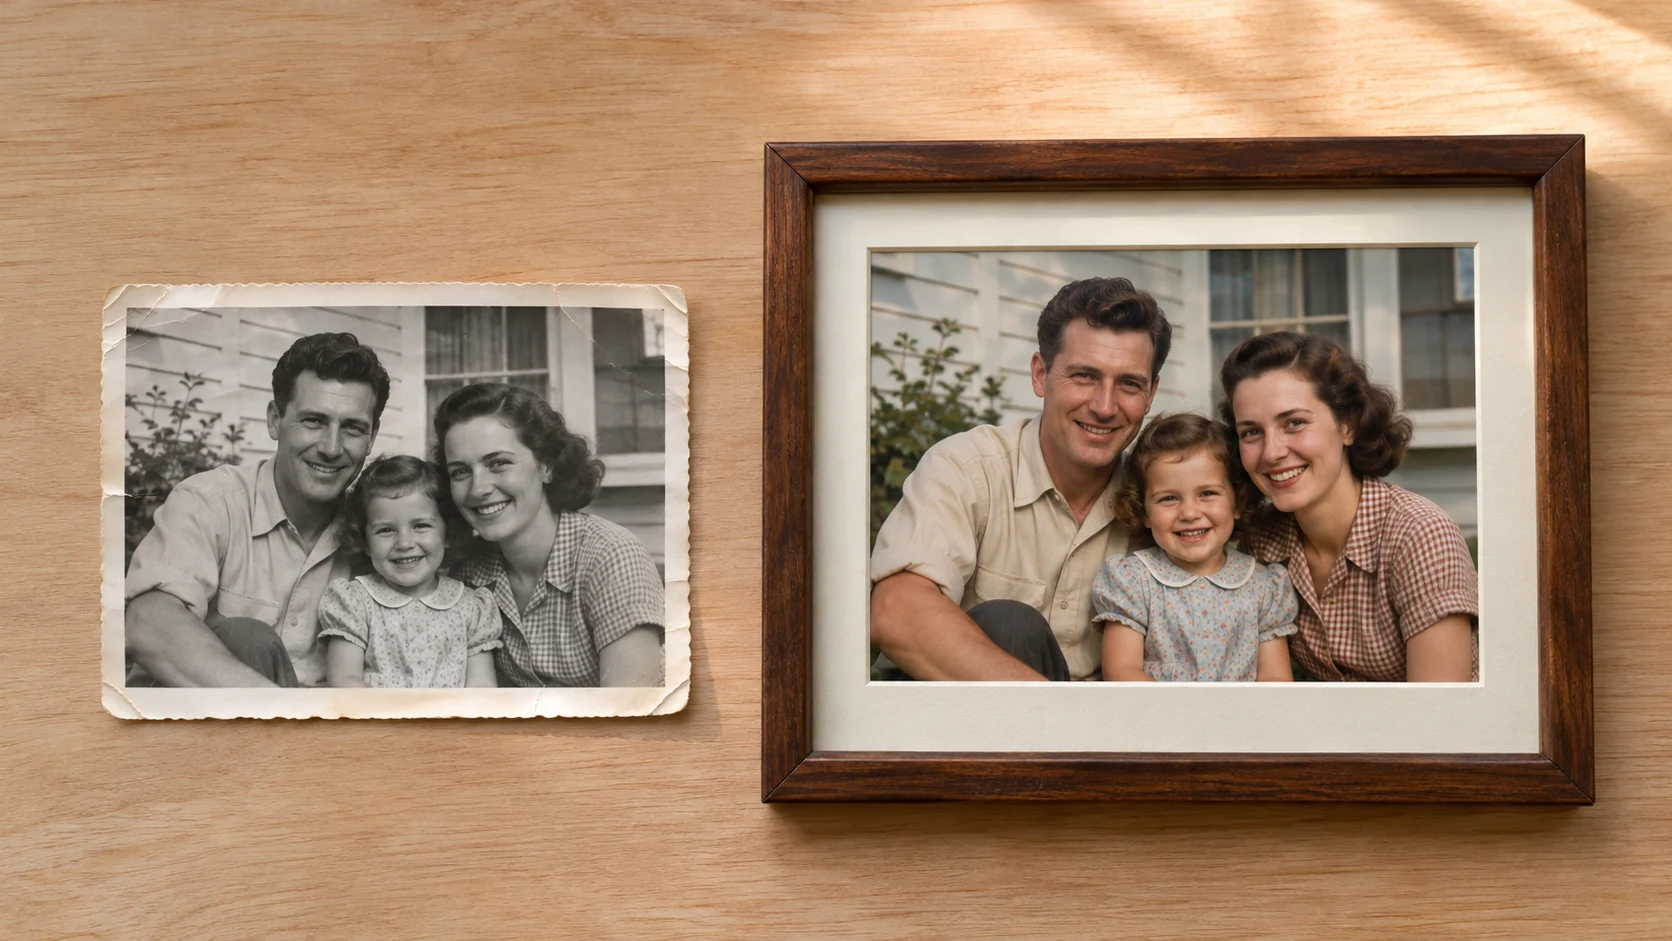
Printed Family Portrait
Print a single restored photograph in a simple frame. This works well for grandparents, parents, and relatives who prefer physical keepsakes.
Family Photo Booklet
Combine several colorized photos with names, approximate dates, locations, and short memories. Avoid guessing details. Mark uncertain dates or identities clearly.
Thanksgiving Table Display
Print several small photographs and place them near the table or guest book. Add a short caption describing the people or occasion.
Digital Family Album
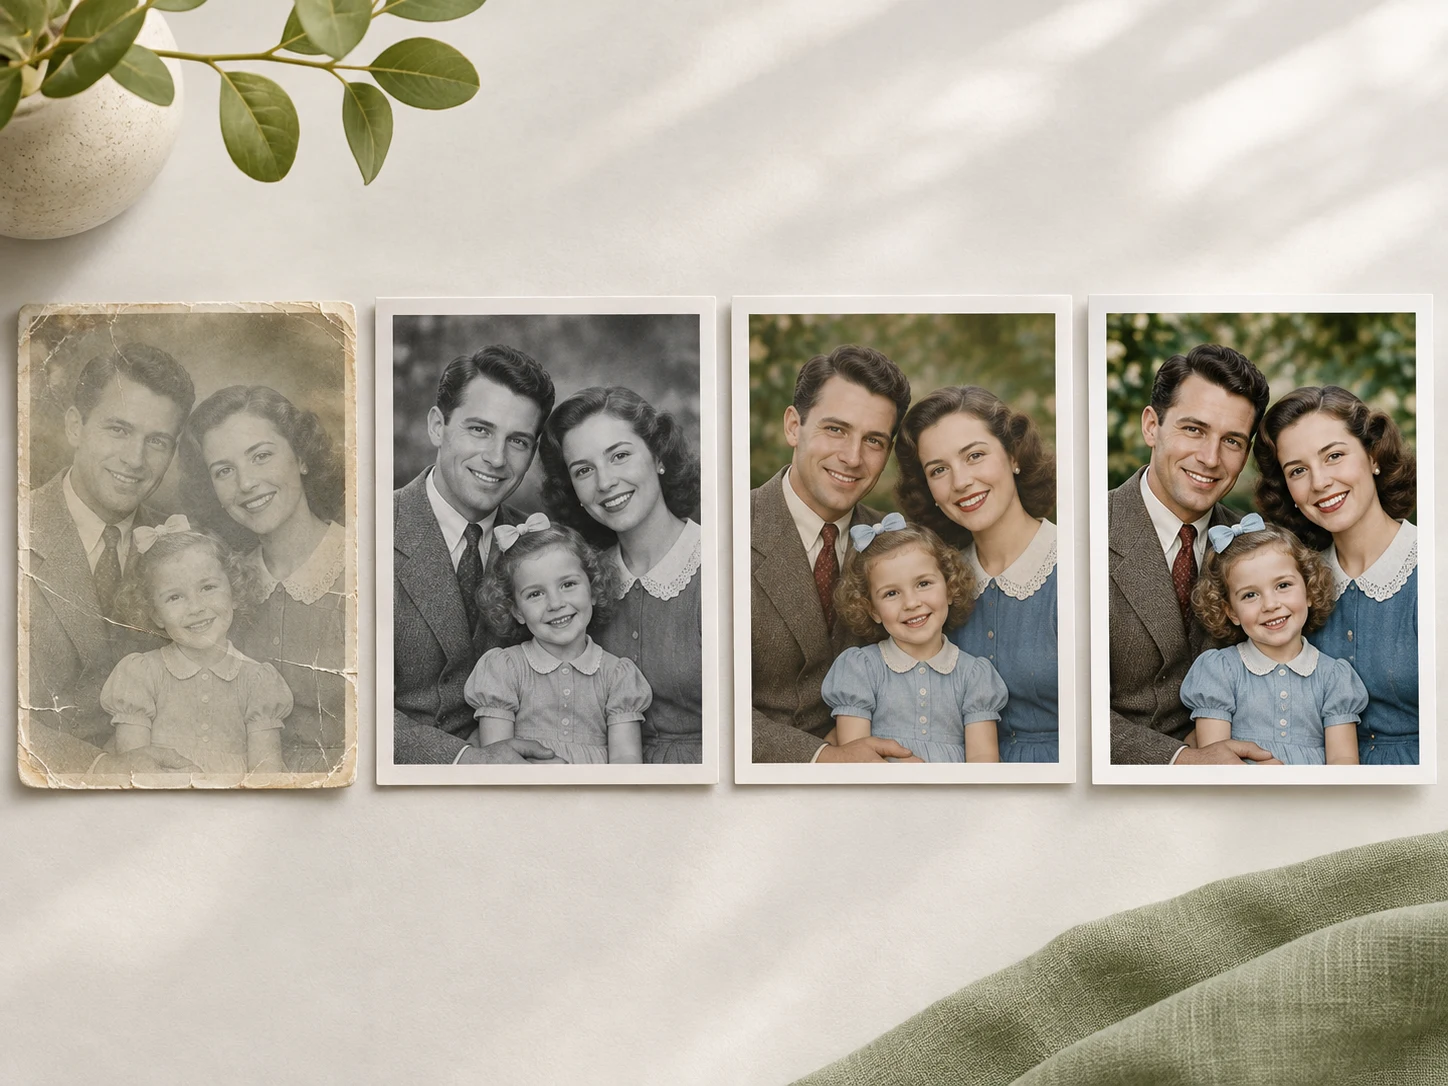
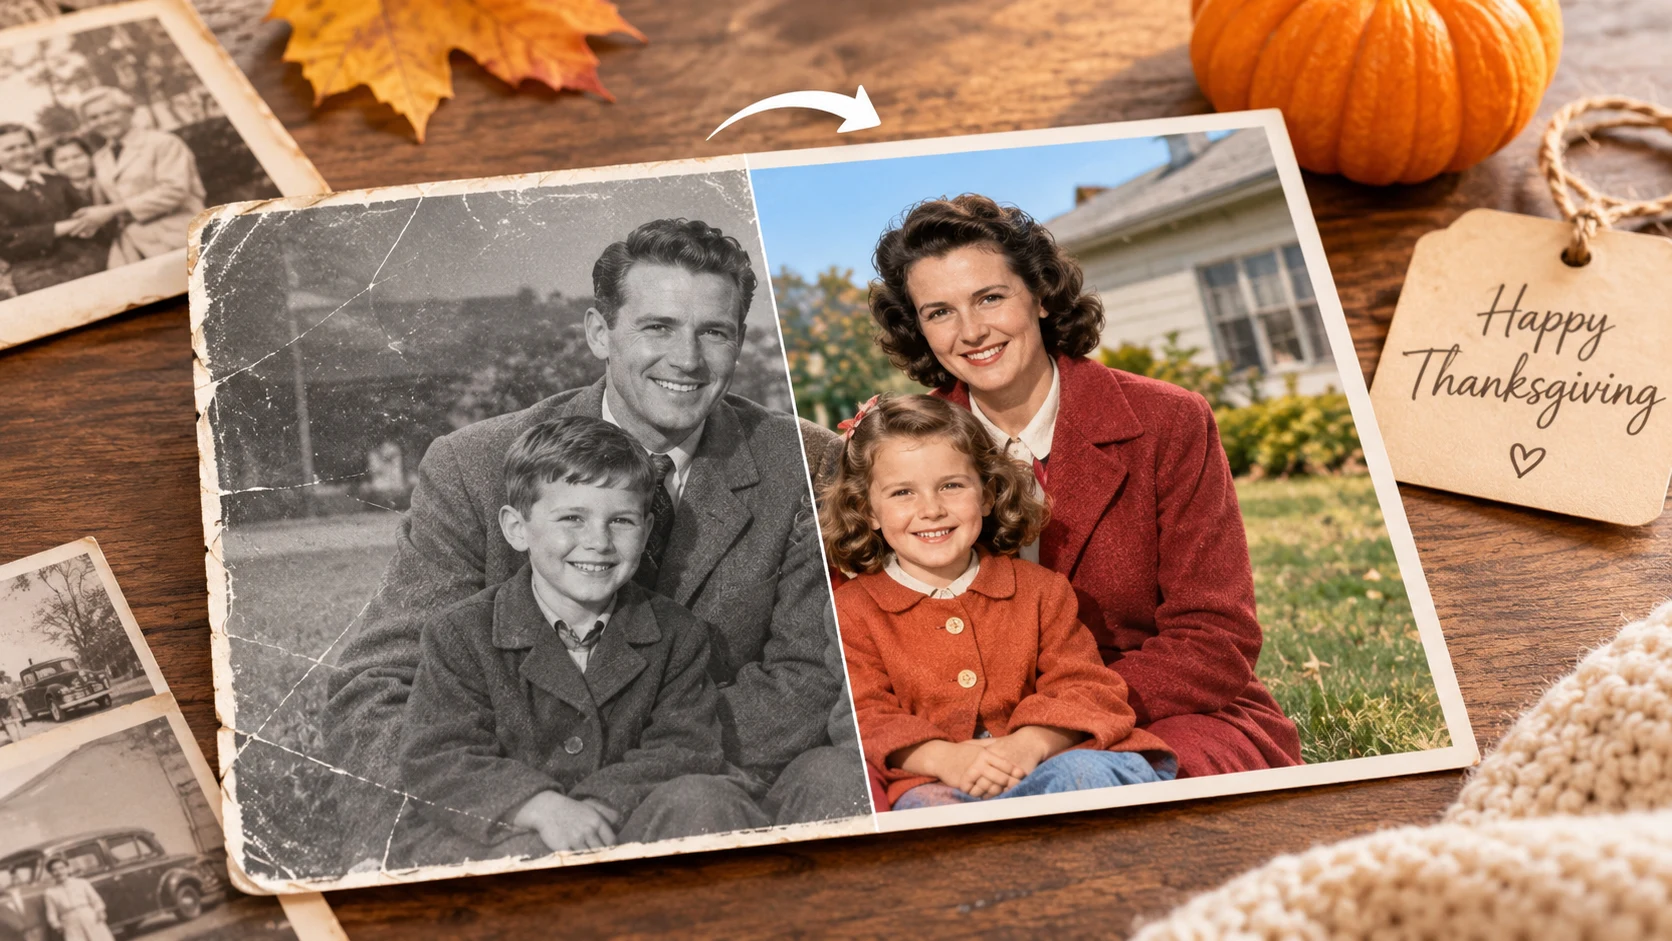
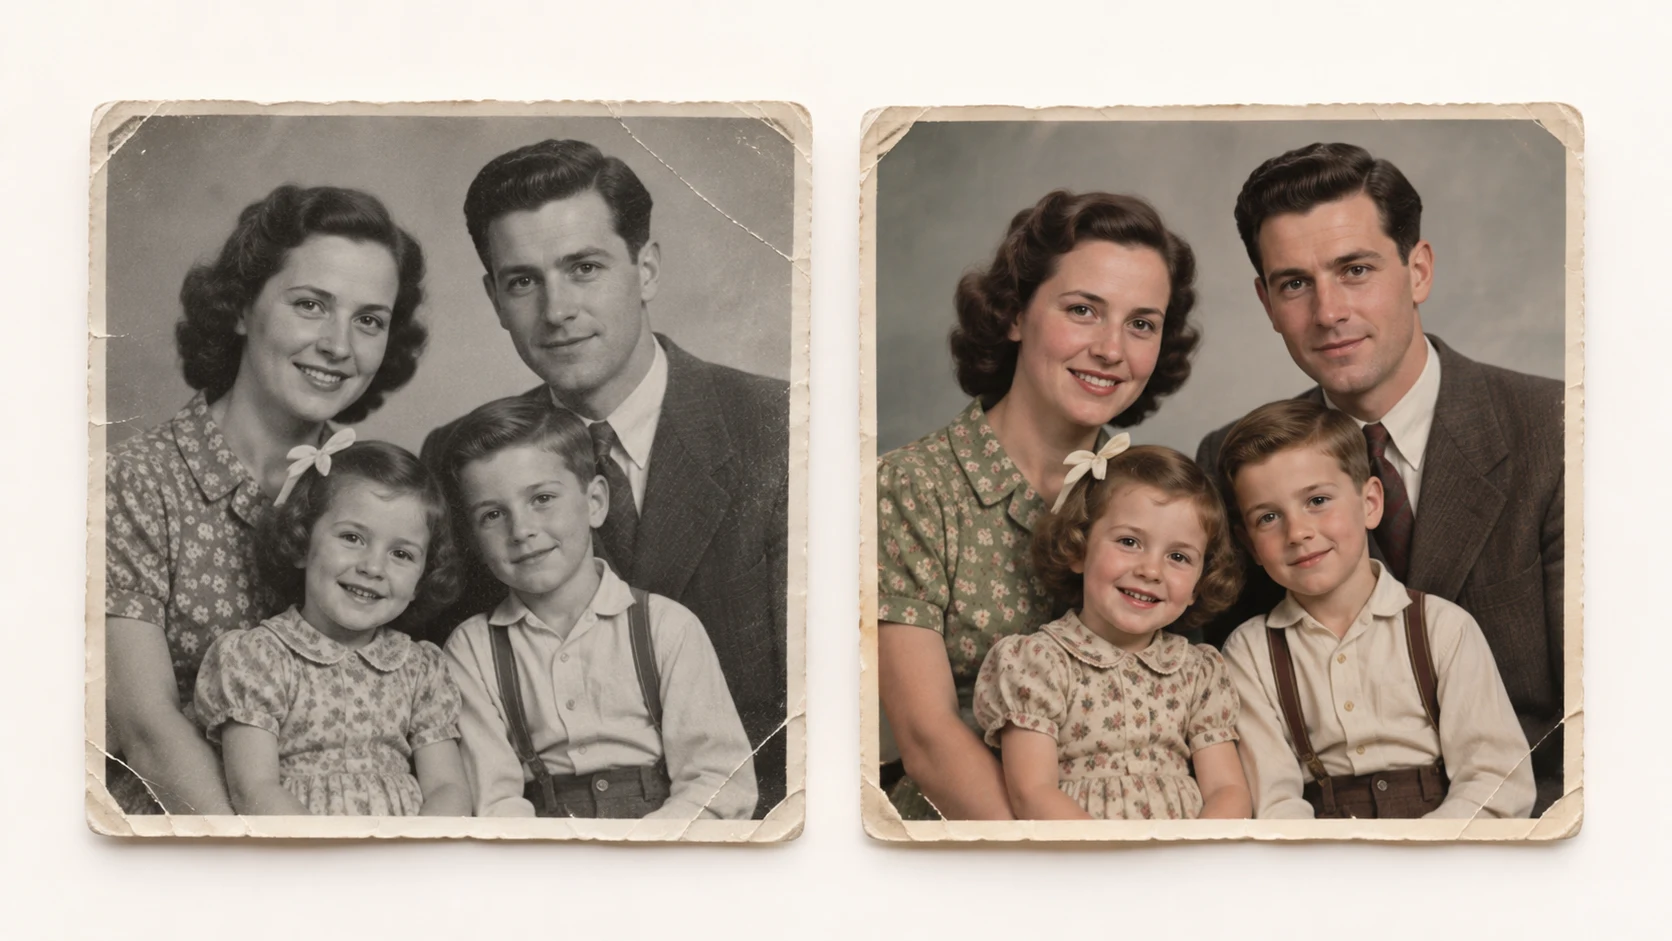
Create a shared album with the original, restored, and colorized versions. Showing the progression helps relatives understand what was changed.
Before-and-After Presentation
Place the original black-and-white photo beside the colorized result. This makes the restoration process easy to appreciate and gives family members a chance to discuss whether the colors feel familiar.
Common Mistakes to Avoid
Colorizing a Poor Scan
A low-quality scan limits the amount of detail the AI can interpret. Improve the source first whenever possible.
Removing Meaningful Imperfections
Scratches and creases can be part of a photograph's history. Remove distracting damage, but avoid making the image look artificially flawless.
Treating Estimated Colors as Facts
AI colorization produces plausible colors. It cannot always recover the exact original palette.
Over-Enhancing Faces
Too much sharpening or reconstruction can change facial features. Compare the output with the original at every stage.
Saving Only the Final Version
Keep the original scan and intermediate files. Future tools may produce better results, and family members may prefer a different version later.
Forgetting Print Quality
Check the final dimensions, sharpness, and color before ordering prints. A screen preview is not always a reliable print preview.
How EnhancePhoto Supports This Workflow
EnhancePhoto can fit into a simple family-photo workflow:
- Use Photo Colorizer to add color to black-and-white or faded images.
- Use Photo Restoration when the original has scratches, tears, or visible damage.
- Use Image Enhancer to improve clarity after colorization.
- Use Image Upscaler when preparing a larger print.
- Use Photo Editor for final cropping and framing.
The important sequence is not “upload and accept the first result.” It is scan, restore, colorize, review, enhance, and then share.
Frequently Asked Questions
Can I colorize old family photos online?
Yes. An online AI photo colorizer can add plausible colors to black-and-white or faded photographs without requiring manual painting.
Should I restore an old photo before colorizing it?
Usually, yes. Removing severe scratches, dust, fading, and blur can give the colorizer a cleaner source image.
Will AI know the original colors?
Not always. AI estimates colors from visual patterns and context. It can create a natural-looking result, but it cannot prove the historical color of every object.
Can I print an AI-colorized family photo?
Yes, but check the final resolution and sharpness first. Use an enhancement or upscaling step when preparing a larger print.
Is it better to colorize the original scan or a copy?
Always preserve the original scan and work from a duplicate. This gives you a clean backup if you want to try another restoration style later.
What is the best old photo to colorize?
Photos with clear faces, visible clothing, good contrast, and limited damage usually produce the most useful results. Very blurry or heavily damaged photos may need restoration first.
Final Checklist
Before sharing your Thanksgiving photo, check that:
- The original scan is safely stored.
- The restored version is saved separately.
- The colorized result has been reviewed at full size.
- Uncertain colors are not presented as historical facts.
- The final file has enough resolution for its intended use.
- The print or digital album includes names and dates where known.
- Family members have a chance to correct or add context.
A carefully colorized photo is not just an image enhancement. It is a way to make an old family story easier to see, discuss, and preserve.
AI Image Upscaling for Print: Keep Details Natural in 2026
AI image upscaling for print made simple: calculate pixels, choose 2× or 4×, protect natural detail, and prepare sharper photos for printing.
How to Fix Blurry Halloween Photos Taken at Night
Learn how to fix blurry Halloween photos after dark. Diagnose motion, missed focus, and low-light noise, then edit carefully for a natural result.