

Holiday Card Photo Editing Tips: Family & Pet Photos in 2026
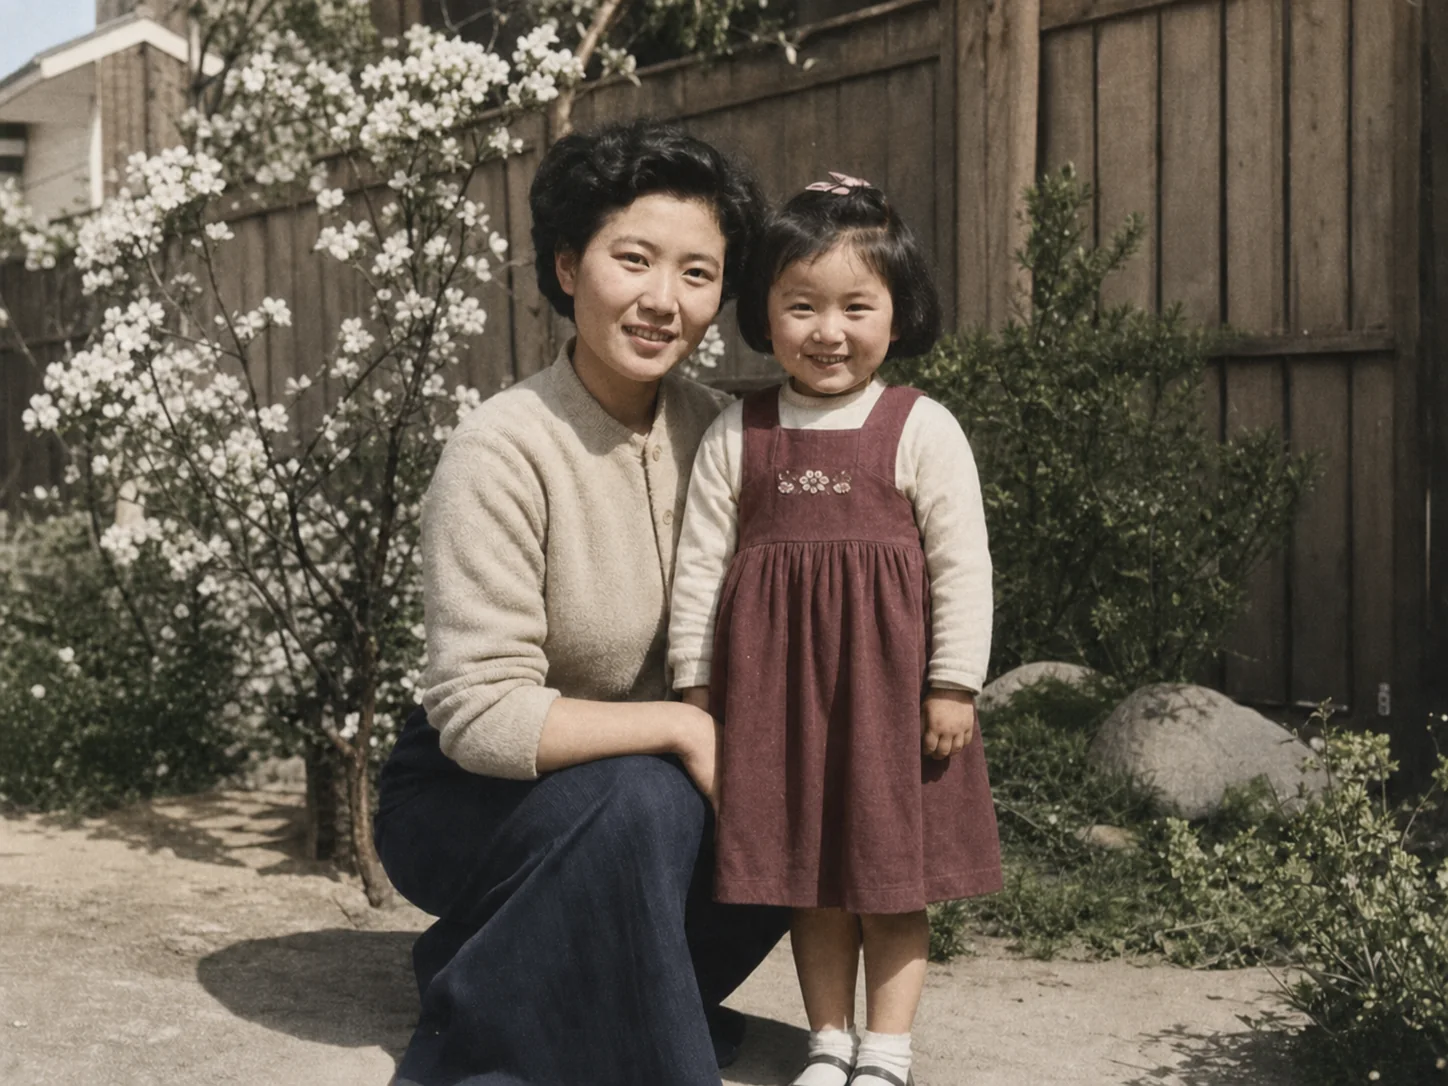
The best holiday card photo may already be in your camera roll. It could be a slightly dim picture of the dog leaning into someone on the sofa, or a group shot where nobody is looking at the camera in quite the same way. You do not need to turn those moments into a studio portrait. Good holiday card photo editing makes the people and pets easier to see while keeping the expression that made you choose the picture.
Quick answer: Start with the original camera file and choose a card layout that fits its orientation. Correct light and color, clean up only genuine distractions, and check faces and fur at full size. If the photo is soft or too small after cropping, address those problems separately. Finish by reviewing the actual card preview and its print-quality warnings.
What makes a candid photo ready for a holiday card?
A card photo needs an appealing moment and enough usable detail for its final size. Expression matters, but a tiny image pulled from a group chat can fall apart when it fills a printed card. Review the image at normal viewing size first, then zoom in to check eyes, hair, fur, and the edges of clothing.
| What you notice | First decision | Useful next step |
|---|---|---|
| Everyone looks natural, but the room is dark | Keep the frame if faces are recognizable | Gently improve light and color |
| One face or the pet is soft | Compare neighboring frames | Deblur only a promising original |
| A bag or bright object pulls attention away | Check whether a crop solves it | Remove the isolated distraction if needed |
| The photo is sharp on a phone but tiny in the card preview | Find the original camera file | Check cropped pixel dimensions before enlarging |
| The best moment is spread across several photos | Choose a layout with multiple image slots | Give each picture one clear role |
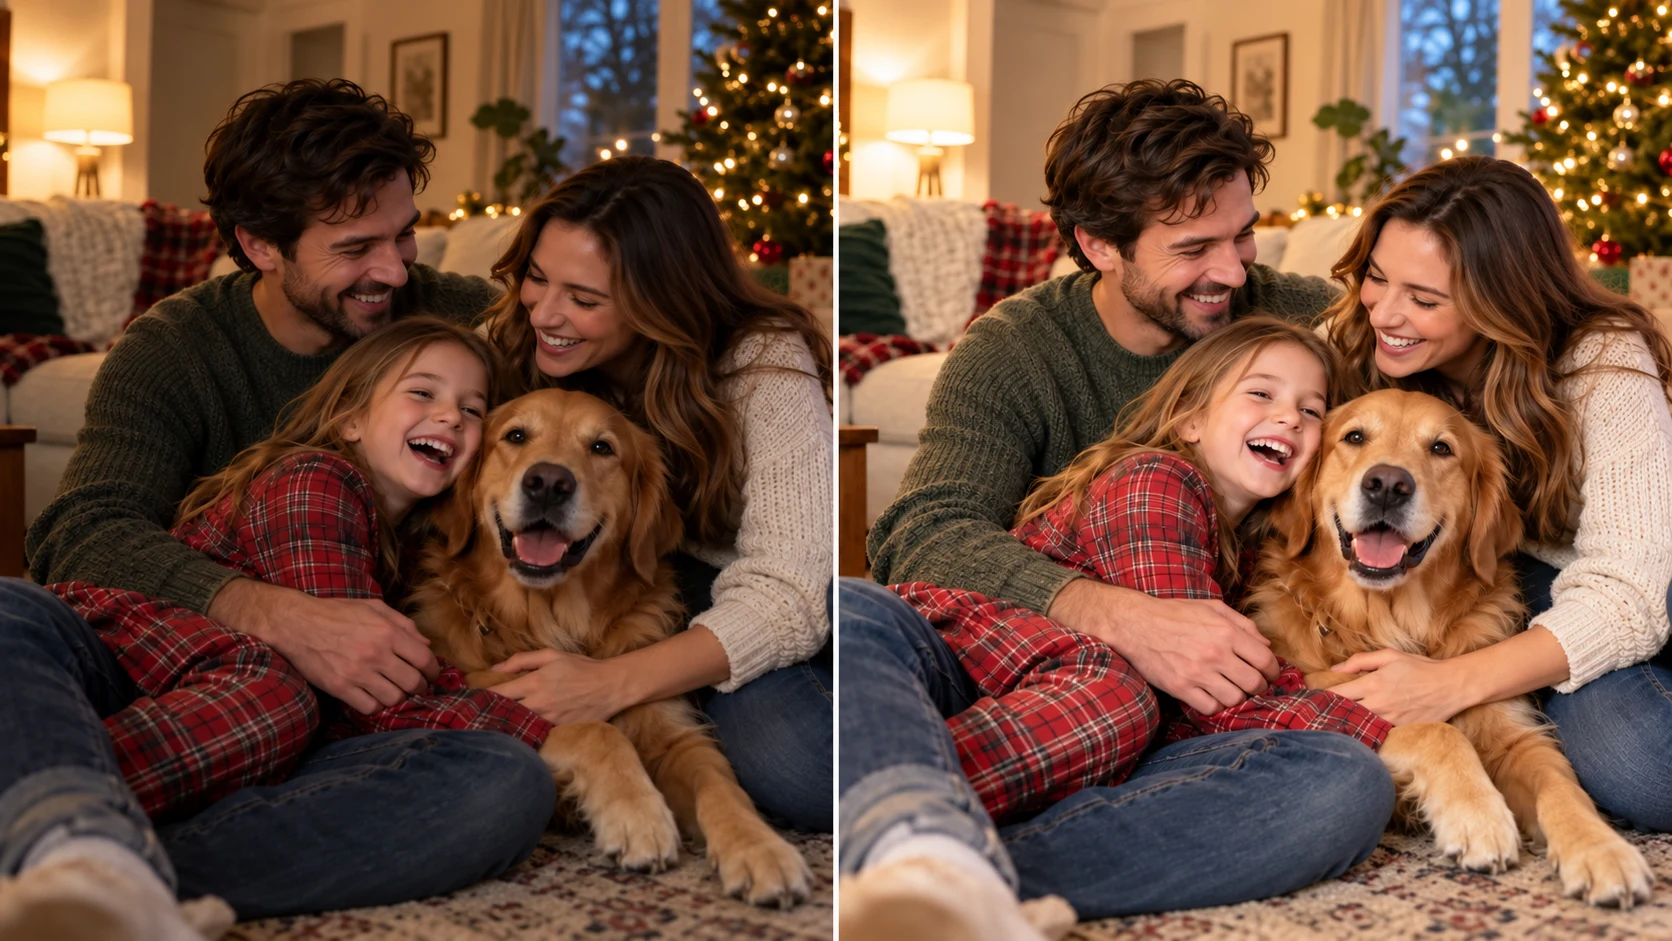
Do not reject a candid picture because someone is laughing rather than posing. In its Fall and Winter 2026 seller report, Etsy describes growing interest in gifts for friends and pets as part of a wider view of family. That is a useful creative cue for a personal card: include the people and animals who made the year feel like yours.
Choose the card layout before you edit
The layout determines how much of a photo will survive the crop. A wide sofa scene may work beautifully across a horizontal card and poorly in a narrow vertical slot. Pick the format before spending time cleaning edges that a template will cut away. This is the first practical decision in holiday card photo editing.
| If you have... | Try... | Check before editing |
|---|---|---|
| One strong group picture | A single large photo | Faces, pet ears, and hands fit with breathing room |
| Several candid moments from the year | A restrained multi-photo layout | Each image is readable at its smaller printed size |
| A clear pet portrait and a separate family photo | A two-photo card or a second-side photo | The pet's expression is visible, not lost in a tiny tile |
| A vertical phone portrait | A portrait card or a generous portrait slot | The crop does not cut off heads or paws |
| A wide holiday gathering | A horizontal card | People at the frame edges remain visible |
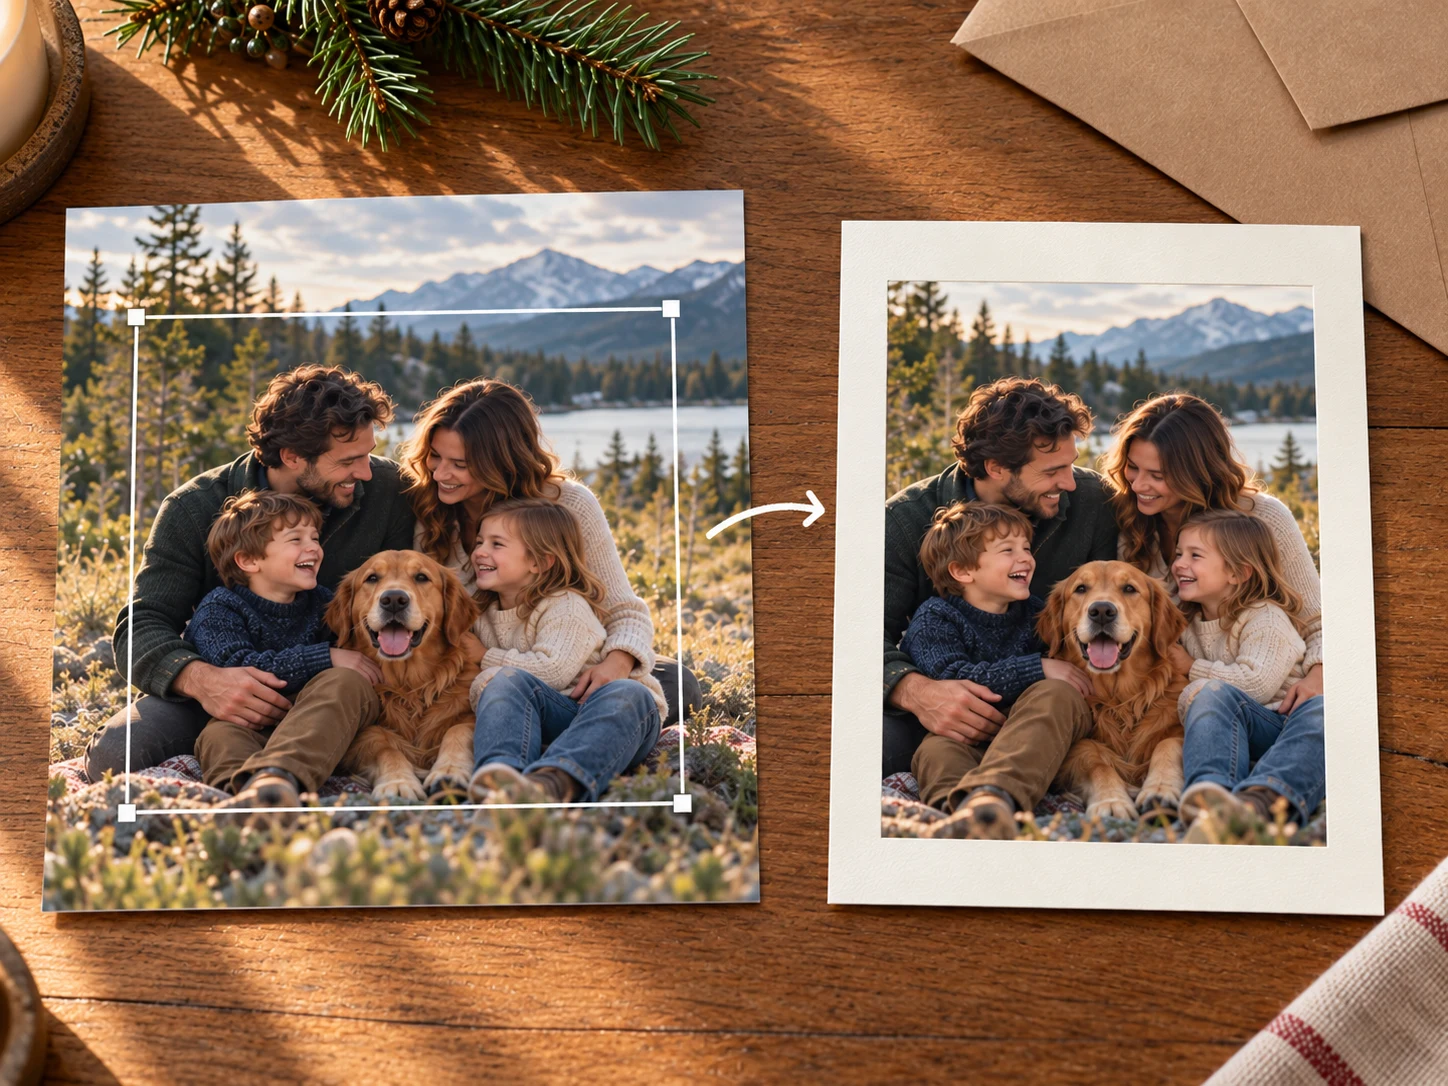
One photo or a short visual story?
Use one image when it can carry the whole greeting. Let the people or pet fill the frame and keep decoration around the picture quiet. If no single image includes everyone you want to remember, a small set often feels more honest than a forced composite. Choose different moments—a group scene, a close portrait, and a pet or detail photo—rather than three nearly identical poses.
The pictures should still belong together. Similar warmth and contrast will make a collage feel deliberate, even when the photos came from different months or cameras. Keep each subject large enough to recognize on paper. A six-photo design may look lively on a monitor but make every face too small when printed.
Leave room for the template
Place important faces, ears, paws, and small hands away from the outer edge. Card templates may trim or crop more than the editor's thumbnail suggests. If a portrait only works when zoomed in so far that the resolution warning appears, switch to a layout with a larger or differently shaped photo area. A better layout is often a better fix than aggressive enlargement.
Start with the strongest original file
Before holiday card photo editing begins, collect the original pictures from your phone, camera, or shared album. Ask a friend for the camera original if they sent a compressed copy in a chat. Keep that source untouched and edit a duplicate so you can compare the final image with what the camera captured.
Make a quick shortlist. For each candidate, ask:
- Are the important faces and the pet's eyes recognizable at full size?
- Is there enough space around the group for the intended card crop?
- Does the expression feel like the people or animal you know?
- Is the file large enough after the crop, rather than only before it?
- Would a nearby burst frame solve the problem more naturally than an edit?
If you have two similar photos, choose the one with a better expression and sound detail in the most important subject. A slightly darker room is often easier to improve than a face hidden by heavy motion blur. If one person blinked in an otherwise good group photo, check nearby frames before trying to alter an eye. Preserve the moment you actually photographed.
For phone images, avoid using a screenshot of the camera roll. Screenshots often carry less useful picture area, and cropping away the phone interface removes even more pixels. The original file also gives you more room to reposition the photo within the card template.
Holiday card photo editing, step by step
Edit in a simple order: choose, correct, inspect, then export. Save versions after meaningful changes. You should be able to return to the source if an edit makes skin, fur, or fabric look strange. EnhancePhoto.ai offers separate browser tools for lighting, blur, object cleanup, and enlargement, so choose a step for the defect you can actually see.
1. Balance light and color gently
Begin with a photo that already has a recognizable subject. Lift dark faces enough to read their expressions, but keep the room's warm lamps or winter window light. If a white sweater turns yellow or skin goes gray, correct the color cast before adding contrast.
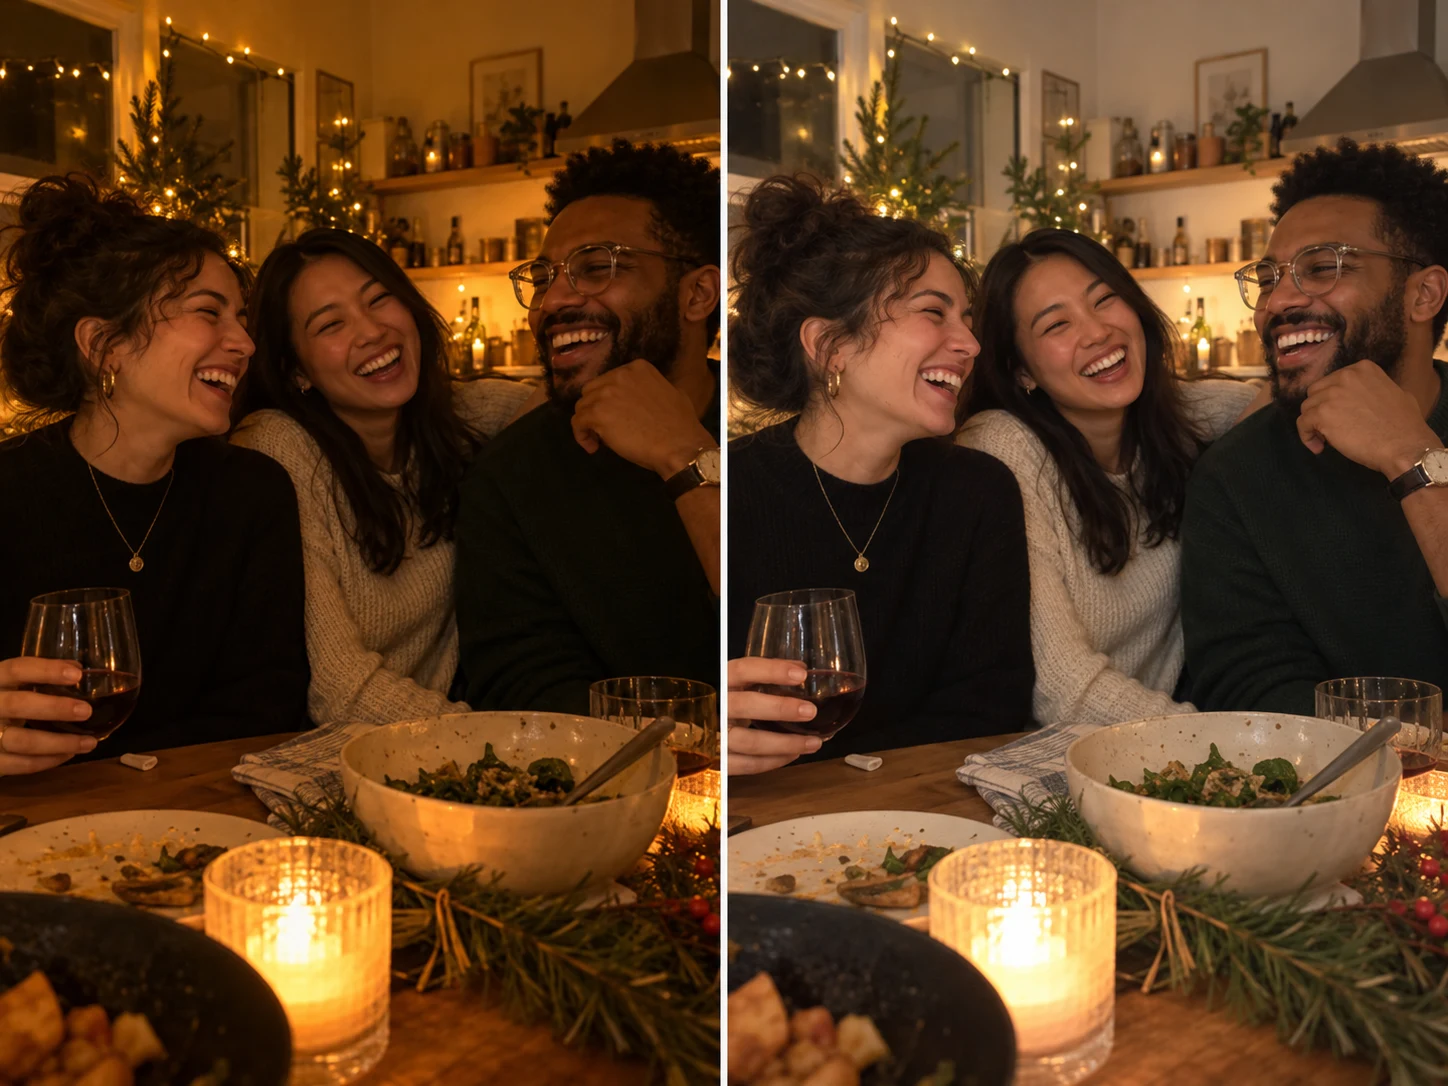
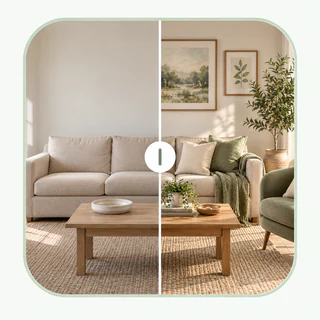
EnhancePhoto.ai's Photo Enhancer can address overall clarity, lighting, and color in a browser. Compare the processed picture with your original at full size. The goal is a cohesive card set, so make several photos similar in brightness without forcing every scene into the same tone. An evening gathering can remain an evening gathering.
2. Treat blur separately from darkness
Brightening does not restore motion-blurred eyes. If the best frame is mildly soft, try the site's Unblur Image tool on a copy. Check whether the face, collar, whiskers, and other familiar details still look plausible. When the subject is heavily smeared, another camera frame is usually a stronger choice.
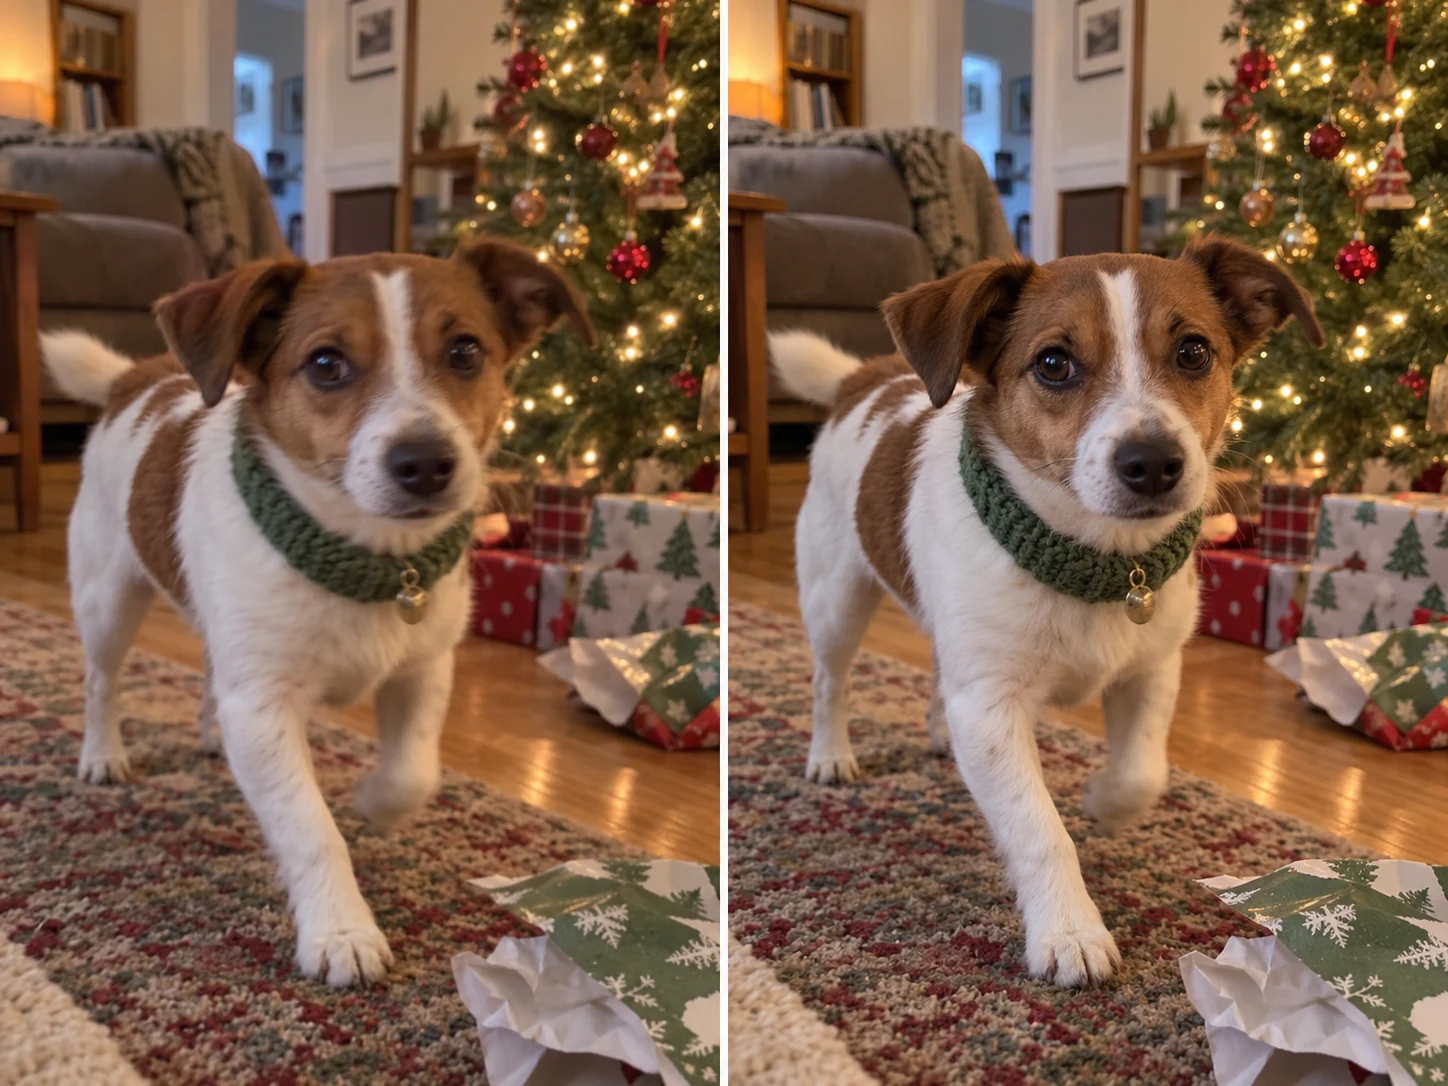
For a multi-photo card, a mildly soft supporting image may be acceptable in a small slot. The main portrait has to hold up at the size it will occupy on the card. Do not upscale a blurred image first and assume its new dimensions mean the original detail has returned.
3. Remove distractions that compete with the subject
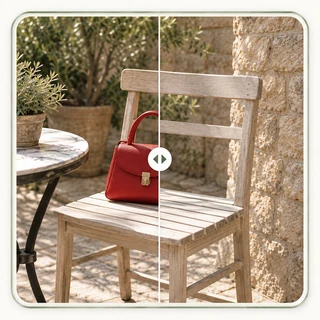
Start with cropping or repositioning. If a stray bag, cable, or bright object remains beside the group, the Object Remover can mark a localized area for cleanup. Inspect the repaired wall, floor, fabric, or holiday lights at full size. Repeated patterns and contact shadows are where a removed object may still show.
Leave meaningful context in place. A child's favorite toy or the dog's chewed blanket might be the detail that makes the picture yours. Holiday card photo editing works best when it clears visual clutter without rewriting the day.
4. Inspect faces and fur before you approve a result
Look at every person and animal separately, not only at the overall scene. Small changes in eyes, teeth, pet markings, or hair can be easy to miss in a full-screen preview. Check the original and edited version side by side, then view the card at approximately its printed size.
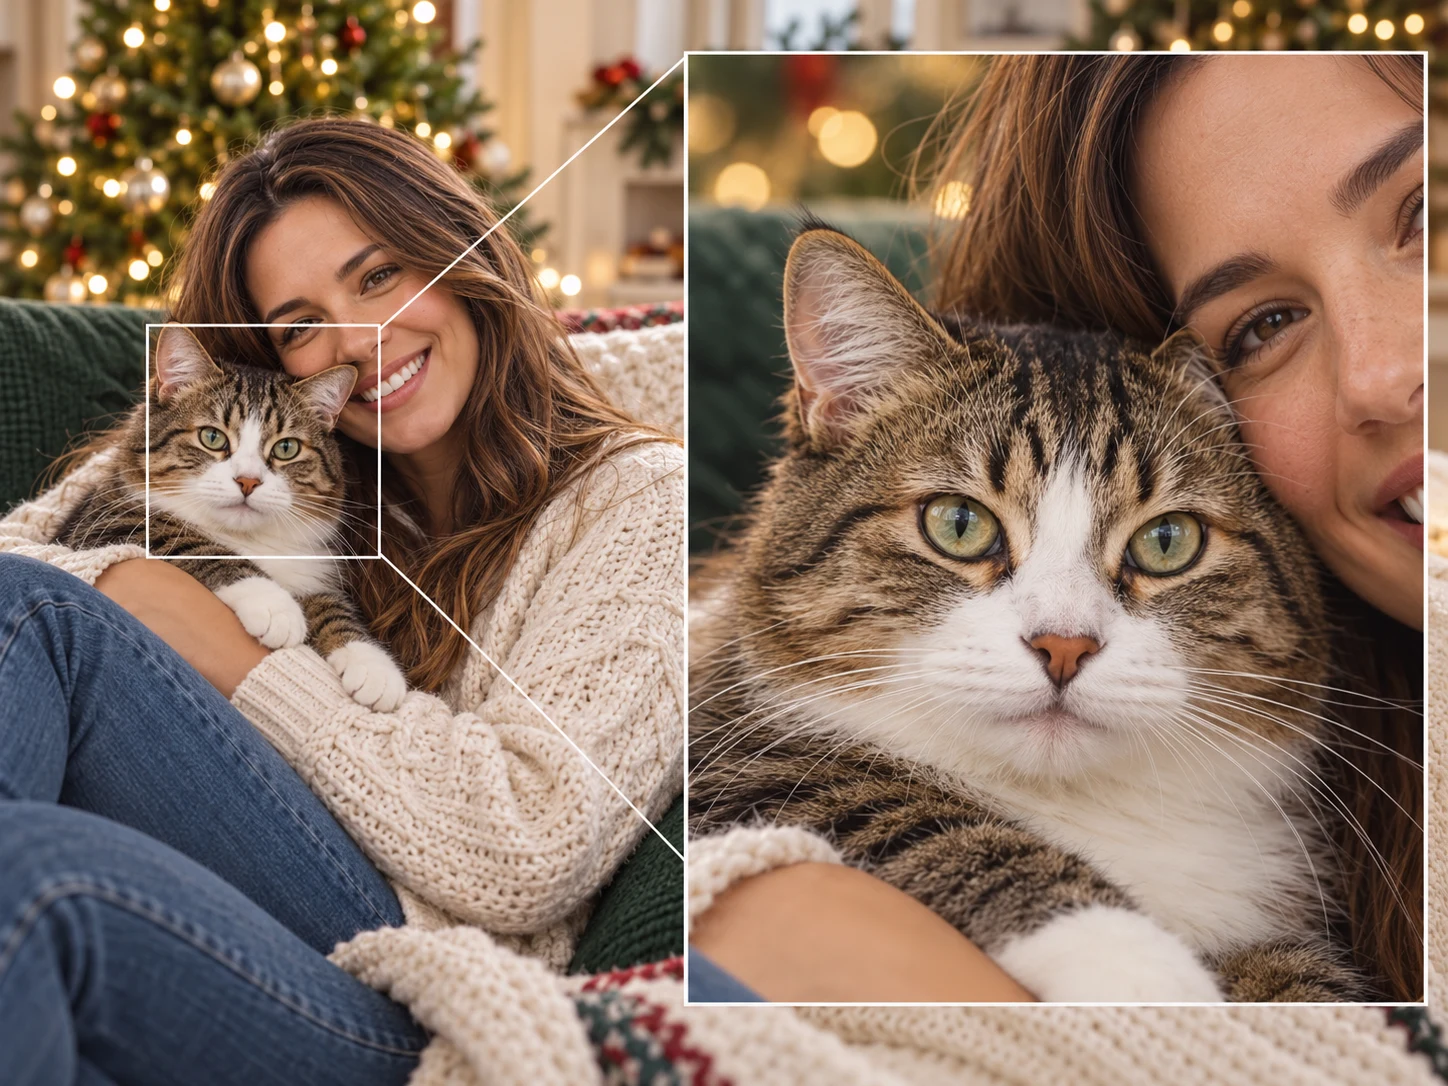
Use this short review list:
- People: Eyes and smiles still resemble the source; skin has natural texture.
- Pets: Fur patterns, ear shape, whiskers, and collar details remain believable.
- Clothes: Knits, plaid, and small printed motifs have not turned into invented patterns.
- Background: Straight lines, window frames, and lights still look natural.
- Group: No one at the edge has been distorted or cropped out accidentally.
If the edit changes a distinctive feature, return to the original or use a gentler version. A card is a keepsake. Familiarity matters more than maximum sharpness.
5. Enlarge only when the final layout needs it
The Image Upscaler is a later step if a good edited photo has too few pixels for the card slot you chose. Upscaling increases dimensions; it cannot verify a face or pet marking missing from the original. If the source is a tiny chat image, ask for the camera file first.
The important number is the photo's size after the intended crop. A 4,000-pixel-wide picture can lose much of its usable width when a vertical card slot isolates one person. Check the printer's actual size and quality warning in the card editor, then decide whether a larger file or a different layout is needed. For a deeper explanation of print sizing, see EnhancePhoto.ai's image upscaling guide for print.
Make friends, children, and pets look like themselves
Your card does not have to follow a standard family-portrait formula. It might show friends at a kitchen table, grandparents and a new baby, two roommates with a cat, or a dog who stole the center of every frame. Build the card around the people and pets you actually want to greet others with. In holiday card photo editing, keeping each subject recognizable matters more than making every frame equally polished.
| Subject | What to prioritize | What to avoid |
|---|---|---|
| Group of friends | A real interaction and clear faces | Stitching together unrelated expressions |
| Children | Sharp eyes or an unmistakable gesture | Over-smoothing skin or changing features |
| Dogs and cats | Recognizable markings, ears, and expression | Invented fur texture or altered eye color |
| Multigenerational family | Faces large enough to read in print | A crop that places someone at the trim edge |
| Separate snapshots | Similar light and color across the set | Making every image unnaturally identical |
When your pet will not sit still
Take several short bursts near a window or in even outdoor shade. Hold a treat or favorite toy close to the camera, without blocking the lens. Select the frame where the pet's eyes and distinctive markings are clearest. A candid head tilt can carry a card by itself; a costume or prop is optional.
If the pet is in a group photo, check both the animal and the people. A frame where the dog is perfect but everyone else is blurred may fit a small supporting slot better than the front of the card. A second photo can give the pet a starring role without asking one imperfect frame to do everything.
When the person and pet are in separate photos
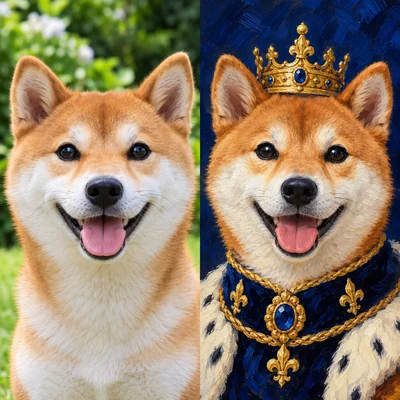
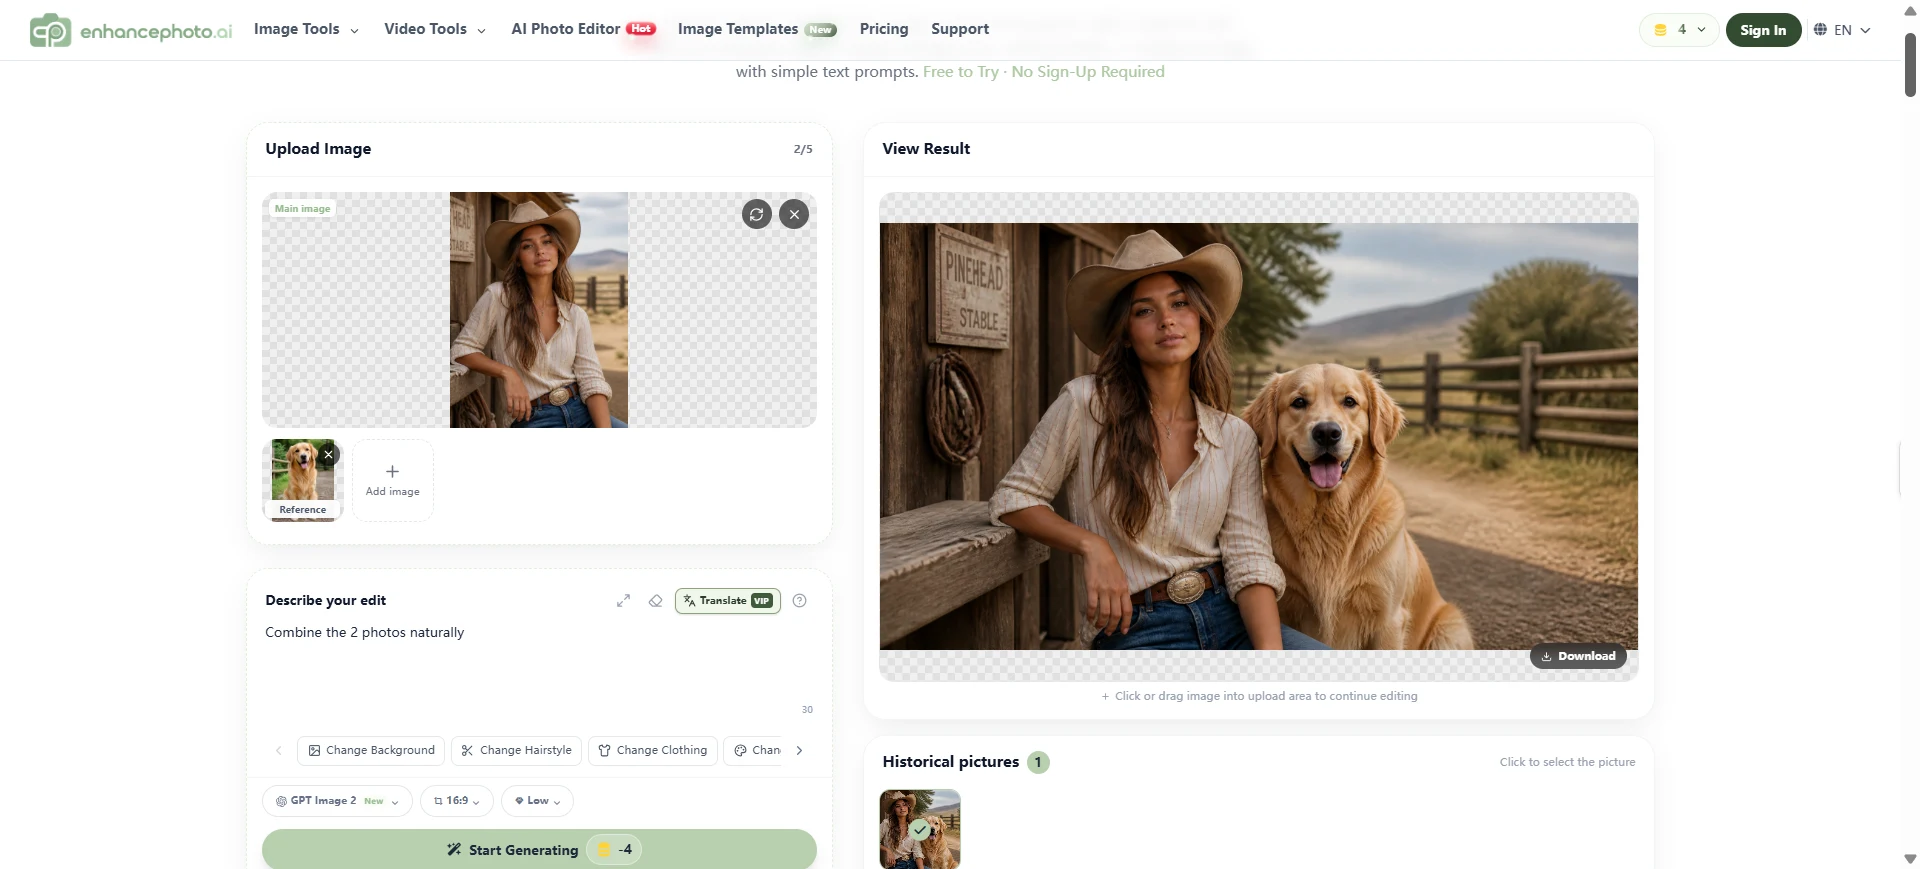
If you want them together in one card image, EnhancePhoto.ai's AI Photo Editor lets you provide a main photo, a reference photo, and a written edit instruction. Start with originals that show both subjects clearly. After combining them, compare faces, fur markings, scale, lighting, and contact shadows with the source photos. If the result feels forced, use separate card slots instead.
When your favorite people live in different places
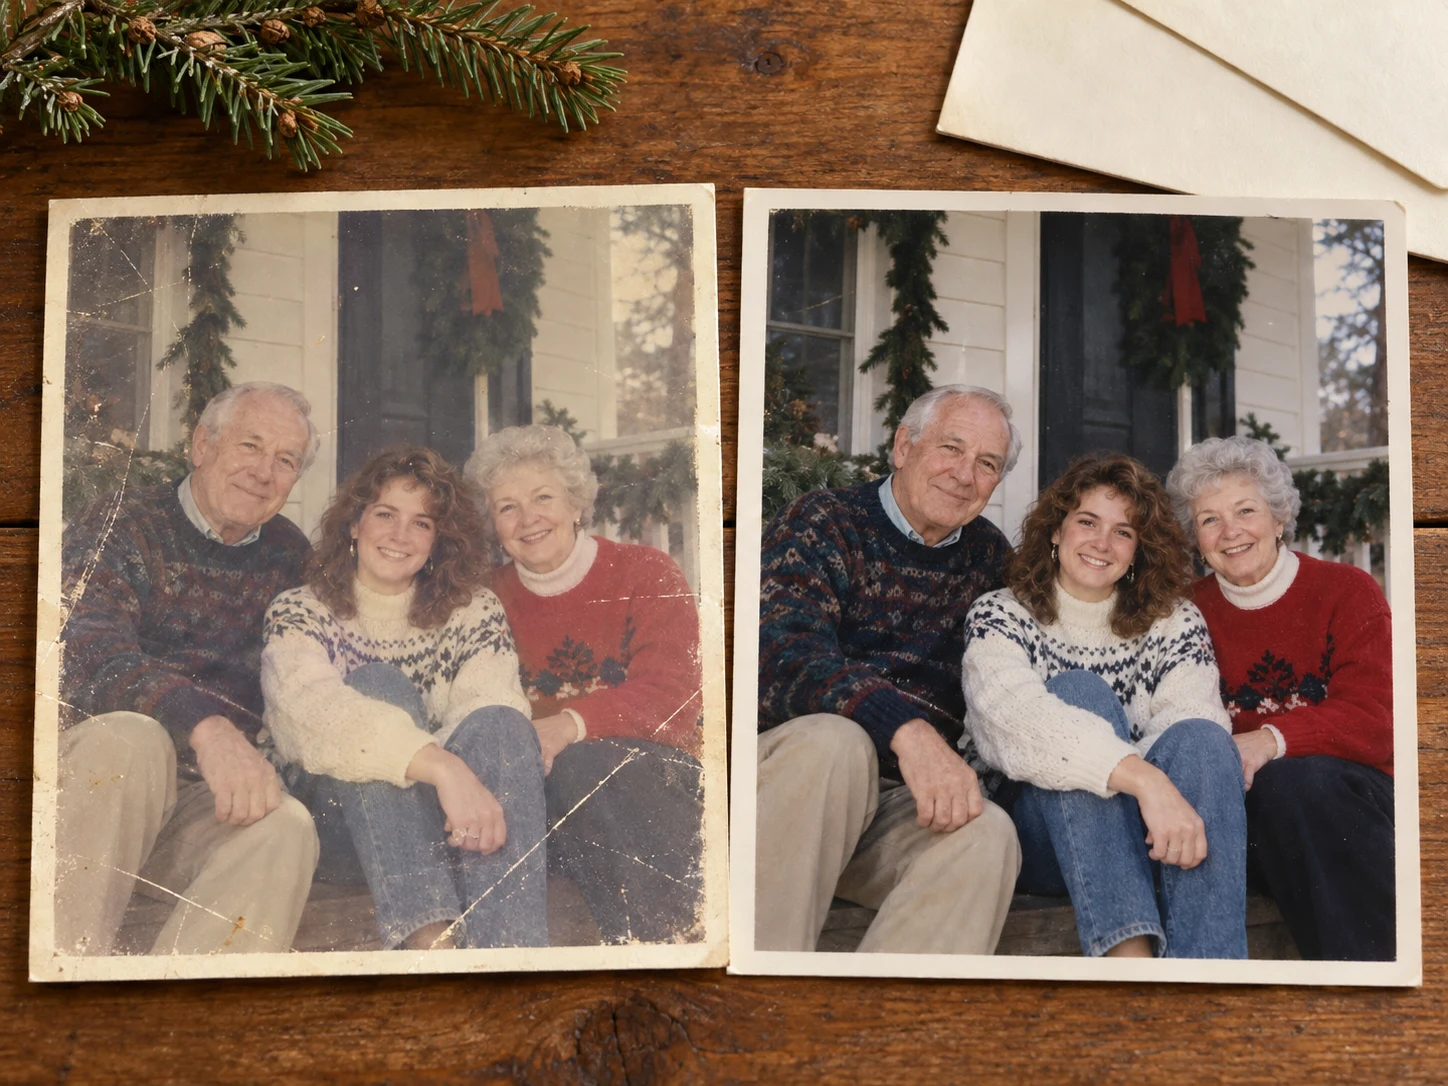
A multi-photo card can honor separate moments without pretending everyone stood together. Choose a consistent crop style and keep the lighting balanced across frames. If one older picture is faded or damaged, consider photo restoration as a separate first step, then compare the restored version with the scan. Keep names, dates, and personal details in the card design rather than asking an image tool to invent them inside a photograph.
Proof the printed card, not just the image file
Open the printer's full card preview before ordering. Look at the front, back, and every photo slot at the size they will print. A strong standalone picture can fail in the design if the greeting covers a face, the pet's ears fall outside the crop, or one small collage tile looks much darker than the others. Treat this proof as the final stage of holiday card photo editing.
Shutterfly's card help guide lists recommended image resolutions by card format and explains its low-resolution warning. Treat that as an example of how a printer evaluates files, then follow the requirements of the service you actually use. Pixel count and sharpness are separate checks: a sufficiently large but out-of-focus original can still print soft.
Before approving the order, check:
- Crop: Every face, paw, and important prop is inside the visible print area.
- Resolution: The printer accepts the file without a quality warning at that slot size.
- Color: Skin and fur look believable across all photos in the card.
- Text: Names, year, and greeting are correct in the card editor.
- Layout: One image leads; the others support it instead of competing for attention.
- Proof: You have reviewed the full design at close to its physical size.
Order a small proof if color or detail is especially important. Keep the full-resolution edited master and export a new copy for any social version; do not repeatedly save and re-crop the same compressed file.
Common mistakes in holiday card photo editing
- Picking the template after heavy editing. The final crop may hide the details you spent time improving.
- Using a social-media download. Ask for the original photo when possible; a small copy gives you fewer crop options.
- Brightening every frame equally. Preserve the character of indoor, outdoor, daytime, and evening moments.
- Sharpening until fur looks painted. Review an animal's recognizable markings, not only the perceived crispness.
- Erasing too much context. Remove the stray distraction, but keep details that tell the family's story.
- Ignoring the smallest tile. A multi-photo card needs each picture to work at its actual printed size.
- Treating more pixels as more truth. Upscaling changes dimensions; check whether the underlying photograph is sound.
Frequently asked questions
Can I use phone pictures for holiday cards?
Yes. Holiday card photo editing works well with original phone pictures when the subjects are clear and the crop is sensible. Check the printer's preview after placing them in the layout. A screenshot or a copy downloaded from a social feed is usually a weaker starting point.
How do I edit a pet photo without changing its appearance?
Start with a sharp frame showing the pet's eyes and markings. Correct light and color modestly, then inspect fur texture, ear shape, whiskers, and collar details against the original. If an edit changes those familiar features, use a gentler version or choose another frame.
Should I choose one photo or several?
Choose one when it tells the story clearly and everyone fits comfortably inside the crop. Choose several when your favorite moments happened at different times or when a pet portrait deserves its own space. Keep the set short enough that each face or animal remains recognizable in print.
Will AI fix a blurry face for a printed card?
Mild softness may improve if the original still contains recognizable detail. Severe motion blur or missed focus can leave too little dependable information. Compare nearby frames first, then inspect any edited face at full size and at the intended print size. Choose a smaller photo slot or a different source if the result looks unfamiliar.
What if my card editor says a photo has low resolution?
Find the original camera file, reduce the crop, or choose a layout with a smaller image area. If the best source is otherwise sound, enlargement may help with dimensions, but review the result before printing. Follow the warning and size guidance from the printer you will actually use.
Make the card feel like your year
Thoughtful holiday card photo editing begins with the right moment, then makes modest corrections that help someone recognize it. Choose the layout early, work from the best originals, and give faces and pets a careful final check. The strongest card usually feels personal at a glance and still looks true when held in your hand.
How to Fix Blurry Halloween Photos Taken at Night
Learn how to fix blurry Halloween photos after dark. Diagnose motion, missed focus, and low-light noise, then edit carefully for a natural result.
How to Improve Holiday Product Photos Without Changing Items
Learn how to improve holiday product photos while keeping real colors, textures, labels, and shapes accurate. Follow a simple editing and review workflow.