









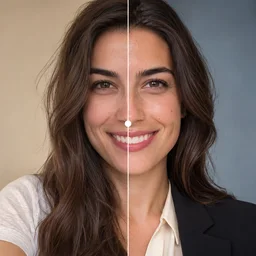






How to Enhance Video Quality for Shorts & Reels
Short-form video is often recorded quickly, edited on a phone, and uploaded across several platforms. That workflow can introduce blur, compression artifacts, soft details, poor cropping, and inconsistent color.
To enhance video quality for YouTube Shorts and Instagram Reels, start with the cleanest original file, identify the real quality problem, enhance gently, protect the main subject inside the vertical frame, and review the exported file before publishing.
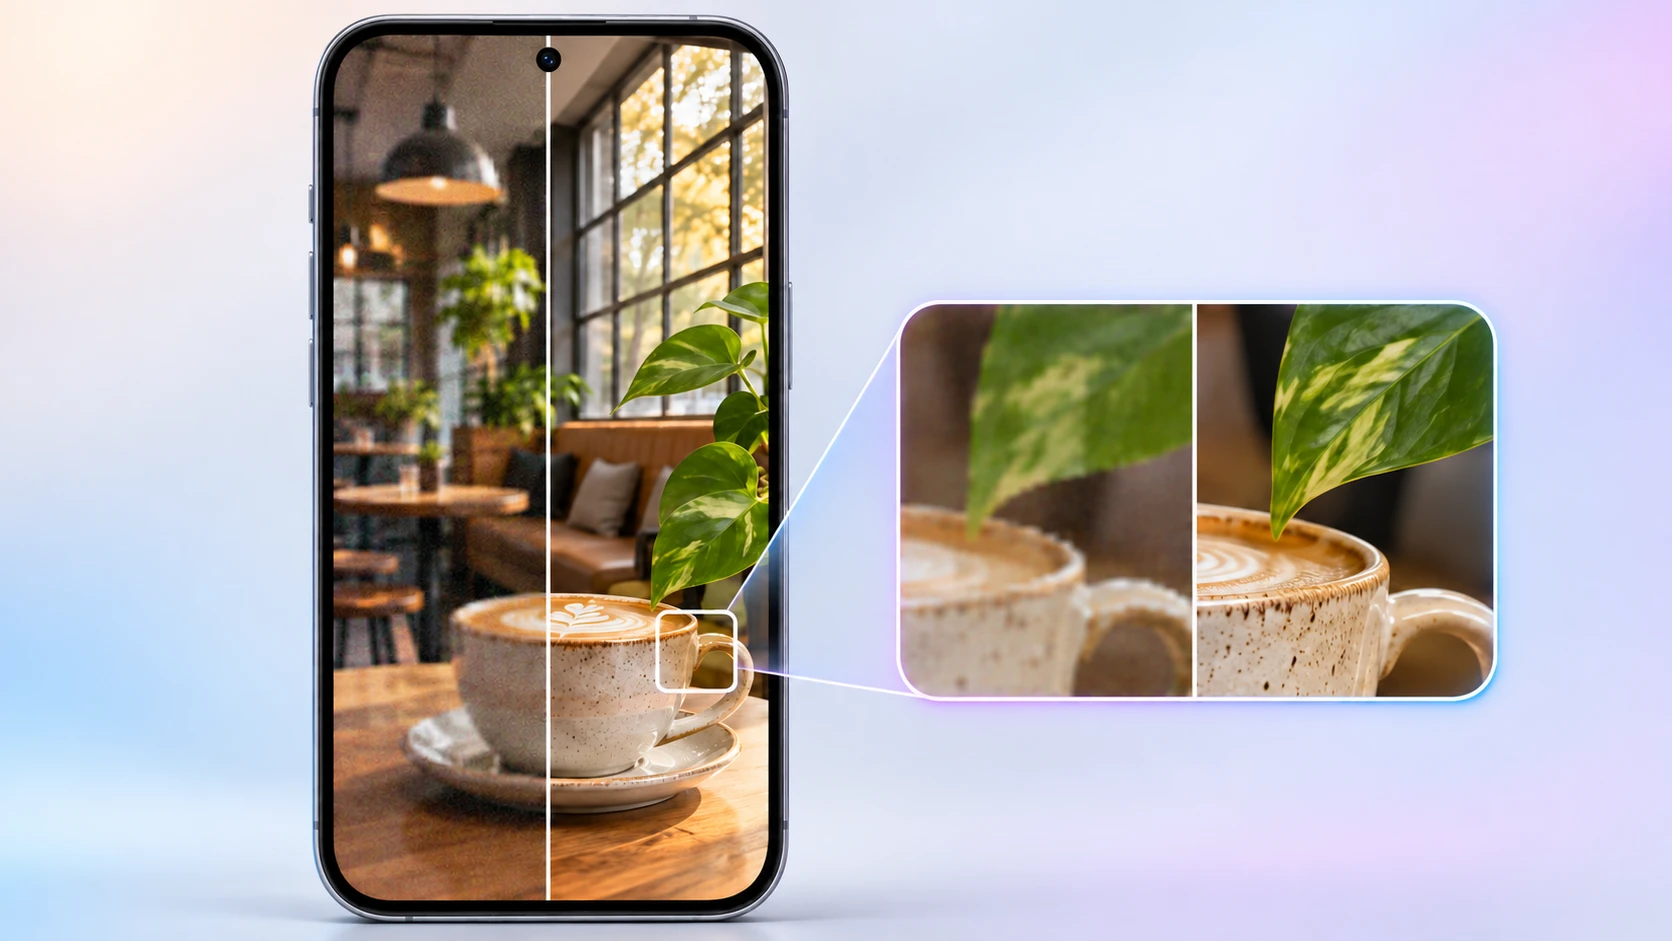
Why Short-Form Videos Lose Quality
A video can look sharp in your camera roll and become noticeably softer after editing or uploading. Common causes include:
- Low-resolution source footage
- Multiple rounds of export and re-compression
- Cropping a landscape video into a vertical frame
- Digital zoom on faces or products
- Over-sharpening during editing
- Poor lighting and excessive noise
- Text or captions placed too close to the edges
The first step is to identify whether the problem is resolution, blur, noise, compression, or framing. Each problem needs a different solution.
1. Start With the Best Available Source
Enhancement works best when the source video already contains useful visual information. Before processing a clip, locate the original camera file instead of using a version downloaded from a messaging app or social platform.
Use the highest-quality source available and avoid editing the same file repeatedly. Every export can introduce additional compression, especially when the file has already been uploaded and downloaded several times.
If you only have a low-resolution copy, an AI video enhancer can improve edge definition, reduce visible noise, and create a cleaner output. It cannot perfectly recreate every detail that was never captured.
2. Diagnose the Main Quality Problem
Before enhancing a video, pause on several frames and inspect the subject.
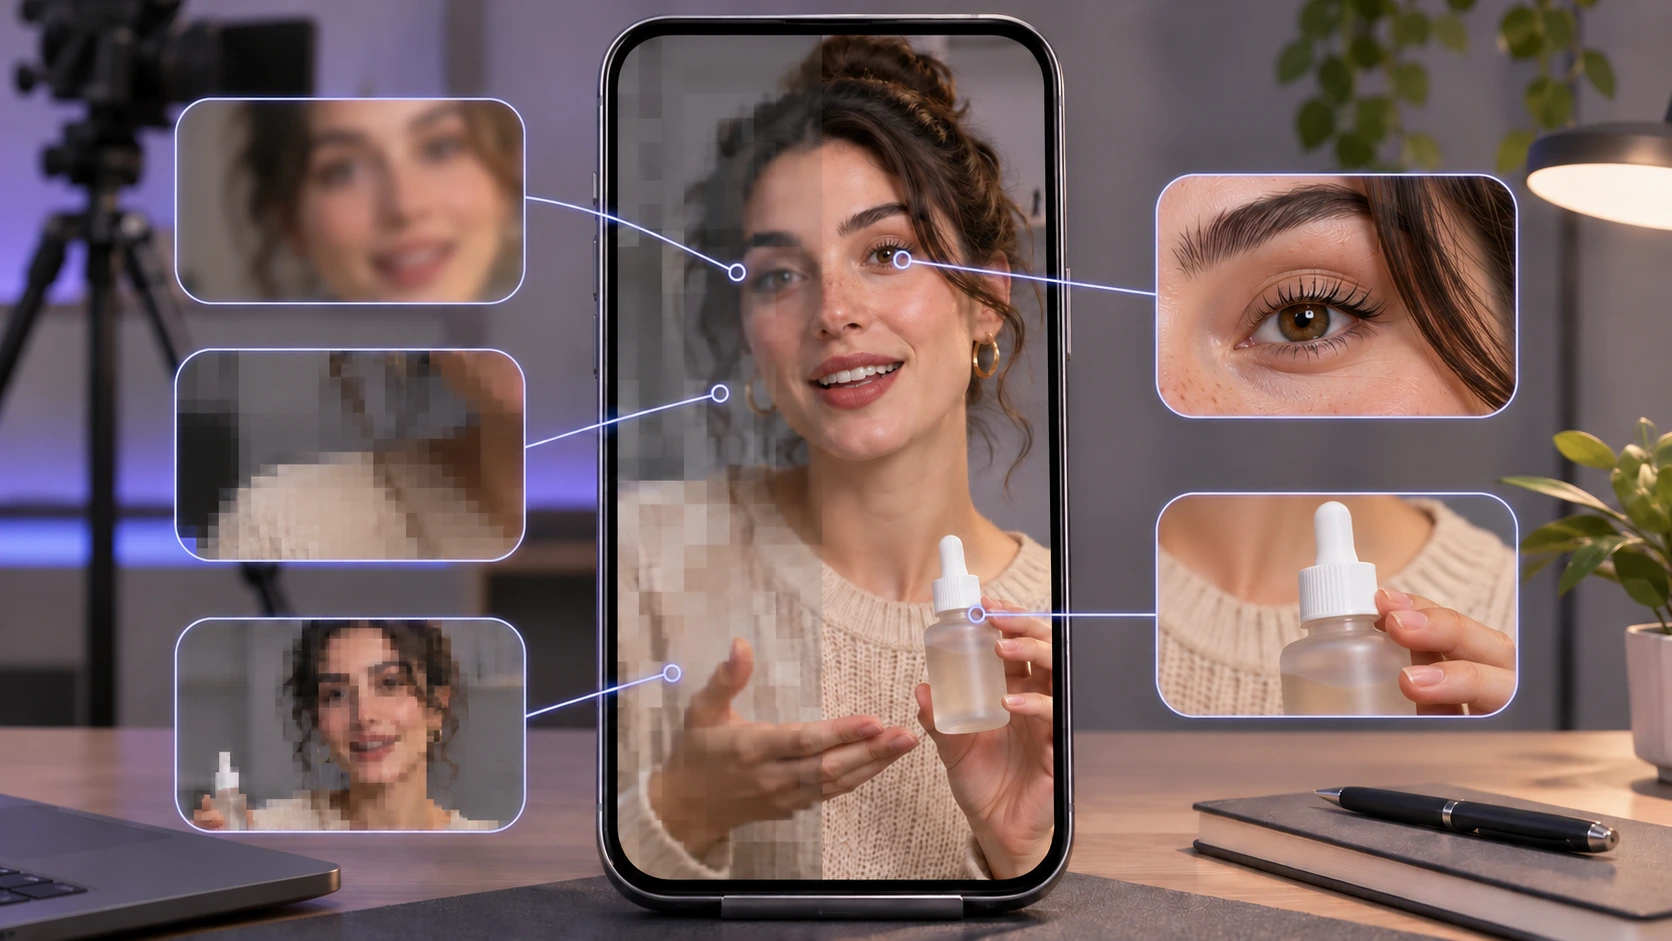
Soft or blurry details
If faces, product edges, or text look soft, use enhancement to improve perceived sharpness. Avoid pushing the sharpness too far, because excessive processing can create halos around objects.
Compression artifacts
Blocky areas, mosquito noise, and color banding often appear after repeated exports. These problems need noise and artifact reduction before sharpening.
Low resolution
If the video is too small for the intended platform, use an upscaling step after basic enhancement. Upscaling increases output dimensions, while enhancement improves the appearance of existing details.
Poor lighting
A dark or noisy source should be corrected carefully. Brightening shadows too aggressively can make skin tones look gray and increase background noise.
3. Enhance Before You Upscale
A useful workflow is:
- Clean up visible noise and compression.
- Improve clarity and edge definition.
- Adjust brightness and contrast if needed.
- Upscale the processed video.
- Review the final export at full size and on a phone screen.

This order helps the upscaler work with a cleaner source. If you upscale a heavily compressed clip first, you may also enlarge the artifacts.
EnhancePhoto.ai's Video Enhancer is designed for this type of workflow, with support for improving video clarity and exporting enhanced results up to 1080p or 2K depending on the source and selected output.
4. Keep the Main Subject Inside the Vertical Frame
A horizontal video may contain important details near the left and right edges. When it is cropped for Shorts or Reels, those details can disappear.
Before exporting, check:
- The face or product remains near the visual center.
- Captions do not sit under platform interface buttons.
- Important logos or labels are not touching the edges.
- The subject remains large enough to recognize on a phone.
- The first frame communicates the topic quickly.
For a shared cross-platform workflow, create one clean vertical master and then check the preview inside each platform. Use the latest platform preview and upload guidance when preparing a final export.
5. Protect Faces, Text, and Product Details
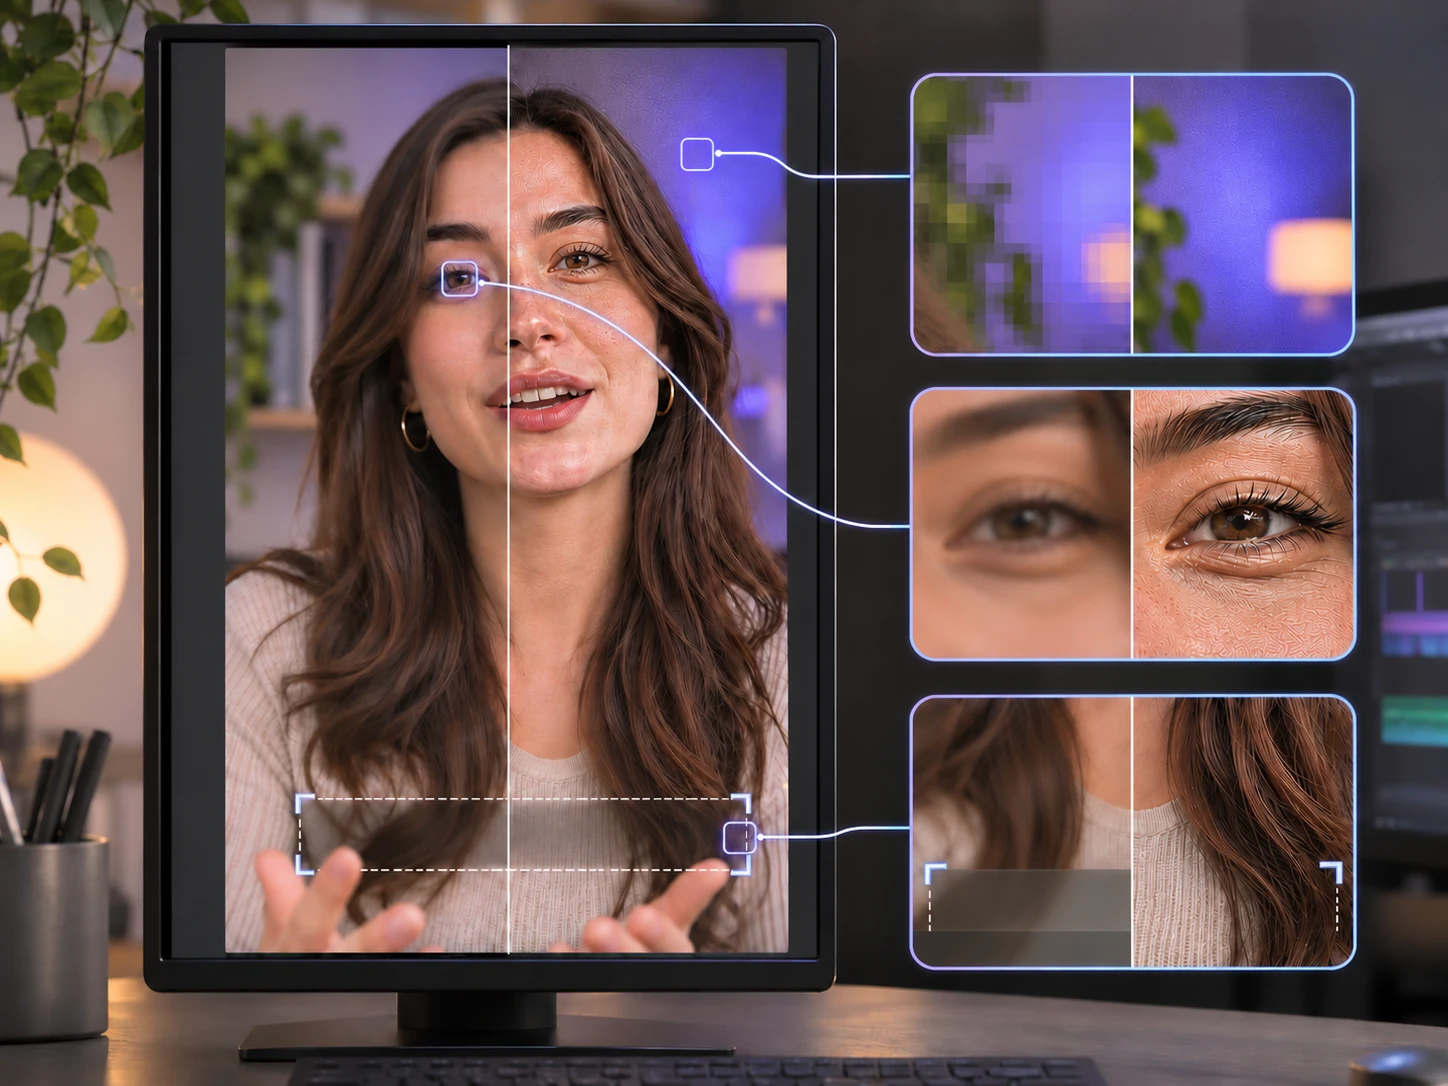
AI enhancement should improve clarity while preserving the identity and structure of the subject.
For people, review:
- Eyes and eyelashes
- Hair edges
- Teeth and skin texture
- Jewelry and small accessories
- Fast facial movement
For products, review:
- Printed labels
- Fine textures
- Small controls
- Reflections
- Brand colors
- Straight edges and corners
If a face begins to look plastic or a product label becomes distorted, reduce the processing strength and compare the output with the original.

6. Export a Platform-Ready Master
A clean export gives you more flexibility when publishing to different platforms.
| Check | Recommendation |
|---|---|
| Orientation | Start with a vertical master for Shorts and Reels |
| Frame composition | Keep the subject and captions inside safe areas |
| File source | Export from the original project whenever possible |
| Quality review | Watch the full file after export |
| Mobile review | Check the result on a phone before publishing |
| Cross-platform use | Upload the clean master separately to each platform |
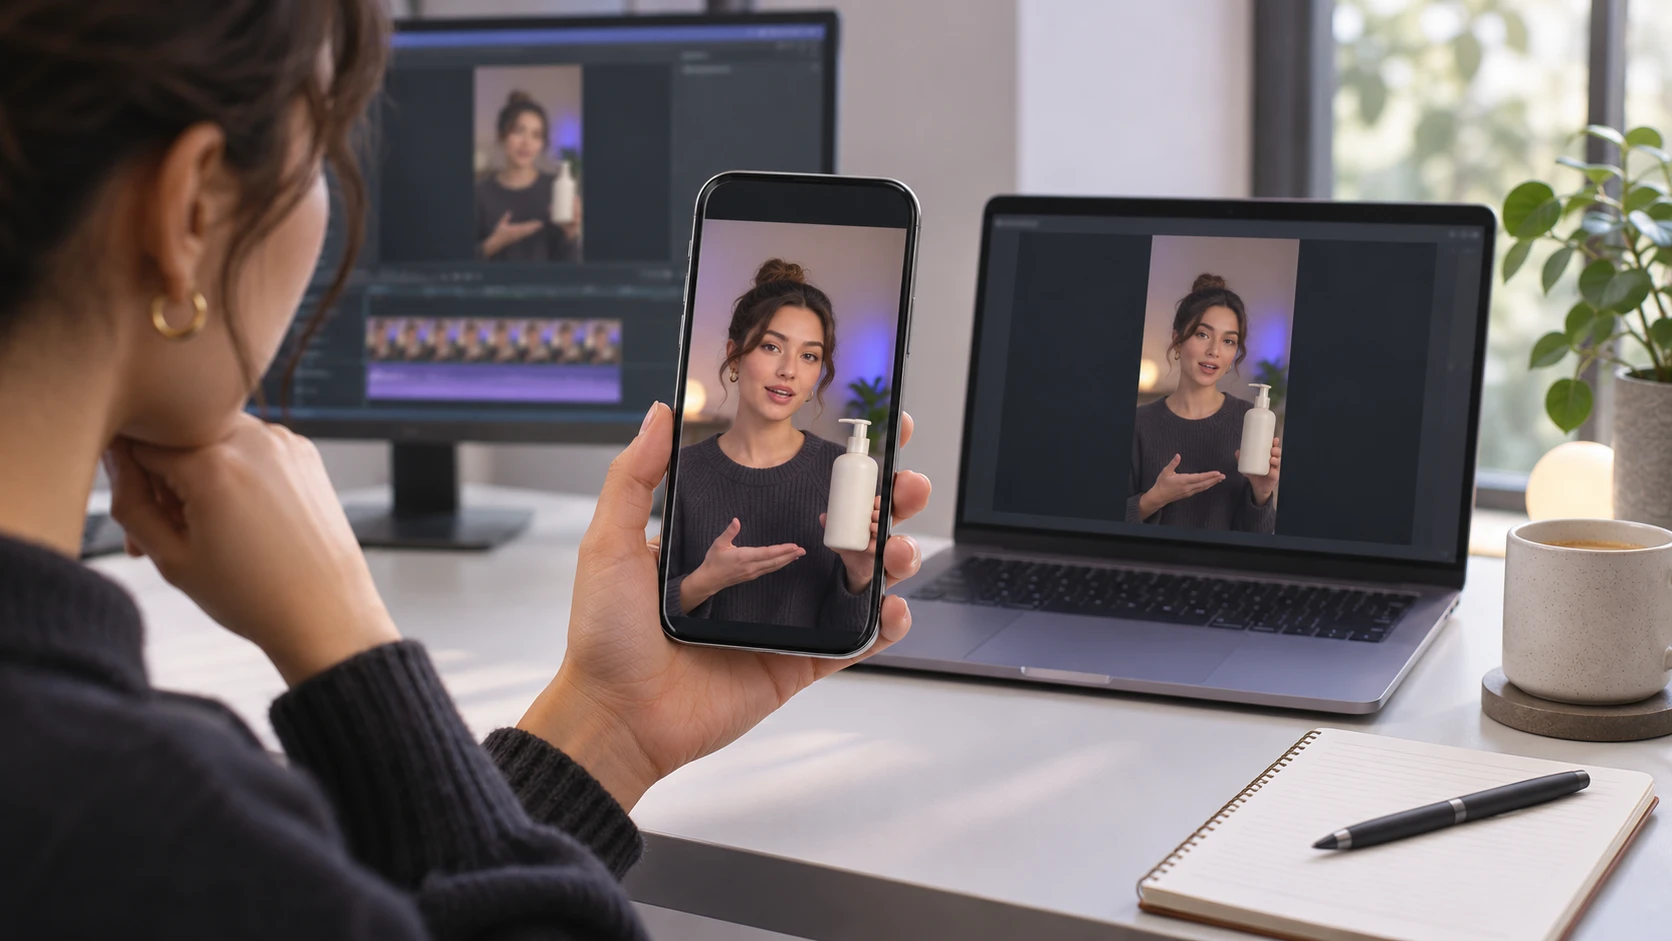
YouTube announced new Shorts thumbnail capabilities on July 24, 2026, making clear video frames more useful for creator publishing workflows. See YouTube's official Shorts thumbnail update for the platform context. For current upload requirements, see YouTube Help: Upload YouTube Shorts.
How EnhancePhoto.ai Fits This Workflow
EnhancePhoto.ai can support several stages of a short-form production process:
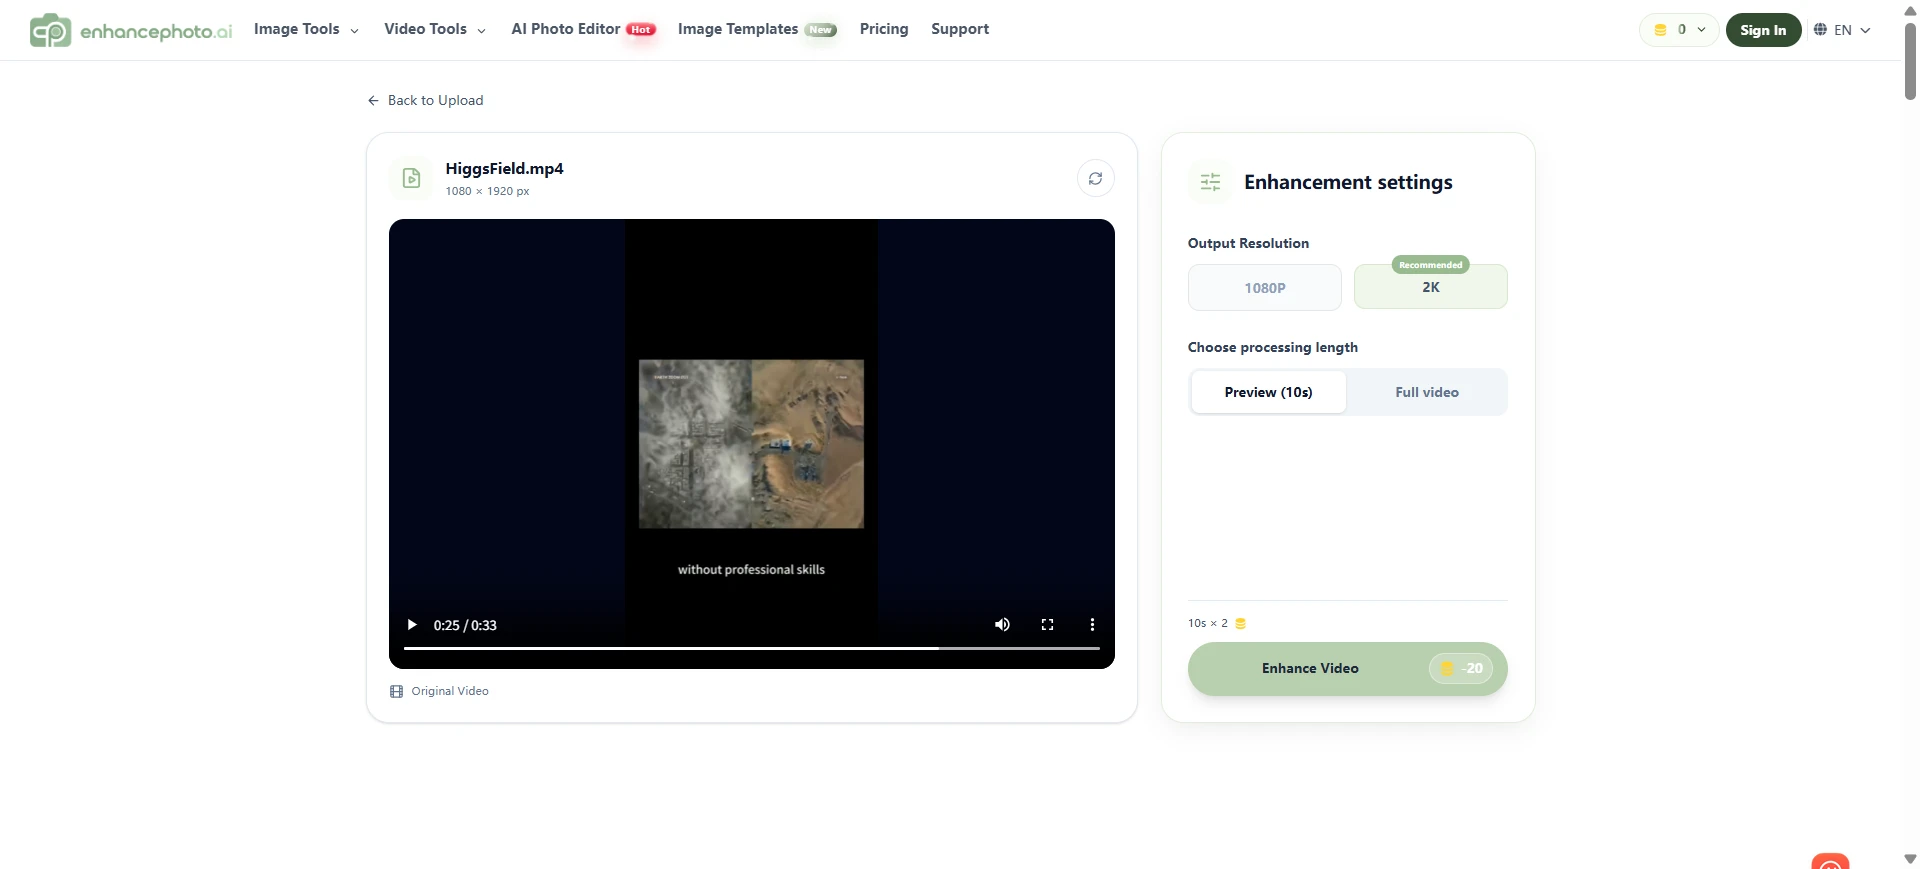
| Production problem | Useful workflow |
|---|---|
| Soft faces or product details | Use Video Enhancer to improve clarity |
| Low-resolution source | Enhance first, then upscale |
| Still image used in a video | Improve the image before animation |
| Image-to-video project | Prepare the source image, then generate or refine the motion |
| Final vertical clip | Review the enhanced result on a mobile screen |
The platform also includes an Image to Video workflow, which can be useful when a creator starts with a product image, portrait, travel photo, or promotional graphic before turning it into motion content.
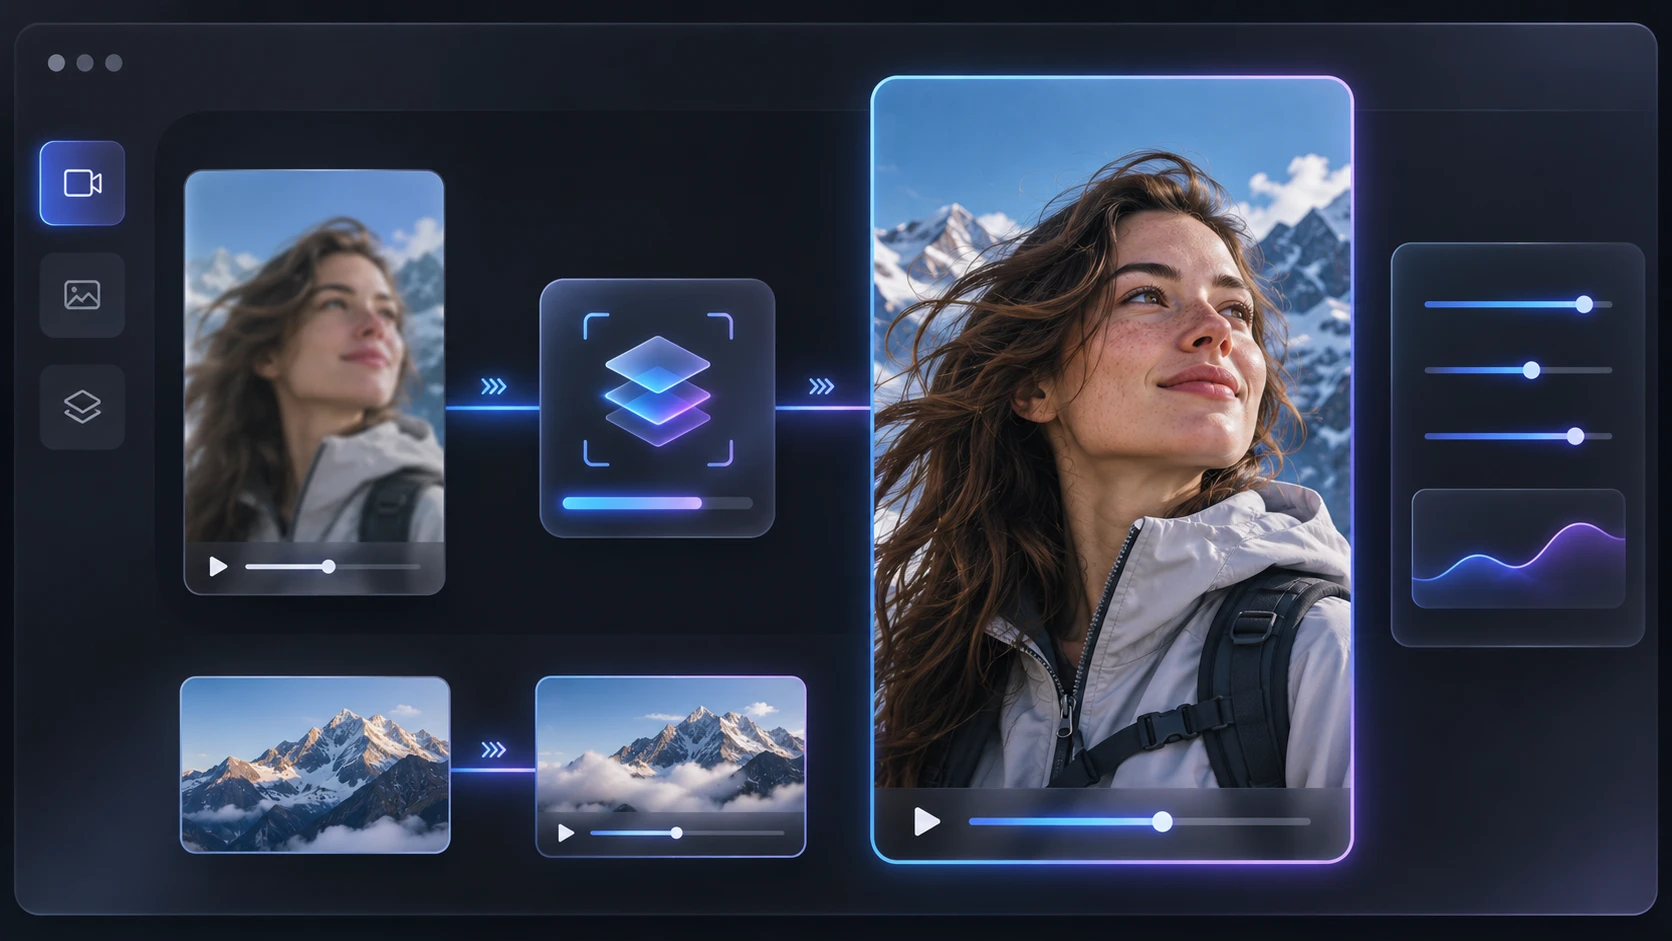
The best result usually comes from treating enhancement as a controlled production step. Apply enough processing to improve readability and detail, then stop before the image begins to look artificial.
Common Mistakes to Avoid
Enhancing a downloaded social-media copy
Downloaded videos often contain additional compression. Whenever possible, return to the original camera file.
Upscaling before fixing compression
Upscaling can make blocky artifacts more visible. Clean the source before increasing its size.
Over-sharpening faces
Strong sharpening may create harsh skin texture, bright outlines, and unnatural eyes.
Cropping without checking captions
A caption that looks safe in an editing timeline may be covered by a platform interface element.
Exporting once and assuming every platform will look the same
YouTube Shorts and Instagram Reels may process the same file differently. Review the uploaded result on each platform.
Using the same enhancement level for every clip
A dark talking-head video, a product demonstration, and a fast outdoor clip may need different levels of cleanup.
FAQ
Can I enhance a blurry video for YouTube Shorts?
Yes. Enhancement can improve perceived sharpness and reduce visible noise, especially when the original video still contains recognizable detail. It cannot restore every detail lost through severe blur or compression.
Should I enhance a video before upscaling it?
In most cases, yes. Cleaning and enhancing the source first gives the upscaling step a better input and can reduce the visibility of compression artifacts.
Can I use the same enhanced video for Shorts and Reels?
You can use the same clean master, but review the crop, captions, interface safe zones, and final compression separately on each platform.
Does an AI video enhancer make a low-resolution video 4K?
An upscaler can create a larger output file, but a larger resolution does not guarantee true new detail. Use the highest-quality source available and judge the final result visually.
Can I improve a video created from a photo?
Yes. A useful workflow is to enhance the source photo first, convert it into motion, and then review the resulting video for softness, flicker, and edge artifacts.
Final Checklist
Before publishing a Short or Reel, ask:
- Is this the cleanest source file available?
- Did I identify the actual quality problem?
- Did I enhance before upscaling?
- Are faces, labels, and captions still natural?
- Is the subject inside the vertical safe area?
- Did I check the exported file on a phone?
- Did I review the final upload on each platform?
When the source is limited, a careful enhancement workflow can make the difference between a soft, compressed clip and a cleaner short-form video that is easier to watch.
How EnhancePhoto.ai supports this process: use Video Enhancer for the clip, Image Upscaler when the output needs more resolution, and Image to Video when the project begins with a still image.
How to Colorize Old Family Photos Before Thanksgiving
Learn how to colorize old family photos before Thanksgiving, repair damage, review AI colors, and prepare meaningful prints or digital gifts.
How to Fix Blurry Halloween Photos Taken at Night
Learn how to fix blurry Halloween photos after dark. Diagnose motion, missed focus, and low-light noise, then edit carefully for a natural result.